Awesome
SPIDR
Codes for: "SPIDR: SDF-based Neural Point Fields for Illumination and Deformation"
UPDATE 06/04: Include more trained checkpoints (synthetic + blendedmvs).
UPDATE 02/14: Tested inference code on a machine (RTX2070) with new env. Works fine.
Install
git clone https://github.com/nexuslrf/SPIDR.git
cd SPIDR
Environment
pip install -r requirements.txt
Note:
- some packages in
requirements.txt(e.g.,torchandtorch_scatter) might need different cmd to install. open3dhas to be>=0.16
Torch extensions
We replaced original PointNeRF's pycuda kernels (we don't need pycuda) with torch extensions. To set up our torch extensions for ray marching:
cd models/neural_points/c_ext
python setup.py build_ext --inplace
cd -
We have tested our codes on torch 1.8, 1.10, 1.11.
Data Prepare
Datasets
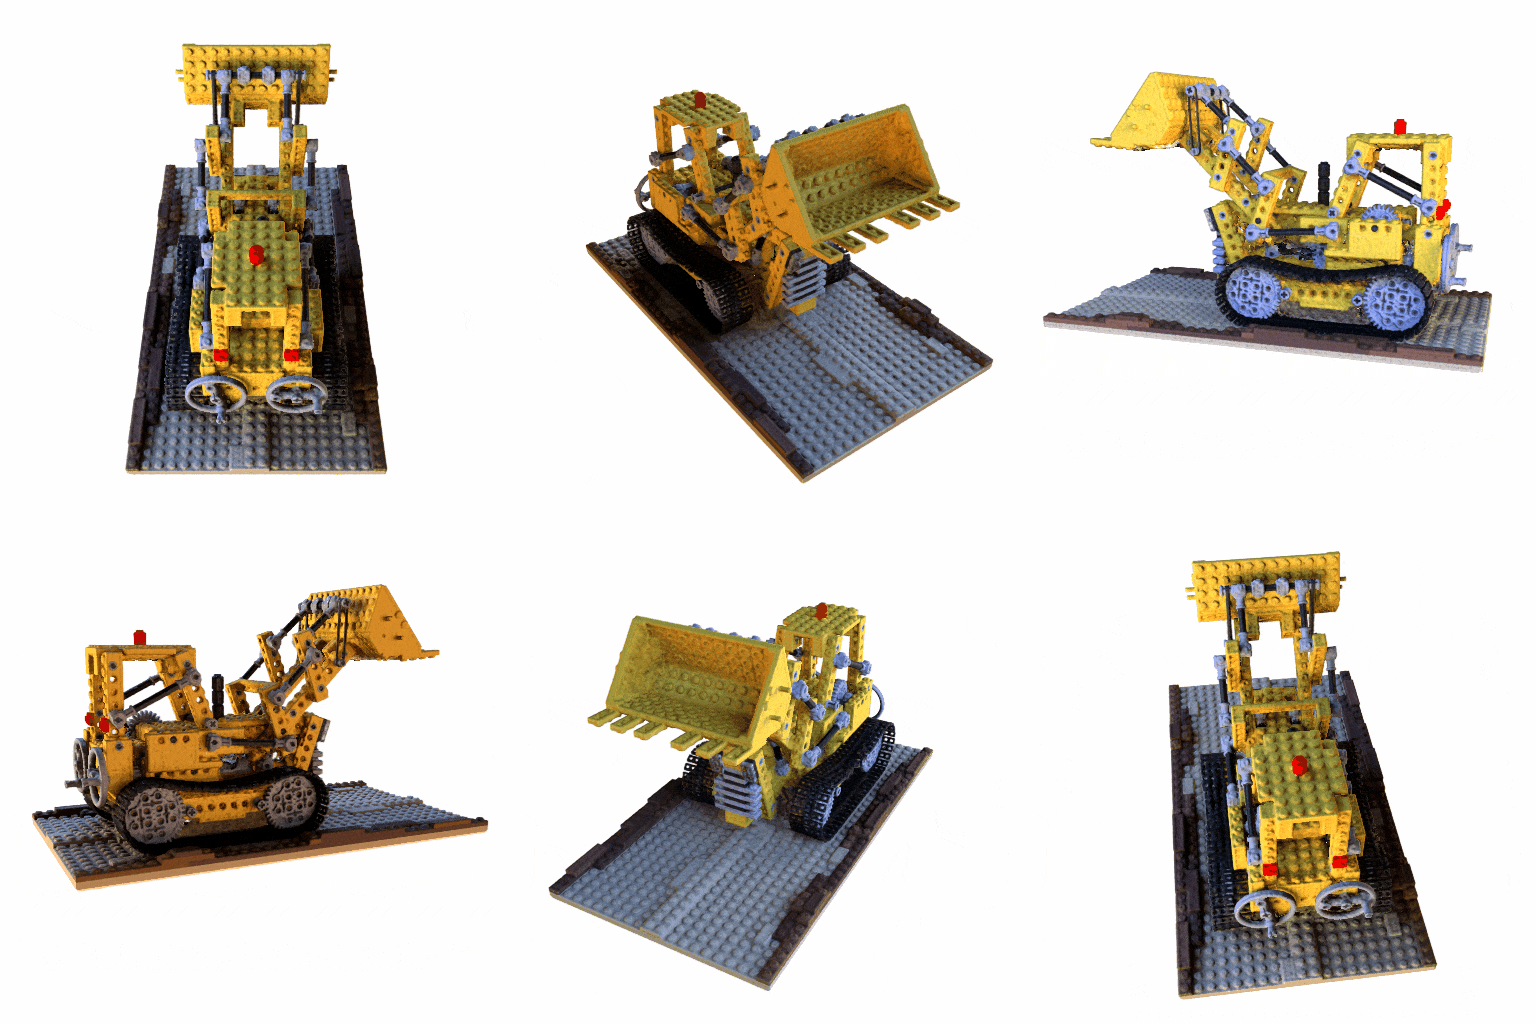
Download the dataset from the following links and put them under ./data_src/ directory:
- NeRF-synthetic scenes (
./data_src/nerf_synthetic) - NVSF-BlendedMVS scenes (
./data_src/BlendedMVS) - Our added scenes for deformation (
./data_src/deform_synthetic) (manikin+trex, with blender sources)
Checkpoints
We provide some model checkpoints for testing (more will be added in the future)
- If you want to train new scenes from scratch, you might need MVSNet checkpoints from the Point-NeRF. Put ckpt files in
checkpoints/MVSNet - Our model checkpoints and data are all shared in this goole-drive folder.
Usage
Training
Note: We'll add more instructions later, currently might be buggy (NOT TESTED).
First stage: train a Point-based NeRF model, this step is similar to the original PointNeRF.
cd run/
python train_ft.py --config ../dev_scripts/spidr/manikin.ini --run_mode=sdf
Second stage: train the BRDF + Environment light MLPs
The second stage of the training requires pre-computing the depth maps from the light sources
python test_ft.py --config ../dev_scripts/spidr/manikin.ini --run_mode=sdf --bake_light --down_sample=0.5
--down_sample=0.5 halve the size of the rendered depth images.
Then started BDRF branch training:
python train_ft.py --config ../dev_scripts/spidr/manikin.ini --run_mode=lighting
Testing
We use manikin scene as an example.
To simply render frames (SPIDR* in the paper):
cd run/
python test_ft.py --config ../dev_scripts/spidr/manikin.ini --run_mode=sdf --split=test
You can set a smaller --random_sample_size according to the GPU memory.
For the rendering with BDRF estimations.
We need to first bake the depth maps from the light sources. If you did it during the training BDRF, you don't need to run it again (but it requires updates if the object shape is changed).
python test_ft.py --config ../dev_scripts/spidr/manikin.ini --run_mode=sdf --bake_light --down_sample=0.5
Then, with the baked light depth maps, we can run the BRDF-based rendering branch.
python test_ft.py --config ../dev_scripts/spidr/manikin.ini --run_mode=lighting --split=test
Note on the output images: *-coarse_raycolor.png are the results without BRDF estimation (just normal NeRF rendering, coresponding to SPIDR* in the paper). *-brdf_combine_raycolor.png are the results with BRDF estimation and PB rendering.
Editing
Extracting Mesh
python test_ft.py --config ../dev_scripts/spidr/manikin.ini --run_mode=sdf --marching_cube
Extracting Point Cloud
cd ../deform_tools
python ckpt2pcd.py --save_dir ../checkpoints/nerfsynth_sdf/manikin --ckpt 120000_net_ray_marching.pth --pcd_file 120000_pcd.ply
Deforming
We'll provide three examples of different editing:
- Deformation with GT deformed meshes
- Deformation with the extracted mesh from the our model, e.g., ARAP
- Direct point manipulations
Please check here for the examples.
P.S. Utilize some segmentation tools to assist the manual deformation (e.g., Point Selections) could be very interesting research direction.
👇 The 2D segmentation demo from Segment Anything, my intintial attempt is here: SAM-3D-Selector
<img src="https://nexuslrf.github.io/SPIDR_webpage/images/sam.png" width="40%">Relighting
Simply add target environment HDRI in --light_env_path
python test_ft.py --config ../dev_scripts/spidr/manikin.ini --run_mode=lighting --split=test --light_env_path=XXX.hdr
Note:
- the HDRI should be resized to
32x16resolution before the relighting. - our tested low-res HDRIs come from NeRFactor, you can download their processed light-probes.
- light intensity can be scaled by flag
--light_intensitye.g.,--light_intensity=1.7

Results for FUN
👇SDEX Aerial GUNDAM from TWFM (Captured at my lab)
👇 EVA Unit-01 Statue in Shanghai (from BlendedMVS dataset)
Citation
If you find our work useful in your research, a citation will be appreciated 🤗:
@article{liang2022spidr,
  title={SPIDR: SDF-based Neural Point Fields for Illumination and Deformation},
  author={Liang, Ruofan and Zhang, Jiahao and Li, Haoda and Yang, Chen and Guan, Yushi and Vijaykumar, Nandita},
  journal={arXiv preprint arXiv:2210.08398},
  year={2022}
}
Acknowledgement
This codebase is developed based on Point-NeRF. If you have any confusion about MVS and point initialization part, we recommend referring to their original repo.