Awesome
ProcessingKit
ProcessingKit is a Visual designing library for iOS & OSX. ProcessingKit written in Swift🐧 and you can write like processing.
Demo
Demo Apps
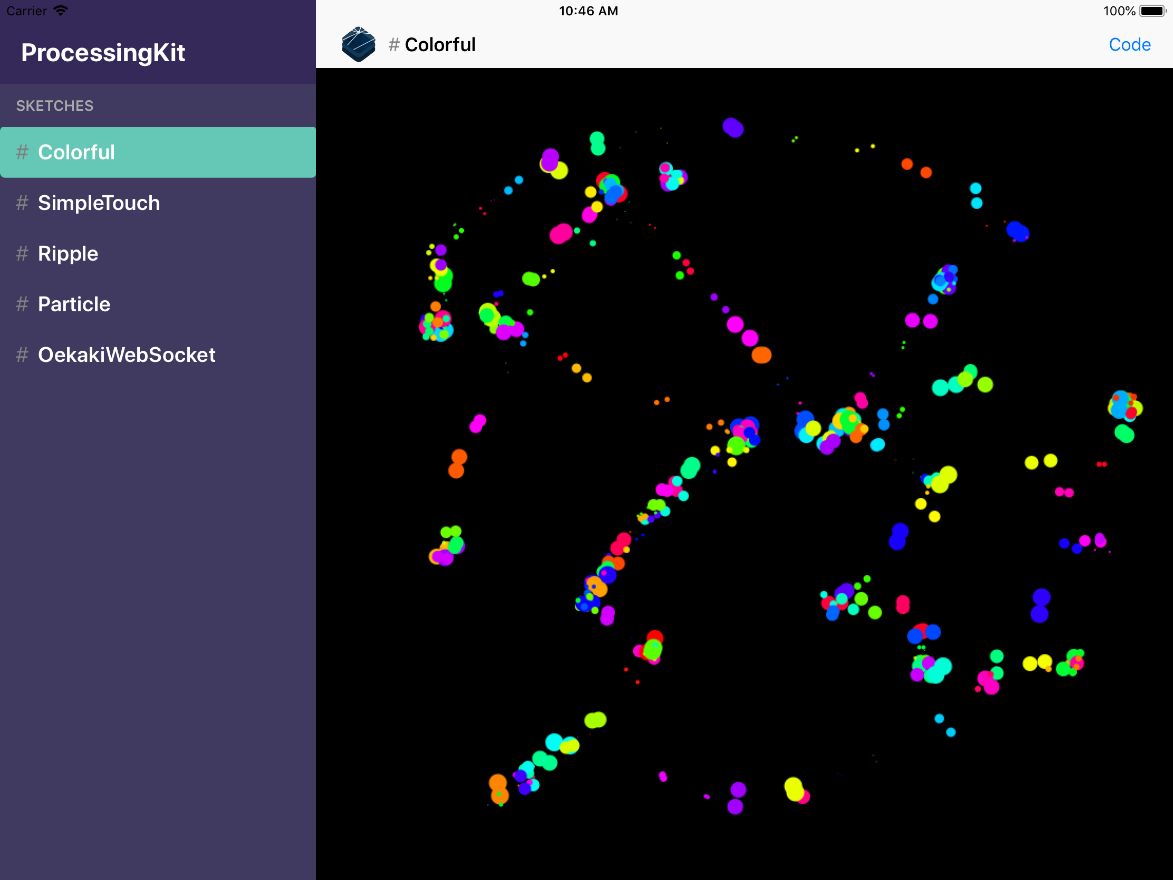
iPad Demo App (Developed for Open Source Conference)
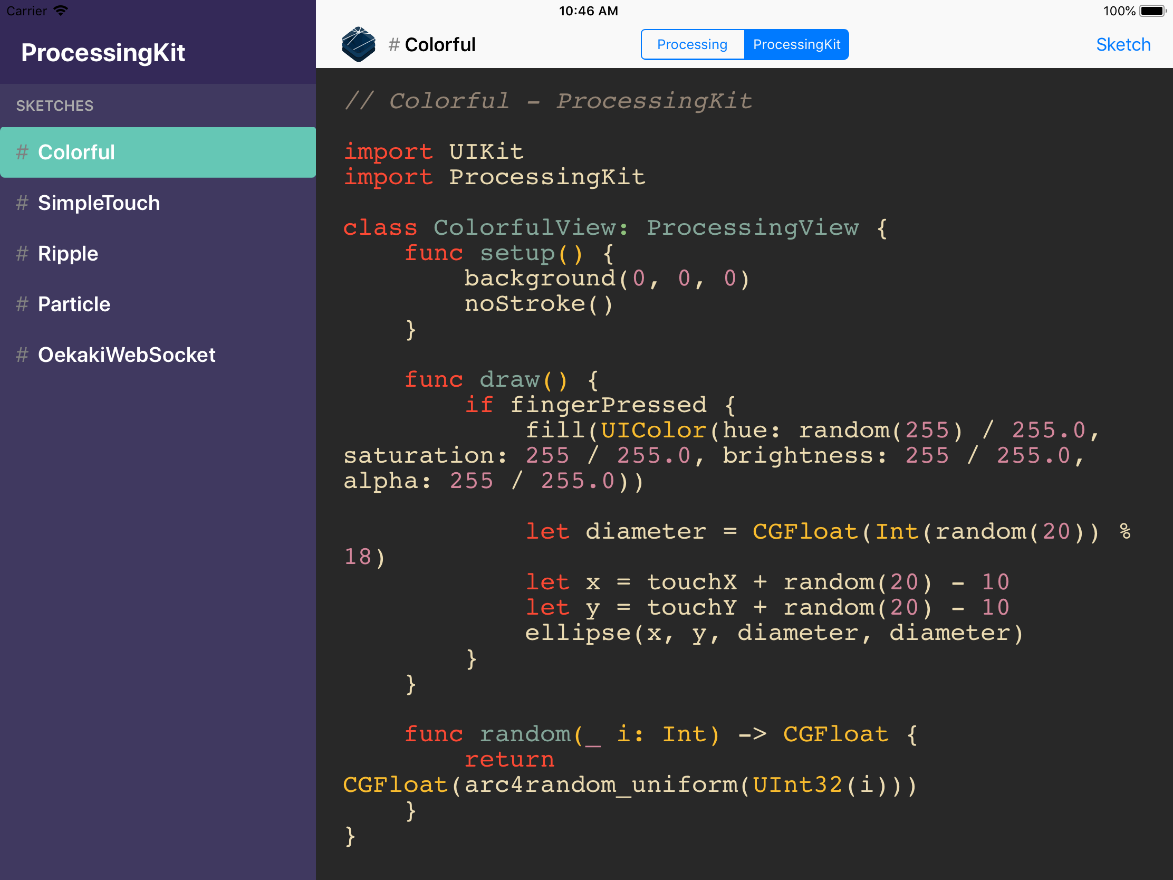
| Sketch Runner | Code Comparison (between Processing and ProcessingKit) |
|---|---|
 |  |
Example
| OS | gif | code |
|---|---|---|
| iOS | <img src="https://raw.githubusercontent.com/natmark/ProcessingKit/master/Resources/iOS_Example.gif" alt="gif" height="50%"> | 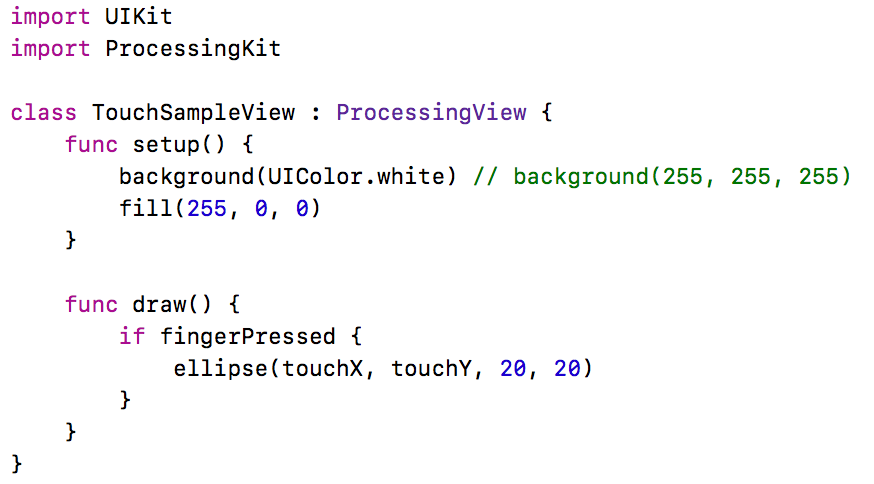 |
| OSX |  |  |
Requirements
- Swift 3.0 or later
- iOS 10.0 or later
- OSX 10.11 or later
If you use Swift 3.x, try ProcessingKit 0.6.0.
Usage
- Create custom class that inherits from ProcessingView
import ProcessingKit

class SampleView: ProcessingView {
    func setup() {
        // The setup() function is run once, when the view instantiated.
    }
    func draw() {
        // Called directly after setup(), the draw() function continuously executes the lines of code contained inside its block until the program is stopped or noLoop() is called.
    }
}
- Create a SampleView instance
Create programmatically
    lazy var sampleView: SampleView = {
        let sampleView = SampleView(frame: frame)
        sampleView.isUserInteractionEnabled = true // If you want to use touch events (default true)
        return sampleView
    }()
Use InterfaceBuilder
- Add UIView to ViewController
- Select UIView & Open Identity inspector
- Set SampleView to Custom class field
- Add outlet connection
 @IBOutlet weak var sampleView: SampleView!

 override func viewDidLoad() {
     super.viewDidLoad()
     sampleView.isUserInteractionEnabled = true // If you want to use touch events (default true)
 }
Installation
CocoaPods
Add the following to your Podfile:
pod "ProcessingKit"
- (Example project here: PKPodsExample)
Carthage
Add the following to your Cartfile:
github "natmark/ProcessingKit"
- (Example project here: PKExample)
Xcode File Template
ProcessingKit.xctemplateis available.- Use Donut(Xcode file template manager) to install.
$ donut install https://github.com/natmark/ProcessingKit
Documentation
License
ProcessingKit is available under the MIT license. See the LICENSE file for more info.