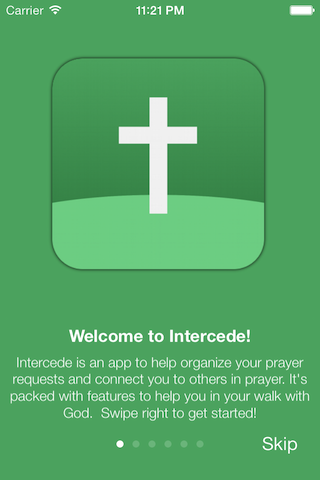
Awesome
iPhone Introduction / Tutorial (MYIntroductionView)
IMPORTANT!
MYIntroductionView has been replaced by MYBlurIntroductionView


Everyone needs them and everyone hates writing them... Yes, it's the tutorial screen! I got sick of writing one for every app I made, so I went ahead and standardized it here.
Features Include:
- Left-to-Right and Right-to-Left language support
- Delegate methods for handling current page and completion events
- Easy UIView implementation that works with or without storyboards
- NEW Ability to use custom views in a panel instead of just images
CocoaPods
If you use CocoaPods, you can install MYIntroduction by inserting config below.
pod 'MYIntroduction', :git => 'https://github.com/MatthewYork/iPhone-IntroductionTutorial.git'
Manual installation
- Add the QuartzCore framework by clicking on your Project File -> Build Phases -> Lnk Binary With Libraries
- Add
MYIntroductionView.handMYIntroductionView.mto your project. - Add
MYIntroductionPanel.handMYIntroductionPanel.mto your project. #import "MYIntroductionView.h"to use it in a class- Subscribe to the 'MYIntroductionDelegate' to enable delegate/callback interaction.
How To Use It
Step 1 - Build Panels
The introduction view needs something to display, and these are done via panels. Each panel holds an image and some description text. To create a panel, simply call the initWithImage:description: method. Two examples may be seen below;
You may initialize a panel without a title
MYIntroductionPanel *panel = [[MYIntroductionPanel alloc] initWithimage:[UIImage imageNamed:@"SampleImage1"] description:@"Welcome to MYIntroductionView, your 100 percent customizable interface for introductions and tutorials! Simply add a few classes to your project, and you are ready to go!"];
Or with a title for extra information
MYIntroductionPanel *panel2 = [[MYIntroductionPanel alloc] initWithimage:[UIImage imageNamed:@"SampleImage2"] title:@"Your Ticket!" description:@"MYIntroductionView is your ticket to a great tutorial or introduction!"];
Step 2 - Create Introduction View
Once you panels have been created, you are ready to create the introduction view. You will pass the panels you just created into this method where they will be rendered (in order) in the introduction view. An example can be found below.
MYIntroductionView *introductionView = [[MYIntroductionView alloc] initWithFrame:CGRectMake(0, 0, self.view.frame.size.width, self.view.frame.size.height) headerImage:[UIImage imageNamed:@"SampleHeaderImage.png"] panels:@[panel, panel2]];
Don't forget to set the delegate to the calling class if you are using delegation for any callbacks
introductionView.delegate = self;
*A note to those using right-to-left languages: There is another init method that includes a language direction variable. It is an enum of type MYLanguageDirection. If you wish to use the right-to-left mode, this is where you would instruct the view to do so.
Step 3 - Show Introduction View
[introductionView showInView:self.view];