Awesome
MYBlurIntroductionView
#####NOTICE: As of February 4th, Apple has begun to ban new app submissions using the common blurring method (UIToolbar hack) found in MYBlurIntroductionView. We will work toward a new solution, but unfortunately this library has removed the blurring functionality until a solution is found. Cheers.
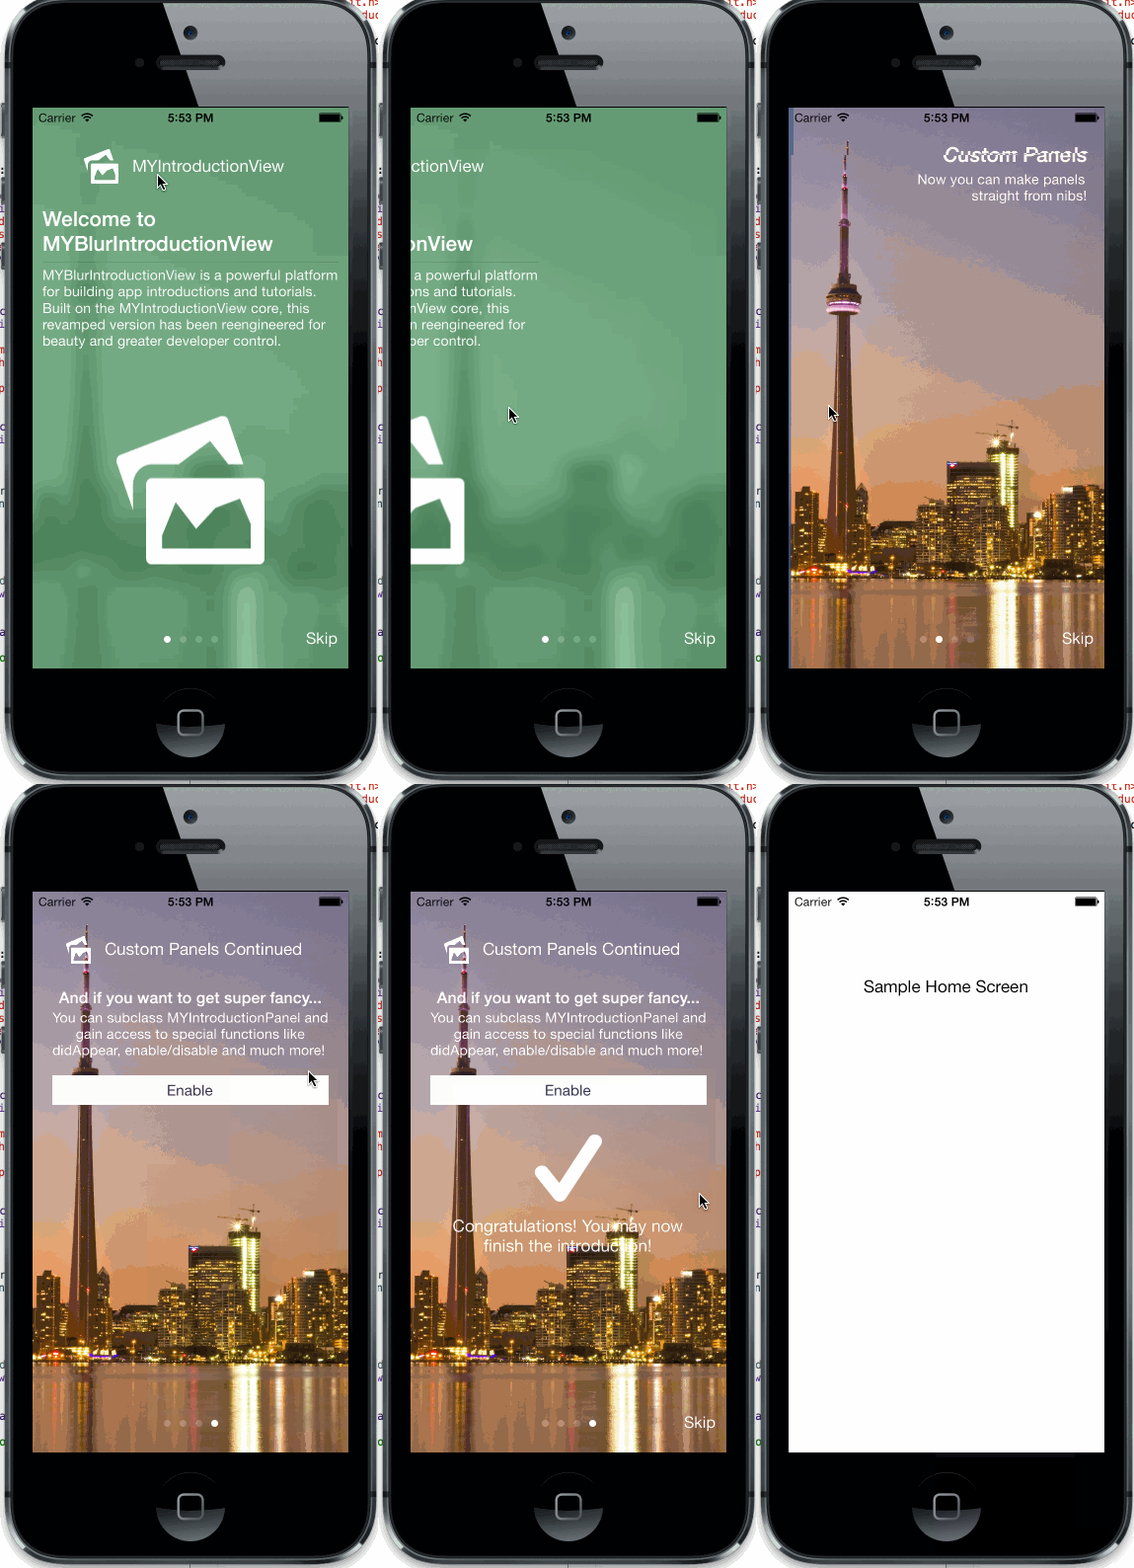
A Controller Built With You In Mind
It's time for one introduction/tutorial view to end them all! MYBlurIntroductionView is a powerful platform to build introductions for your iPhone apps. Built on the MYIntroductionView core, MYBlurIntroductionView takes the first time user experience to the next level by providing a host of new features for building highly customized introductions.
Features Include
- Brand new stock panels built for iOS 7
- Optional overlay on background images
- Add custom panels straight from .xib files
- Subclass MYIntroductionPanel (the stock panel) for custom panels with access to new methods like
- panelDidAppear
- panelDidDisappear
- enable/disable
- Delegates methods for panel change and introduction finishing events
- iOS 6 and 7 compatible for iPhone (iPad coming soon)
- Localized Skip Button
- Right-to-Left Language Support
What to Include
Manual Installation
MYBlurIntroductionView is dependent on the following files and frameworks
- <code>MYBlurIntroductionView.{h,m}</code>
- <code>MYIntroductionPanel.{h,m}</code>
- Uses the QuartzCore framework
- Requires ARC
CocoaPods
MYBlurIntroductionView is also available for installation through cocoapods by using the following command.
<code>pod 'MYBlurIntroductionView'</code>
For help setting up and maintaining dependencies using CocoaPods check out this link: http://cocoapods.org/
The Process
Creating an introduction view can basically be boiled down to these steps
- Create panels
- Create and MYIntroductionView
- Add MYIntroductionPanels to MYIntroductionView
- Show View
Creating Panels
Stock Panels
One goal for MYBlurIntroductionView is to make the creation of stock (or "non-custom") panels just as easy as with MYIntroductionView. That's why the basic interface hasn't changed one bit. All content is optional and rearranges nicely for you. bl
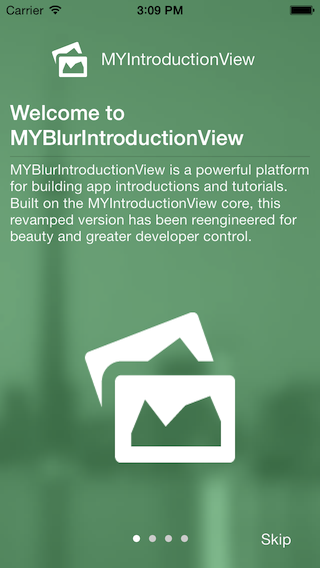
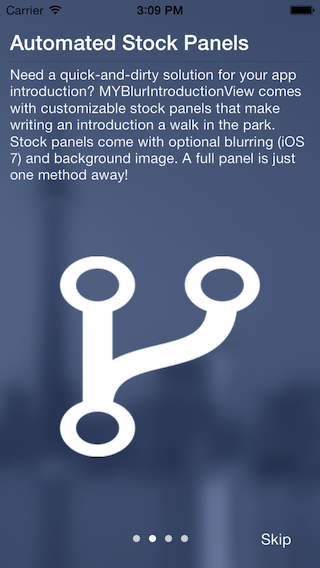
The main panel class is <code>MYIntroductionPanel.{h,m}</code>. It has many different custom init methods for rapid creation of stock panels. Here are a few samples, the first with a header, and the second without.
//Create stock panel with header
UIView *headerView = [[NSBundle mainBundle] loadNibNamed:@"TestHeader" owner:nil options:nil][0];

MYIntroductionPanel *panel1 = [[MYIntroductionPanel alloc] initWithFrame:CGRectMake(0, 0, self.view.frame.size.width, self.view.frame.size.height) title:@"Welcome to MYBlurIntroductionView" description:@"MYBlurIntroductionView is a powerful platform for building app introductions and tutorials. Built on the MYIntroductionView core, this revamped version has been reengineered for beauty and greater developer control." image:[UIImage imageNamed:@"HeaderImage.png"] header:headerView];

//Create stock panel with image
MYIntroductionPanel *panel2 = [[MYIntroductionPanel alloc] initWithFrame:CGRectMake(0, 0, self.view.frame.size.width, self.view.frame.size.height) title:@"Automated Stock Panels" description:@"Need a quick-and-dirty solution for your app introduction? MYBlurIntroductionView comes with customizable stock panels that make writing an introduction a walk in the park. Stock panels come with optional overlay on background images. A full panel is just one method away!" image:[UIImage imageNamed:@"ForkImage.png"]];
And here are the end results
Custom Panels from .xib Files
One of the great things about MYBlurIntroductionView is that you can create the panels for your introduction directly from xib files. These are great for static layouts that do not need any interaction (think text and images).
Creating a custom panel is as easy as using the <code>initWithFrame:nibNamed:</code> for MYIntroductionPanel.
//Create Panel From Nib
MYIntroductionPanel *panel3 = [[MYIntroductionPanel alloc] initWithFrame:CGRectMake(0, 0, self.view.frame.size.width, self.view.frame.size.height) nibNamed:@"TestPanel3"];
This will attach the xib file to a MYIntroductionPanel so it may be used in the introduction view. If you would like to use the stock title/description/header/image and their animations, simply set the desired additional attributes after the instantiation of a panel, and run the <code>buildPanelWithFrame:</code> method. An example can be seen below.
//Instantiate panel
MYIntroductionPanel *panel3 = [[MYIntroductionPanel alloc] initWithFrame:CGRectMake(0, 0, self.view.frame.size.width, self.view.frame.size.height) nibNamed:@"TestPanel3"];

//Add custom attributes
panel3.PanelTitle = @"Test Title";
panel3.PanelDescription = @"This is a test panel description to test out the new animations on a custom nib";

//Rebuild panel with new attributes
[panel3 buildPanelWithFrame:CGRectMake(0, 0, self.view.frame.size.width, self.view.frame.size.height)];
Tip Make sure your autoresize properties are set to scale correctly (everything selected worked best for me). If you don't there may be some problems when you design for 4" screens, but deploy on 3.5".
Custom Panels via Subclassing
If you really want to unleash the full power of MYBlurIntroductionView, you will want to subclass an MYIntroductionPanel. If you do, you gain access to many new methods for creating event driven panels in your introduction.
Event Handling
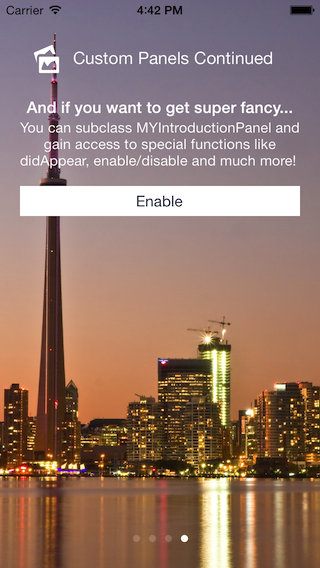
Perhaps you would like to trigger certain actions to occur on a panel when the introduction reaches it. Now that is fully possible by overriding the <code>panelDidAppear</code> and <code>panelDidDisappear</code> methods. Using these methods you can create dynamic panels that reset when the panel disappears.
Stopping
Say, for intstance, you want to make SURE a user knows how to do something in your app. With your subclass, you may now disable the introduction view until they have completed whatever task you like. Once they have done that task, they may go to the next panel. An example of this can be found using the command <code>[self.parentIntroductionView setEnabled:NO];</code> in the <code>MYCustomPanel</code> class in the sample application. Here, a button press enables movement to the next panel.
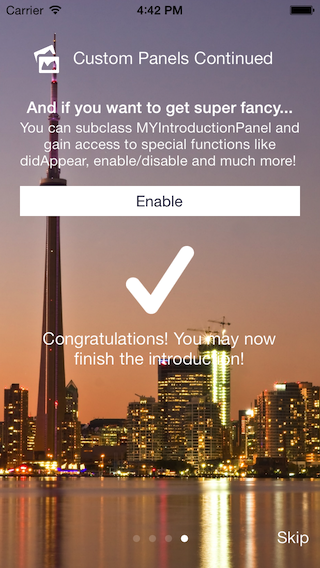
Creating a MYIntroductionView and Adding Panels
Assuming you have made a few panels, creating an instance of MYIntroductionView and adding panels can be done in just a few lines of code.
//Create the introduction view and set its delegate
MYBlurIntroductionView *introductionView = [[MYBlurIntroductionView alloc] initWithFrame:CGRectMake(0, 0, self.view.frame.size.width, self.view.frame.size.height)];
    introductionView.delegate = self;
    introductionView.BackgroundImageView.image = [UIImage imageNamed:@"Toronto, ON.jpg"];
    //introductionView.LanguageDirection = MYLanguageDirectionRightToLeft;

//Feel free to customize your introduction view here

//Add panels to an array
NSArray *panels = @[panel1, panel2, panel3, panel4];

//Build the introduction with desired panels
[introductionView buildIntroductionWithPanels:panels];
The <code>buildIntroductionWithPanels</code> method is where all the magic happens. After calling this method, the introduction view is ready to display. To finally show it, simply add it as a subview.
//Add the introduction to your view
[self.view addSubview:introductionView];
To see all this in action, head over to the sample project! It creates an introduction view that uses all types of panels so you can understand all that MYBlurIntroductionView has to offer.
Delegation
MYBlurIntroductionView comes with two delegate methods for interacting with the introduction view.
- introduction:didChangeToPanel:withIndex:
- This method will hit every time you change panels. Use this to perhaps change background images or blur color.
- introduction:didFinishWithType:
- This method triggers when the introduction view has finished. The type of finish is also provided.
About the Author
Matt York is an iOS, Android and C# developer with the Center for Advanced Public Safety (Github Link). CAPS works to develop cutting edge mobile technology for law enforcement in the state of Alabama. Matt is also the founder of the Intercede social network, available in the app store.