Awesome
InboxLayout
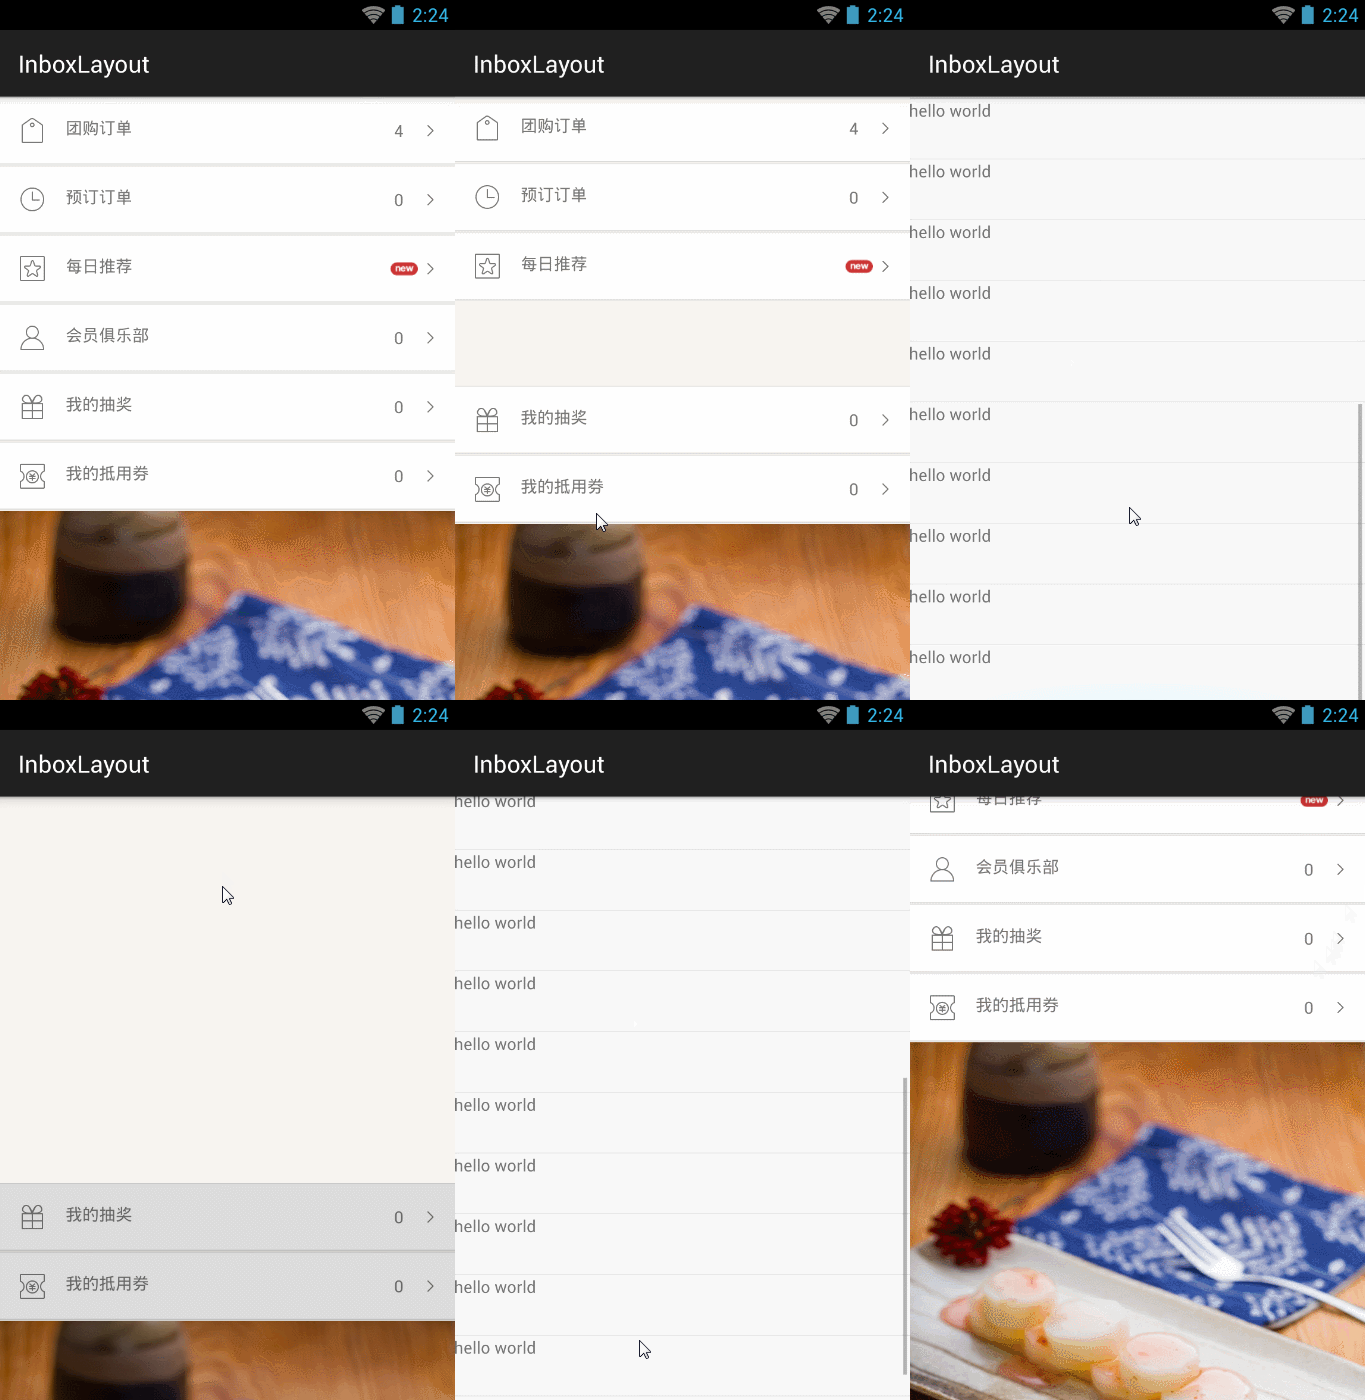
模仿Google Inbox邮箱的上下拉返回效果
让你的app加入真正方便的手势操作
使用InboxLayout前最好来这里看看有没有更新~~~
ScreenShot


Usage
###step 1 实现类似的布局, 具体可参考demo
<FrameLayout
    android:layout_width="match_parent"
    android:layout_height="match_parent">

    <com.zzt.inbox.widget.InboxScrollView
        android:scrollbars="none"
        android:id="@+id/scroll"
        android:layout_width="match_parent"
        android:layout_height="match_parent">
        <LinearLayout
            android:orientation="vertical"
            android:layout_width="match_parent"
            android:layout_height="wrap_content">
            <!--在这里布局主界面要显示的内容-->
        </LinearLayout>
    </com.zzt.inbox.widget.InboxScrollView>

    <com.zzt.inbox.widget.InboxLayoutListView
        android:id="@+id/inboxlayout"
        android:visibility="invisible"
        android:layout_width="match_parent"
        android:layout_height="match_parent">
    </com.zzt.inbox.widget.InboxLayoutListView>
</FrameLayout>
###step 2
final InboxScrollView inboxScrollView = (InboxScrollView)findViewById(R.id.scroll);
inboxLayout = (InboxLayout)findViewById(R.id.inboxlayout);
inboxLayout.seBackgroundScrollView(inboxScrollView); //将inboxScrollView 与 inboxlayout绑定,由inboxlayout带动inboxScrollView滚动
###step 3
final LinearLayout dingdan = (LinearLayout)findViewById(R.id.ding_dan);
dingdan.setOnClickListener(new View.OnClickListener() {
  @Override
  public void onClick(View v) {
    inboxLayout.openWithAnim(dingdan);//给inboxLayout传入open时需要隐藏的view
  }
});
Last
InboxLayout目前支持底部为scrollview 顶部为listview和scrollview的情况,适用于大部分场景