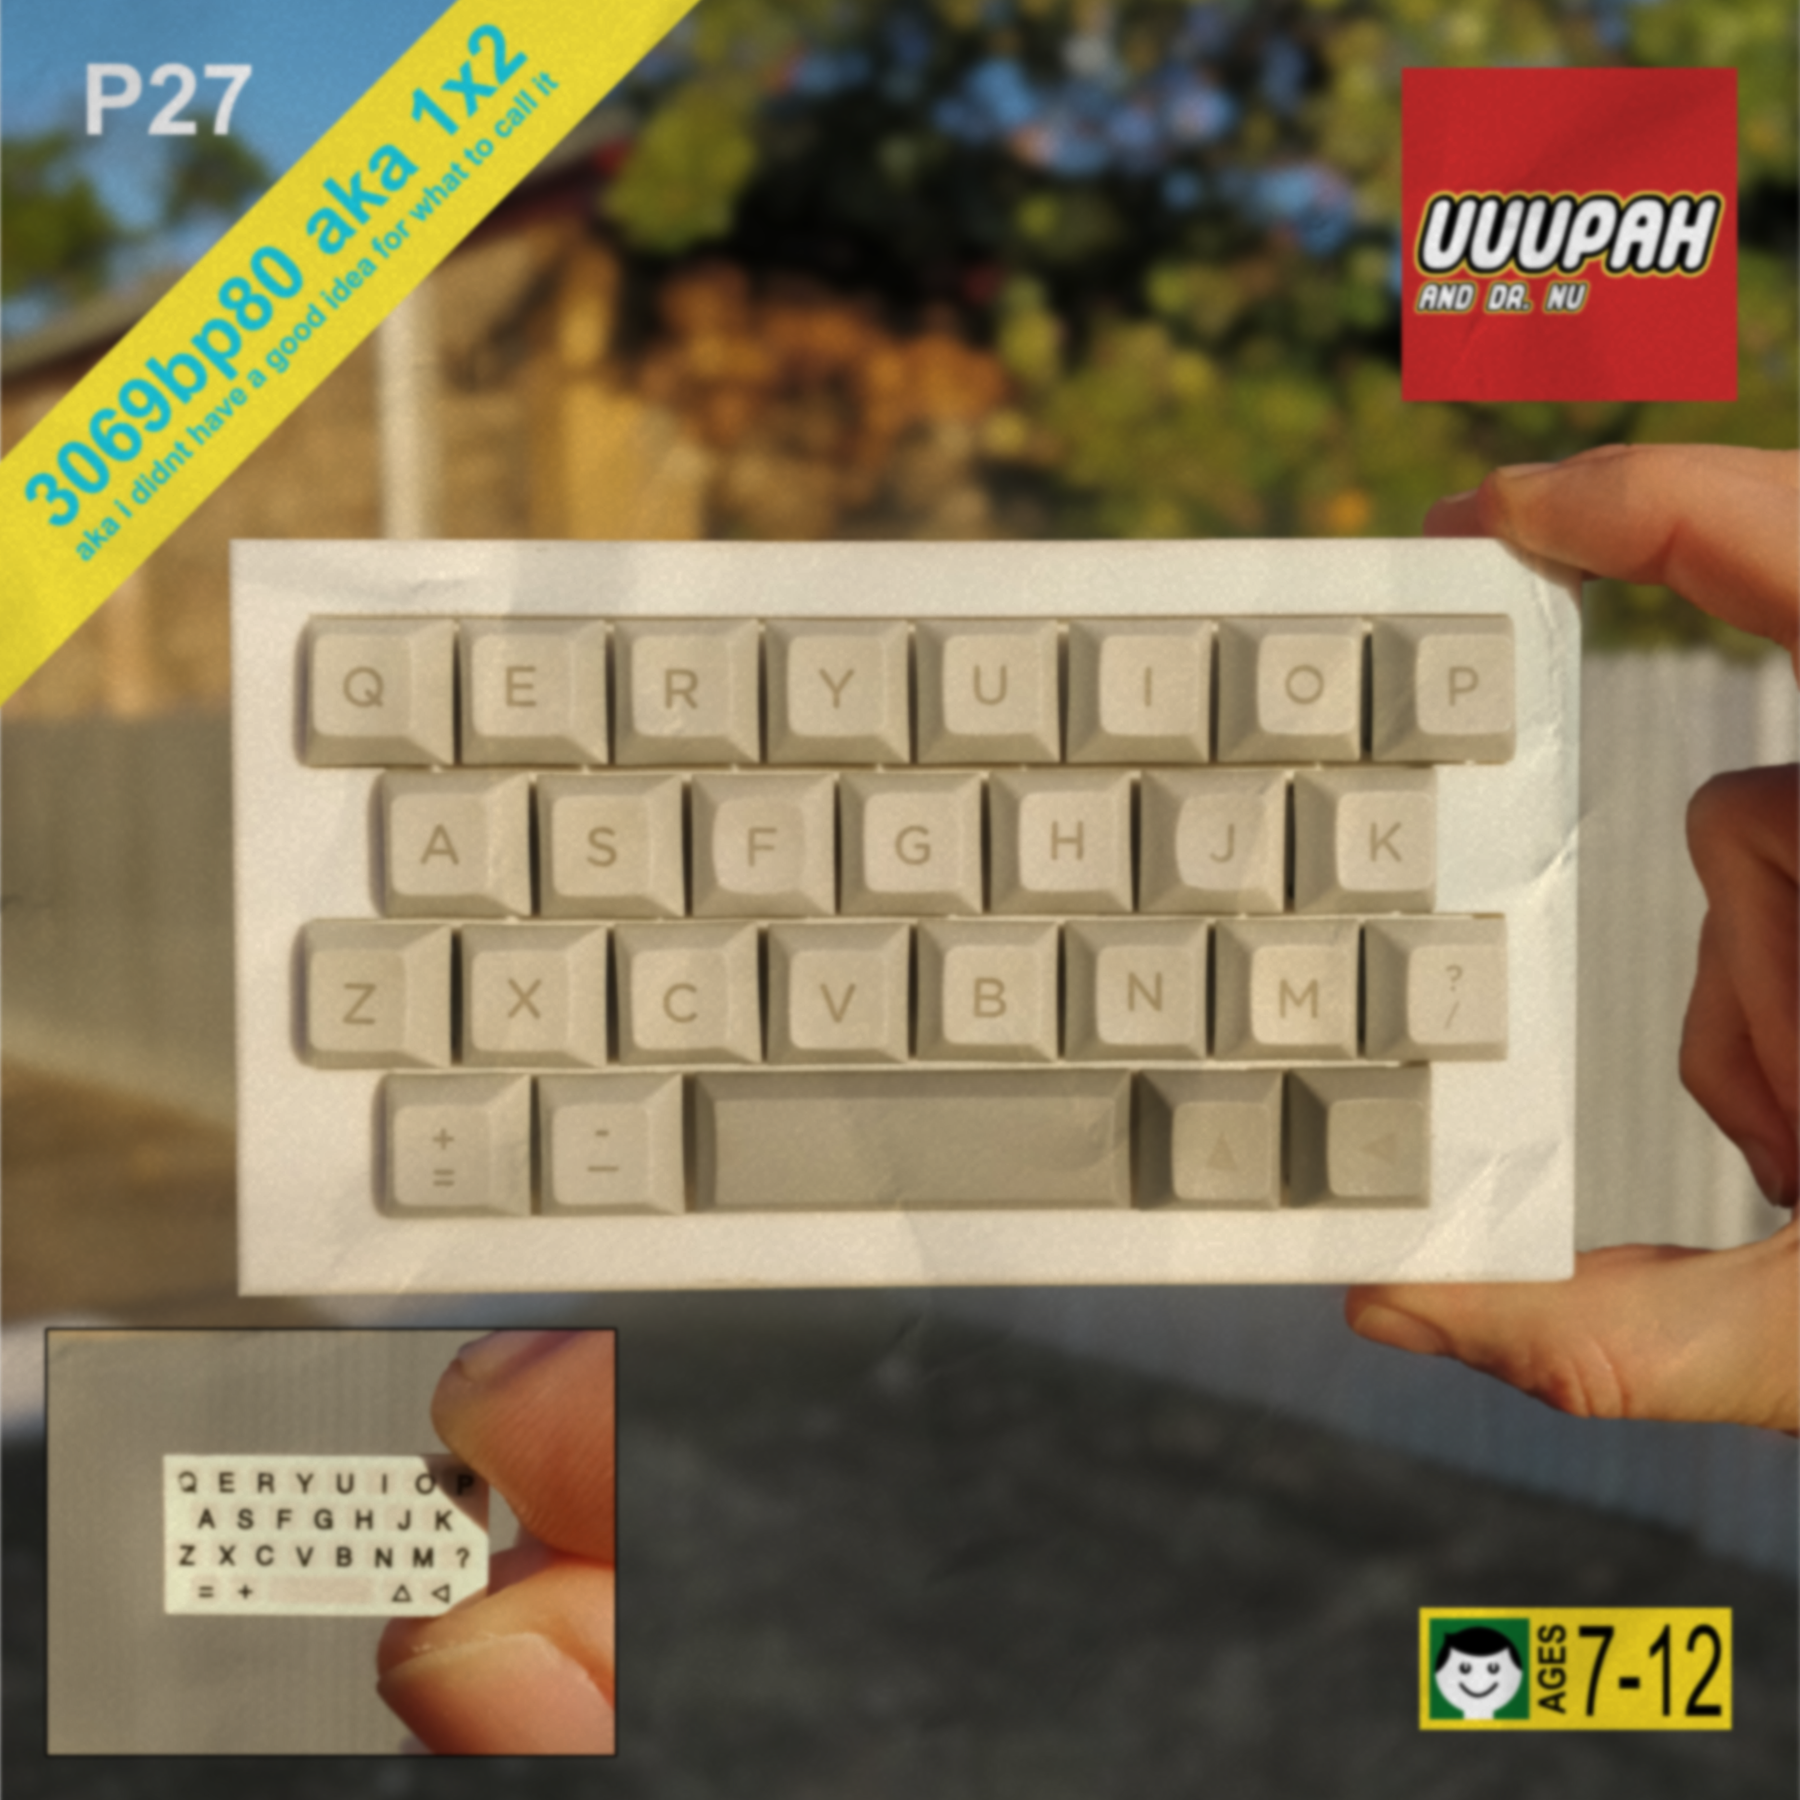
Awesome
onebytwo
The one by two harkens to a simpler time, where denmark's simple pad printing technology heavily limited the number of switches your yellow plastic hands could accomodate. Using the familiar QERY layout and a 3u spacebar for maximum compatibility, the 1x2 sits a full 35mm off your desk surface with 0° of tilt for optimal ergonomics.

parts required
- 1* 1x2 pcb
- 1* 1x2 3d printed case
- 1* pro micro, with 24 male headers (generally included)
- 28* cherry mx style or smk switches
- 28* 1n4148 diodes
- 1* set of cherry mx compatible alpha keycaps, and a 3 unit spacebar
- 1* cherry pcb mount 3u stabiliser
pcb
Grab the zip and order a pcb through your favourite pcb manufacture service. I used JLCPCB.
case
The case is 3d printed from the stl file, check the ipt file if you want to modify it.
construction
- Solder in the diodes and pro micro headers first, and trim them close to the pcb.
- Mount the stabiliser and do all of the stabiliser-related tweaking that you want to do.
- Fit the pcb into the case and solder the switches.
- Weasel the pro micro into the case and solder it down.
- Install keycaps.
The pro micro must be installed component side up. Check the cable slot in the case to see if you have it installed the right way, as it will be immediately obvious if it's wrong.
programming
A precompiled hex has been supplied for the purist layout, as well as a json to use ruiqi mao's unfortunately aging kb firmware builder.

As always, just use the let's split guide to flash your pro micro with your layout. The process is identical, but since there is only one pcb, skip the mentions of eeprom files in part 3, step 5 and steps 11 through 16.
finishing up
I recommend grabbing ek switch hitter to test each of your switches individually. If everything is working at this point, congratulations! If not, don't fret. Flip the board over and inspect your soldering. Look for poor or missing joints, reversed diodes, or damage to the pcb or pro micro, then try reinstalling the firmware. if neither of these work, try desoldering and replacing the problem switch. If you're still having issues, try asking the mechanical keyboards discord for advice.
~~ note ~~ I make no guarantees about the quality of any of the files I've supplied. Check them thoroughly yourself.
acknowledgements
As always, Meltyburrito aka dr. nu aka screllicopter did the pcb.
licensing
Distributed freely under CC0.