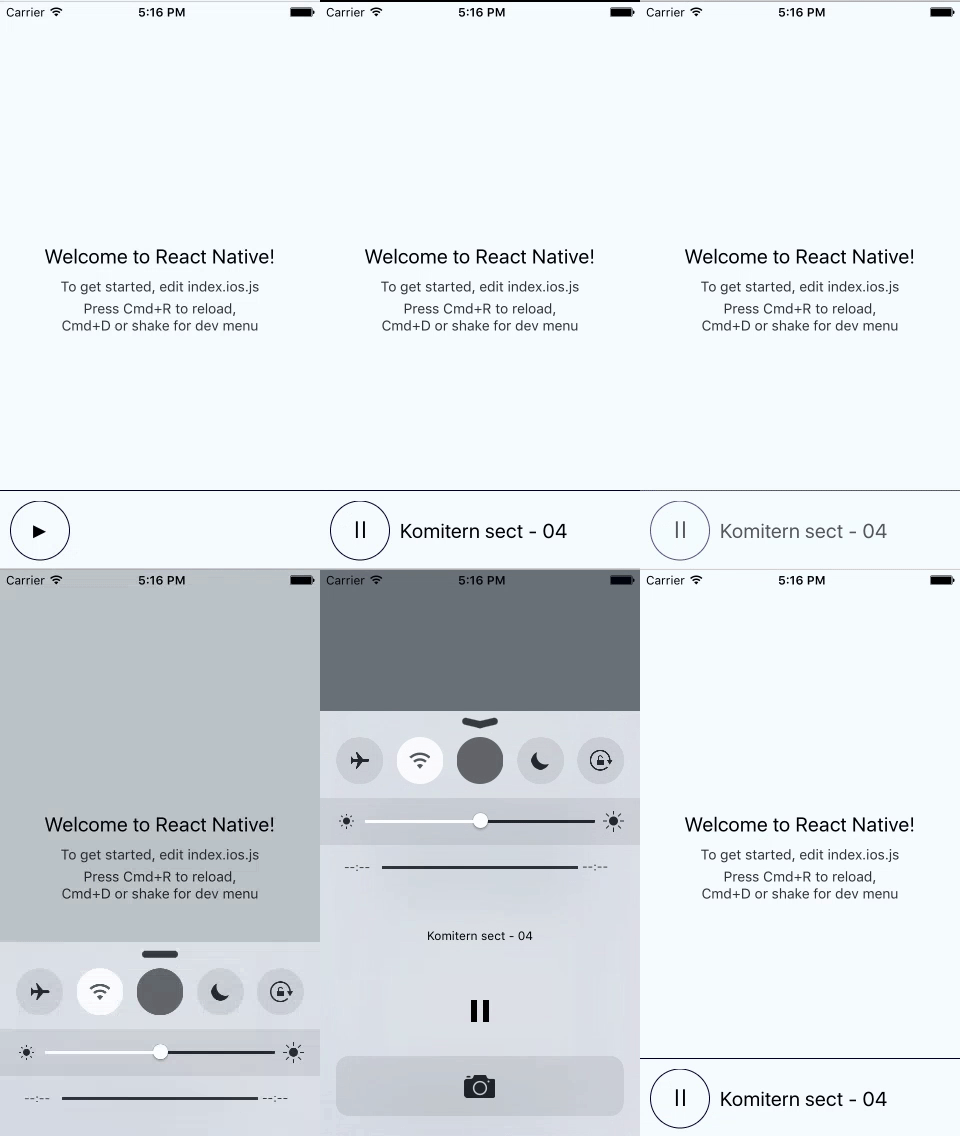
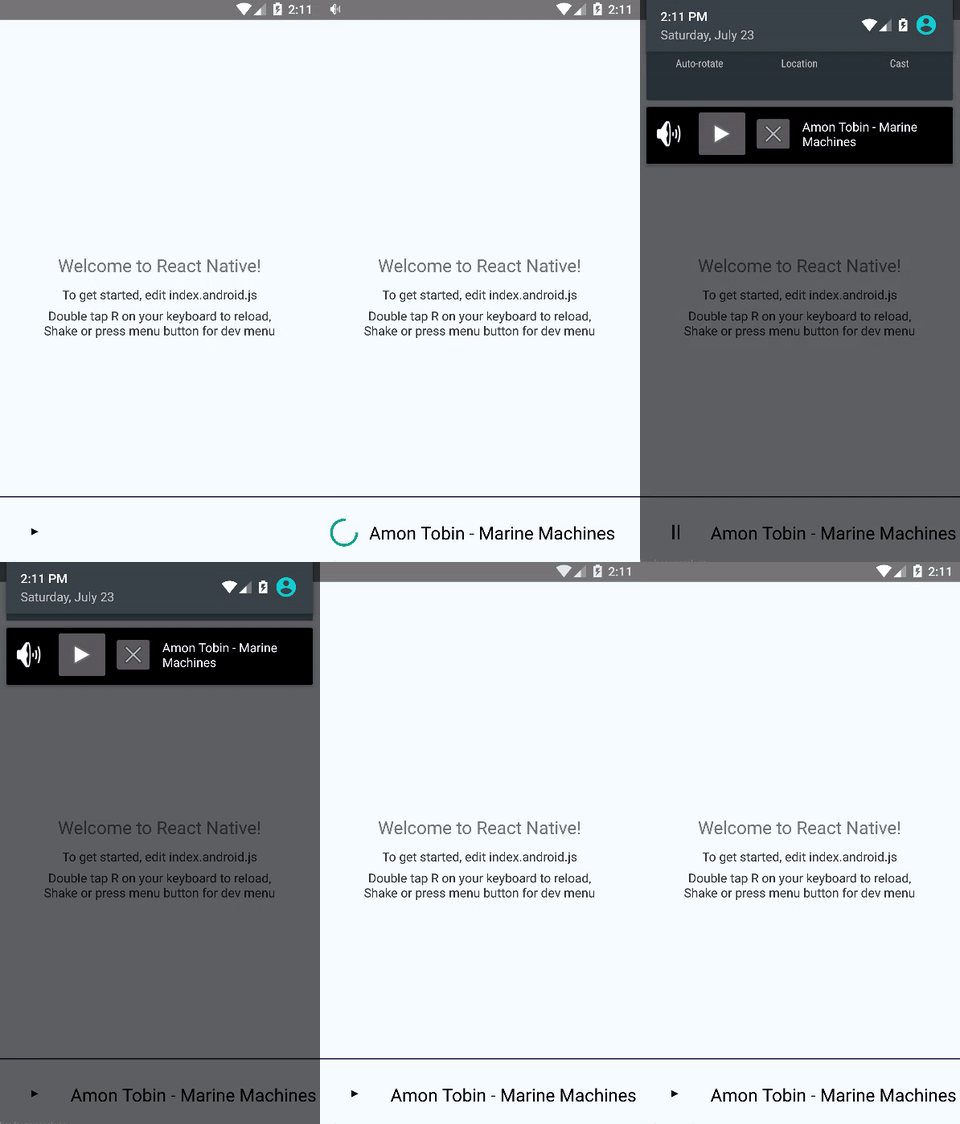
Awesome
react-native-audio-streaming
THIS PROJECT IS NOT MAINTAINED
react-native-audio-streaming is not maintained anymore. The main purpose was to play shoutcast streams with meta data and display a notification while playing.
Please see other projects like
- jsierles/react-native-audio to play local audio and record
- zmxv/react-native-sound to play local audio with more controls
Features
- Background audio streaming of remote stream
- Control via sticky notification on android and media center on iOS
- Shoutcast/Icy meta data support
- Simple UI player component (if needed, an api to control the sound is available)
If you are only looking to play local audio file with app in foreground, please see other audio libs.


First installation step (applied for both iOS & Android)
$ npm install react-native-audio-streaming --save
Next installation steps for iOS (choose one of three options below)
1. Cocoapods installation
- add
pod 'RNAudioStreaming', :path => '../node_modules/react-native-audio-streaming'toPodfile - run
pod install
2. Mostly automatic installation
$ react-native link react-native-audio-streaming
Go to node_modules ➜ react-native-audio-streaming => ios => Pods and drag/drop Pods.xcodeproj to the Libraries folder in your XCode project.
In XCode, in the project navigator, select your project. Add libReactNativeAudioStreaming.a and libStreamingKit.a to your project's Build Phases ➜ Link Binary With Libraries
3. Manual installation
- In XCode, in the project navigator, right click
Libraries➜Add Files to [your project's name] - Go to
node_modules➜react-native-audio-streaming=>ios- run
pod installto download StreamingKit dependency - add
ReactNativeAudioStreaming.xcodeprojto the Libraries folder in your XCode project - add
Pods/Pods.xcodeprojto the Libraries folder in your XCode project
- run
- In XCode, in the project navigator, select your project. Add
libReactNativeAudioStreaming.aandlibStreamingKit.ato your project'sBuild Phases➜Link Binary With Libraries - Run your project (
Cmd+R)
Final steps for iOS (required after doing any of three options above)
-
Make sure
$(SRCROOT)/../node_modules/react-native-audio-streaming/iosis added to your project'sHeader Search Pathswithin theBuild Settingssection. -
Update Info.plist file of your Xcode project and add audio background mode
    <key>UIBackgroundModes</key>
    <array>
      <string>audio</string>
    </array>
Next installation steps for Android
- Open up
android/app/src/main/java/[...]/MainApplication.java
- Add
import com.audioStreaming.ReactNativeAudioStreamingPackage;to the imports at the top of the file - Add
new ReactNativeAudioStreamingPackage()to the list returned by thegetPackages()method If you're using Android 23 or above - Add
new ReactNativeAudioStreamingPackage(MainActivity.class)to he list returned by thegetPackages()method instead.
-
Append the following lines to
android/settings.gradle:include ':react-native-audio-streaming' project(':react-native-audio-streaming').projectDir = new File(rootProject.projectDir, '../node_modules/react-native-audio-streaming/android') -
Insert the following lines inside the dependencies block in
android/app/build.gradle:compile project(':react-native-audio-streaming') -
If using Proguard then insert the following rules:
-keep class com.spoledge.aacdecoder.** {
 *;
}
Usage
Playing sound (similar code used by the player UI)
import { ReactNativeAudioStreaming } from 'react-native-audio-streaming';

const url = "http://lacavewebradio.chickenkiller.com:8000/stream.mp3";
ReactNativeAudioStreaming.pause();
ReactNativeAudioStreaming.resume();
ReactNativeAudioStreaming.play(url, {showIniOSMediaCenter: true, showInAndroidNotifications: true});
ReactNativeAudioStreaming.stop();
For more information see the Example app.
Player UI
import { Player } from 'react-native-audio-streaming';

class PlayerUI extends Component {
  render() {
    return (
        <Player url={"http://lacavewebradio.chickenkiller.com:8000/stream.mp3"} />
    );
  }
}
TODO
- Allow to play local files
- Allow to specify custom style for the android notification (maybe a custom view ?)
- Allow to specify custom styles for the player
- Handle artwork of artist
- Add tests
Credits
- Android version based on the work of @EstebanFuentealba https://github.com/EstebanFuentealba/react-native-android-audio-streaming-aac
- iOS version based on the work of @jhabdas https://github.com/jhabdas/lumpen-radio
See also the list of contributors who participated in this project.
Contribute
Since symlink support is still lacking on React Native, I use the wml cli tool created by the nice folks at wix.
wml add ~/react-native-audio-streaming ~/react-native-audio-streaming/Example/node_modules/react-native-audio-streaming
Changelog
License
This project is licensed under the MIT License - see the LICENSE file for details