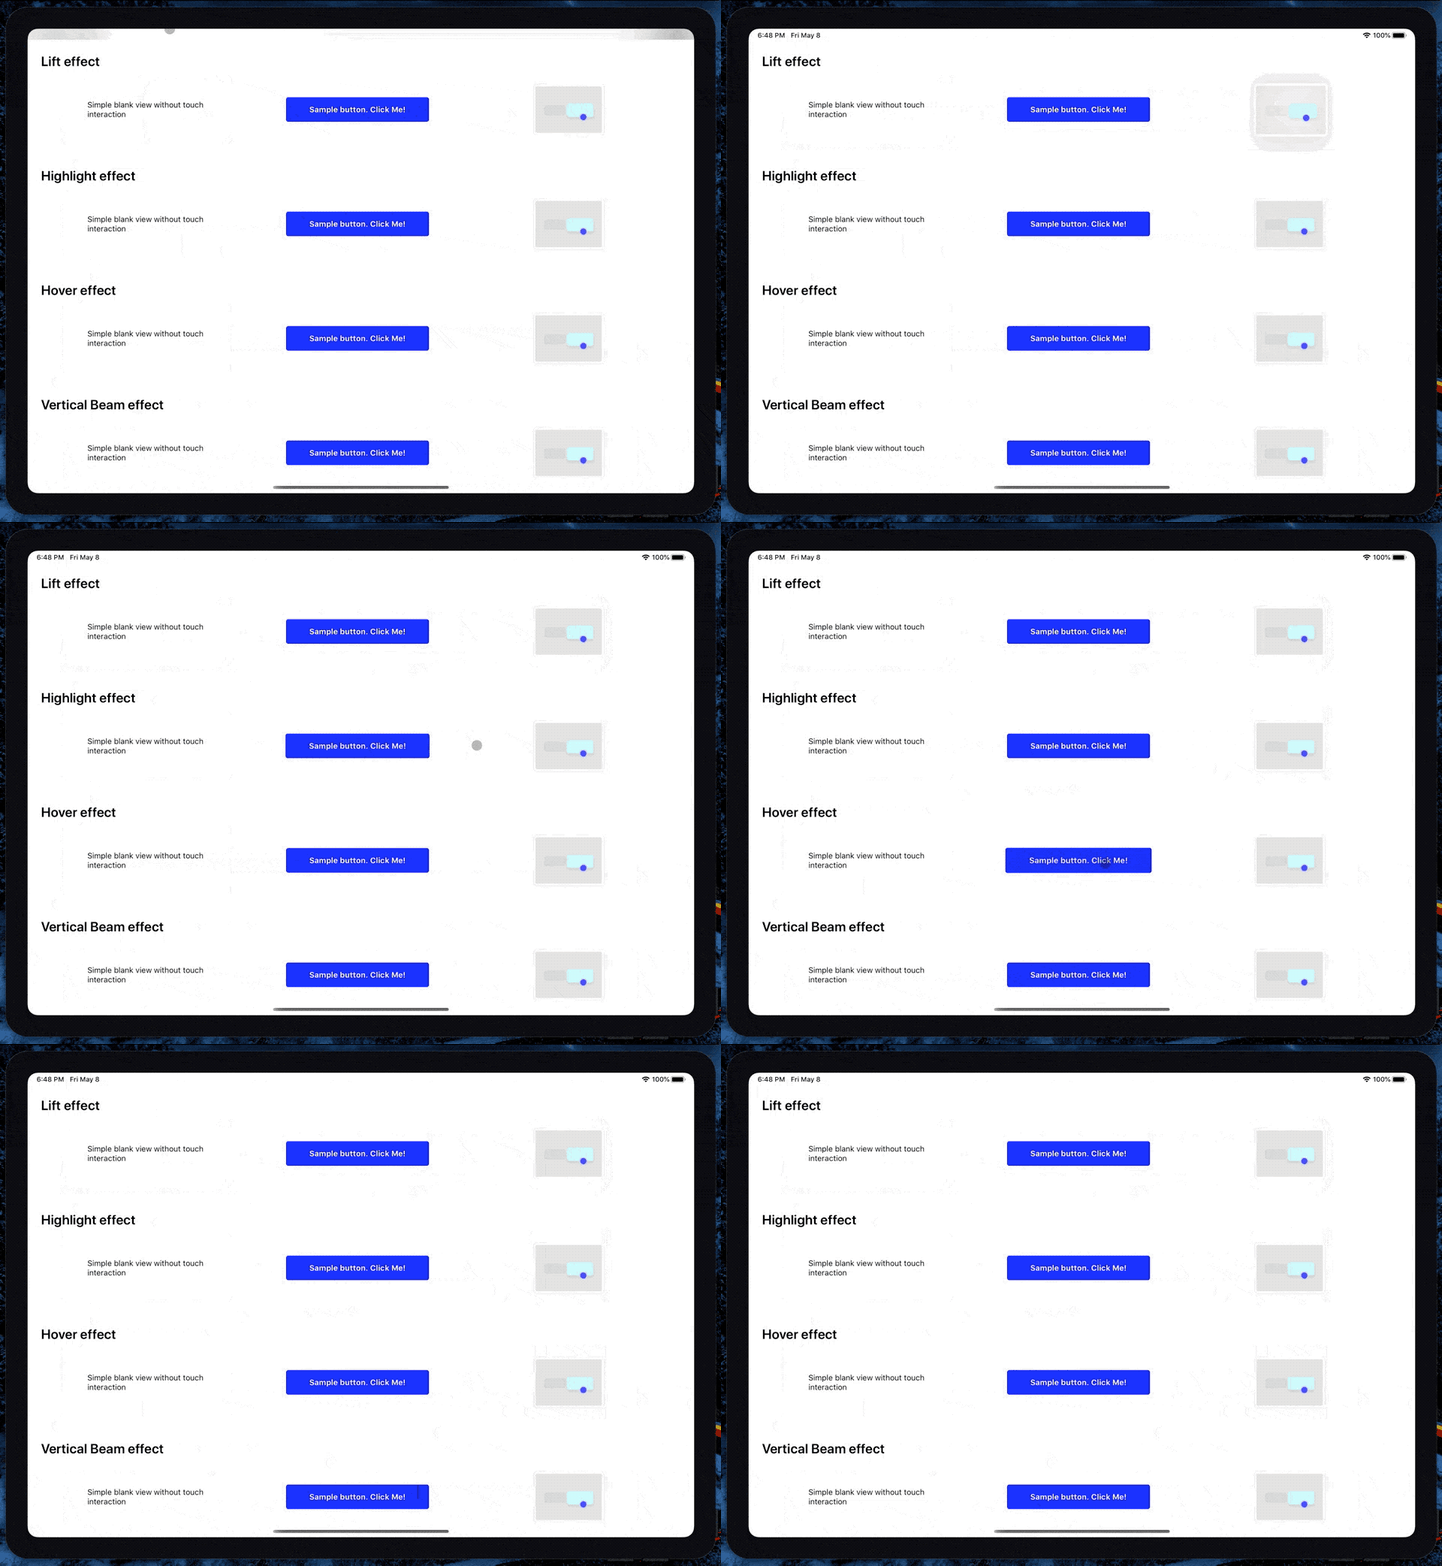
Awesome
<p align="center"> <img height="150" src="assets/logo.svg" /> <h1 align="center">React Native Pointer Interactions</h1> <h3 align="center">Expose iPad mouse & track pads interactions to React Native.</h3> </p> <p align="center"> <a href="https://badge.fury.io/js/%40thefunbots%2Freact-native-pointer-interactions"><img src="https://badge.fury.io/js/%40thefunbots%2Freact-native-pointer-interactions.svg" alt="npm version" height="18"></a> <a href="https://www.npmjs.com/package/@thefunbots/react-native-pointer-interactions"><img alt="npm downloads" src="https://img.shields.io/npm/dm/@thefunbots/react-native-pointer-interactions.svg" height="18" /></a> <a href="https://www.codacy.com/gh/thefunbots/react-native-pointer-interactions"><img src="https://app.codacy.com/project/badge/Grade/fa3faa2983494f5fb496d122612ac831" alt="Codacy Badge" height="18"></a> <a href="https://twitter.com/intent/follow?screen_name=thefunbots"> <img src="https://img.shields.io/twitter/follow/thefunbots.svg?label=Follow%20@thefunbots" height="18" alt="Follow @thefunbots" /> </a> </p>Expose iPad mouse & track pads interactions to React Native
Ref: https://developer.apple.com/design/human-interface-guidelines/ios/user-interaction/pointers/

Getting started
Mostly automatic installation
1. Install the library
npm install @thefunbots/react-native-pointer-interactions --save
2. (Optional) Install react-native-swift
If you are not already using any other swift based modules in your app, install and run react-native-swift to configure your iOS project to support swift.
Install react-native-swift
npm install --save react-native-swift
After installing it, you will need to link it. Requires project to use Swift 5.0 and iOS SDK 13.4+
Manual installation
iOS
- In XCode, in the project navigator, right click
Libraries➜Add Files to [your project's name] - Go to
node_modules➜react-native-pointer-interactionsand addRNPointerInteractions.xcodeproj - In XCode, in the project navigator, select your project. Add
libRNPointerInteractions.ato your project'sBuild Phases➜Link Binary With Libraries - Run your project (
Cmd+R)<
Setup
Add this to the Info plists
<key>UIApplicationSupportsIndirectInputEvents</key>
<true/>
Usage
Basic usage
Wrap the views you want to be interactable in PointerInteractionView
import { PointerInteractionView } from '@thefunbots/react-native-pointer-interactions';

<PointerInteractionView pointerMode="lift">
  <Text>Hi</Text>
</PointerInteractionView>
Using the High Order Component
Soon
Props
The component extends the regular View, so you can use the common properties too.
| Prop | Default | Description |
|---|---|---|
| pointerMode | 'automatic' | [automatic, lift, highlight, hover, verticalBeam, horizontalBeam] |
| beamLength | Sets the cursor size for Beam modes only | |
| hoverShadow | true | Determines if the view should have a shadow when hovered |
| hoverScale | true | Determines if the view should scale up when hovered |
| hoverTing | true | Determines if the view should have an overlay tint when hovered |
Examples
If you want to play with the API but don't feel like trying it on a real app, you can run the example project. Clone the repo, go to the example/ folder and run:
npm install
If you are running on ios, run pod install in the ios folder
Run react-native start to start the metro bundler
Run react-native run-ios (depending on which platform you want to run the example app on).
You will need to have an iOS device or emulator connected as well as react-native-cli package installed globally.
Troubleshooting
- It doesn't work when wrapping
react-native-gesture-handlerbuttons