Awesome
In-browser 3D visualization library for rapid prototyping with built-in support for diffuse view-dependent sparse volumes (PlenOctrees).
Install with:
pip install nerfvis
Note: this is purely Python + webasm/js/css/html and installs instantly (does not need any C++ compilation).
Docs: https://nerfvis.readthedocs.org
Instant example: pip install nerfvis, then
>>> from nerfvis import scene
>>> scene.add_cube("Cube1", color=[1.0, 0.0, 0.0])
>>> scene.display(port=8888)
Inside a Jupyter notebook, you can try using scene.embed() instead.
For example of use with data visualization (not NeRF): http://alexyu.net/nerfvis_examples/bicycle_vis/ Data from Mip-NeRF 360 (Barron et al. CVPR 2022)
Please also see examples/nerf_pl for an example of how to visualize your own NeRF:
https://github.com/sxyu/nerfvis/tree/master/examples/nerf_pl.
You may also refer to the as the scene.add_nerf function doc: https://nerfvis.readthedocs.io/en/latest/nerfvis.html#nerfvis.Scene.add_nerf
Based on PlenOctrees: https://github.com/sxyu/plenoctrees
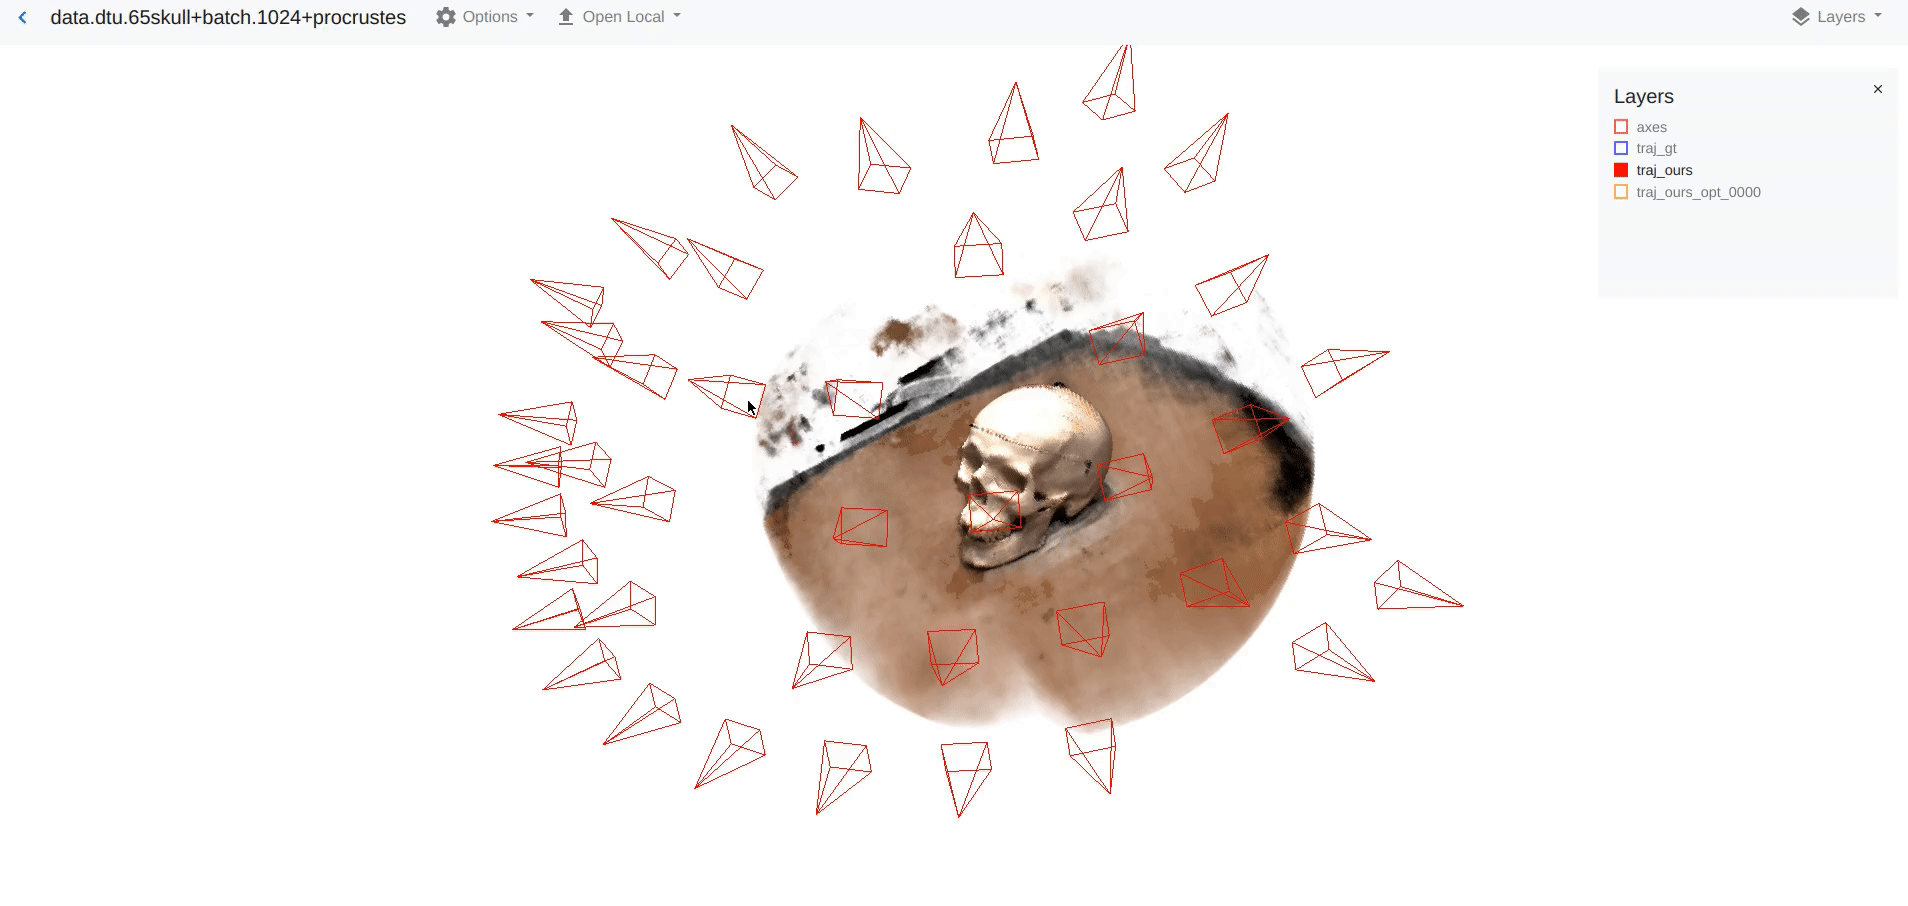
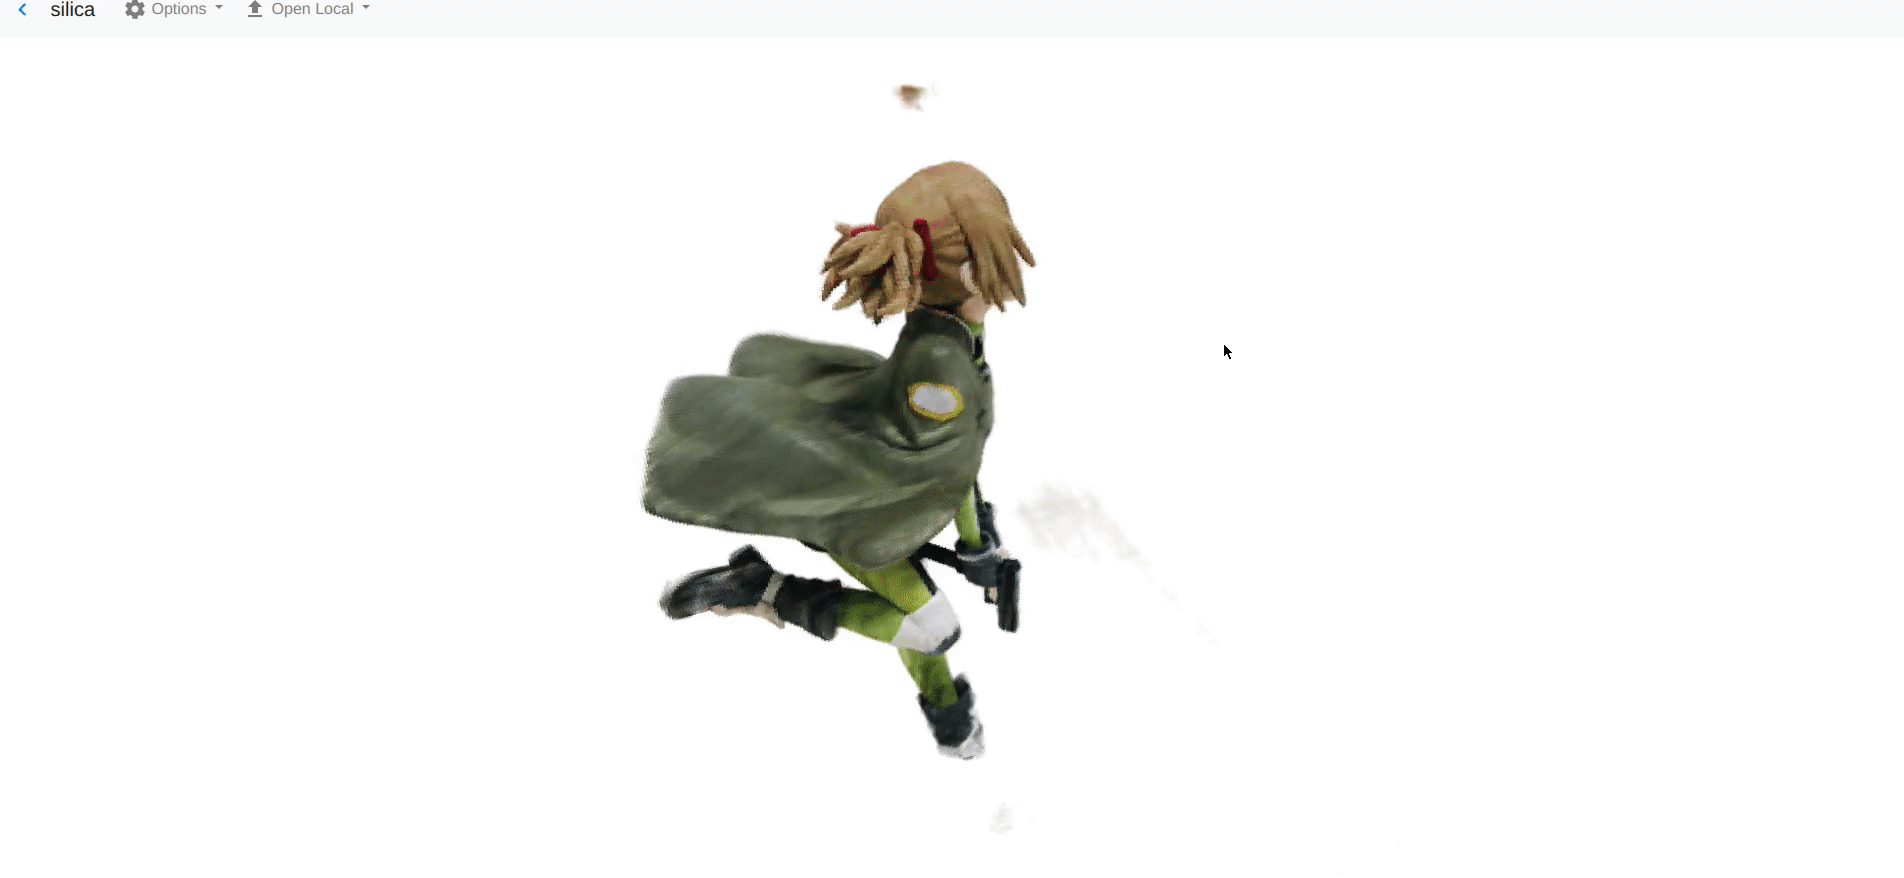
The following screenshots are out of date but still convey some of the functionality:
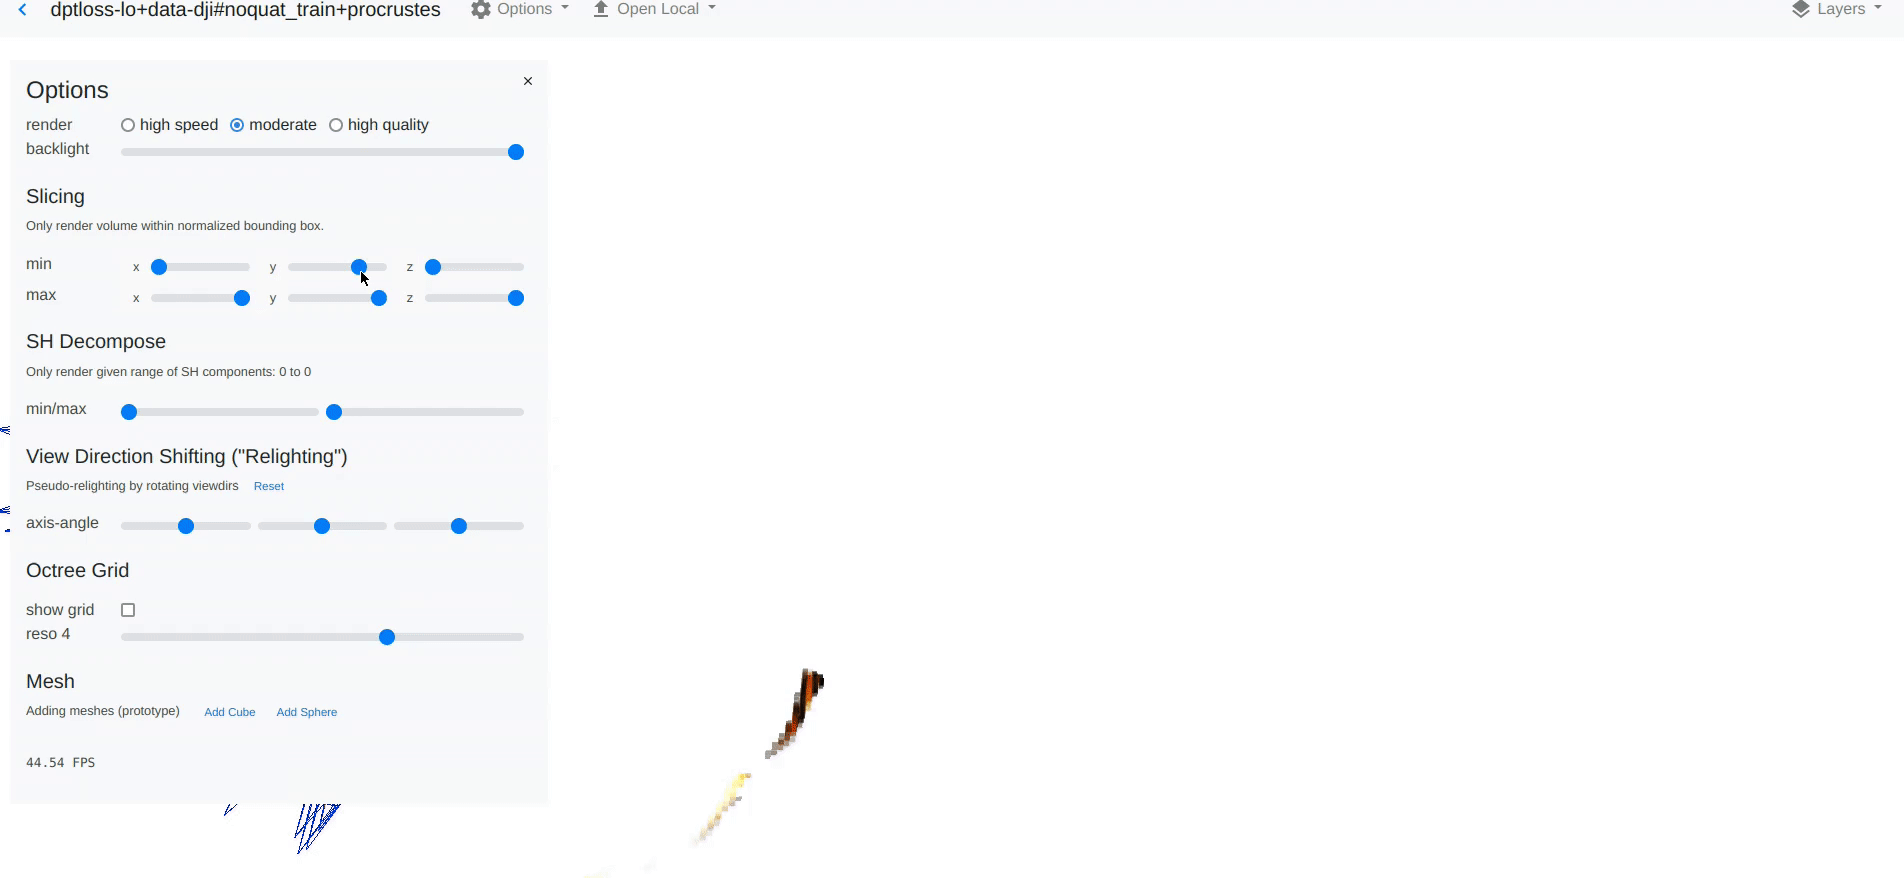
Tips:
- A list of all objects with the names you gave them will be displayed in a tree view on the left side of the screen, where you can toggle them. F-strings are recommended for automatically generating object names
- Use "/" inside names for example
image/0to create nested trees. - For convenience, we accept numpy arrays, torch Tensors, and lists in general for any arguments marked at
np.ndarray(by default torch is not imported to avoid having it as a dependency). - The initial camera pose will be automatically determined. Pass
center=[x, y, z](camera position) ,origin=[x,y,z](camera target),forward=[x,y,z](forward vector),world_up=[x,y,z](world space up vector) to display() or export() or embed() to manually set an initial pose. A convenience functionscene.set_opencv()is given to set the world up axis to-y(this also changes the default behavior ofadd_image). - Use
scene.export("path")to manually generate a directory you can open in the browser or upload somewhere
Examples
Viewing a volume
from nerfvis import scene
import numpy as np

density = 1.0 / (np.linalg.norm((np.mgrid[:100, :100, :100].transpose(1, 2, 3, 0) - 45.5) / 50,
                         axis=-1) + 1e-5)  # (Dx, Dy, Dz)
color = np.zeros((100, 100, 100, 3), dtype=np.float32) # (Dx, Dy, Dz, 3)
color[..., 0] = 1.0
color[..., 1] = 0.5
scene.add_volume('My volume 1', density, color, scale=0.2, translation=[-1, 0, 0])

color[..., 1] = 0.0
scene.add_volume('My volume 2', density, color, scale=0.2, translation=[1, 0, 0])
scene.display() # or embed(), etc
For an example with a few more objects, see examples/hierarchy.py, which outputs
http://alexyu.net/nerfvis_examples/basic_scene_with_volume/
Load a PlenOctrees checkpoint
For directly displaying a plenoctree checkpoint: examples/load_plenoctree_ckpt.py.
Note that the checkpoint better be reasonably small or this will take forever...
from nerfvis import scene
# Download from
# https://drive.google.com/drive/u/1/folders/1vGXEjb3yhbClrZH1vLdl2iKtowfinWOg
scene.set_title("Lego Bulldozer using nerfvis")
scene.add_volume_from_npz('Lego', "lego.npz", scale=1.0)
scene.display() # or embed(), etc
Visualizing SfM data
Given:
- camera-to-world poses
c2win OpenCV convention(n_images, 4, 4)(also easy to use OpenGL convention, it is default: just omitset_opencv()) - focal length, image size
- SfM point cloud
(n_points, 3)(optional), optionally with errors(n_points,) - Images
(n_images, h, w)
Note that OpenCV poses are now preferrred, although the original NeRF/PlenOctrees used OpenGL.
from nerfvis import scene
import numpy as np

scene.set_title("My Scene")

# Set -y up camera space (opencv coordinates)
scene.set_opencv()

# Alt set y up camera space (opengl coordinates, default)
#scene.set_opengl()


# Example data
f = 1111.0
images = np.random.rand(1, 800, 800, 3)
c2ws = np.eye(4)[None]
point_cloud = np.random.randn(10000, 3) * 0.1
point_cloud_errs = np.random.rand(10000)

# To show errors as colors
colors = np.zeros_like(point_cloud)
colors[:, 0] = point_cloud_errs / point_cloud_errs.max()
scene.add_points("points", point_cloud, vert_color=colors)
# Else
# scene.add_points("points", point_cloud, color=[0.0, 0.0, 0.0])

for i in range(len(c2ws)):
   scene.add_images(
                 f"images/i",
                 images, # Can be a list of paths too (requires joblib for that)
                 r=c2ws[:, :3, :3],
                 t=c2ws[:, :3, 3],
                 # Alternatively: from nerfvis.utils import split_mat4; **split_mat4(c2ws)
                 focal_length=f,
                 z=0.5,
                 with_camera_frustum=True,
             )
   # r: c2w rotation (N, 3, 3) or (N, 4) etc
   # t: c2w translation (N, 3,)
   # focal_length: focal length (in pixels, real image size as loaded will be used)
   # z: size of camera

# Old way for reference
# scene.add_camera_frustum("cameras", r=c2ws[:, :3, :3], t=c2ws[:, :3, 3], focal_length=f,
#                         image_width=images.shape[2], image_height=images.shape[1],
#                         z=0.5, connect=False, color=[1.0, 0.0, 0.0])

# for i in range(len(c2ws)):
#    scene.add_image(
#                  f"images/i",
#                  images[i], # Can be path too
#                  r=c2ws[i, :3, :3],
#                  t=c2ws[i, :3, 3],
#                  focal_length=f,
#                  z=0.5)
#    # r: c2w rotation (3, 3)
#    # t: c2w translation (3,)
#    # focal_length: focal length (in pixels, real image size as loaded will be used)
#    # z: distance along z to place the camera
scene.add_axes()
scene.display()
Example outputs (not quite the same code): http://alexyu.net/nerfvis_examples/basic_scene_with_volume/ http://alexyu.net/nerfvis_examples/bicycle_vis/ Data from Mip-NeRF 360 (Barron et al. CVPR 2022)
Time slider
Nerfvis has a time slider feature (top of the left sidebar).
All add_* functions support a time=<int> kwarg which is default to -1 (visible at all times).
You can set it to another number to enable the time slider and only show the object when it is set to that time.
The time slider will be automatically updated to be between 0 and the max time amont all objects.
Visualizing NeRF directly through svox
This is the most flexible way to directly discretize and show a NeRF, albeit a bit clunky to use and requiring extra dependencies.
Example: please see examples/ for how to view NeRF models; currently contains an example for nerf_pl (https://github.com/kwea123/nerf_pl):
import nerfvis
scene = nerfvis.Scene("My title")
scene.add_cube("Cube1", color=[1.0, 0.0, 0.0], translation=[-1.0, -1.0, 0.0])
scene.add_axes()
scene.add_nerf("NeRF", nerf_func, center=[0.0, 0.0, 0.0], radius=1.5, use_dirs=True)
scene.display(port=8889)
# Tries to open the scene in your browser
# (you may have to forward the port and enter localhost:8889 manually if over ssh)
Use display(open_browser=False) to prevent opening the browser (while serving the website)
You can also add meshes, points, lines (see docs). Note that each object e.g. cube, mesh, points, etc. must have a unique name to identify it right now. You may programmatically generate this. They will show up in the layers pane (top right of the html viewer)
Please also pip install torch svox tqdm scipy for adding NeRF (set_nerf)
or pip install trimesh for using add_mesh_from_file(path).
To add cameras (also used for scaling scene, initializing camera etc), use
add_camera_frustum(focal_length=.., image_width=.., image_height=.., z=.., r=.., t=..)
Viewer Controls
- Left click and drag to orbit
- Right click and drag, or CTRL+left click and drag to pan
- Mouse wheel, middle click and drag, or ALT+left click and drag to zoom; alternatively use =/SHIFT+=
- Number keys 1-6 to change coordinate systems: Z up/down Y up/down X up/down resp.
Source of pre-compiled binaries
This project contains a index.html containing inlined wasm, which comes from volrend, the branch nerfvis_base, compiled using Emscripten as per the instructions in that repo.
https://github.com/sxyu/volrend/tree/nerfvis_base
Citation
If you find this useful please consider citing
@inproceedings{yu2021plenoctrees,
      title={{PlenOctrees} for Real-time Rendering of Neural Radiance Fields},
      author={Alex Yu and Ruilong Li and Matthew Tancik and Hao Li and Ren Ng and Angjoo Kanazawa},
      year={2021},
      booktitle={ICCV},
}
License: BSD 2-clause