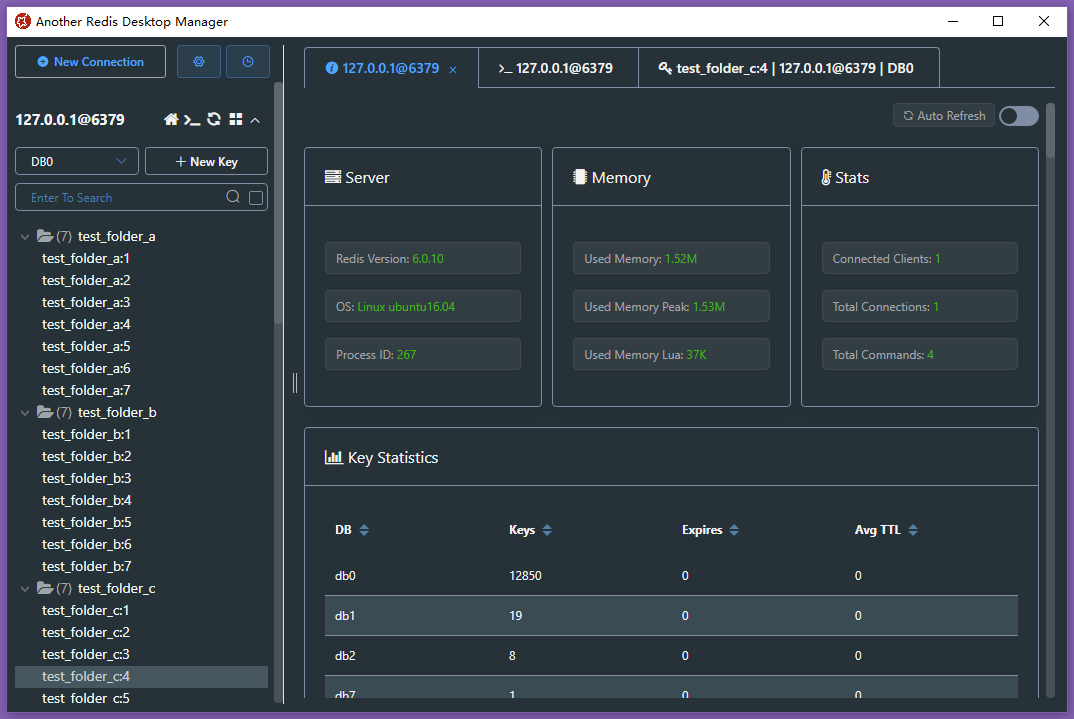
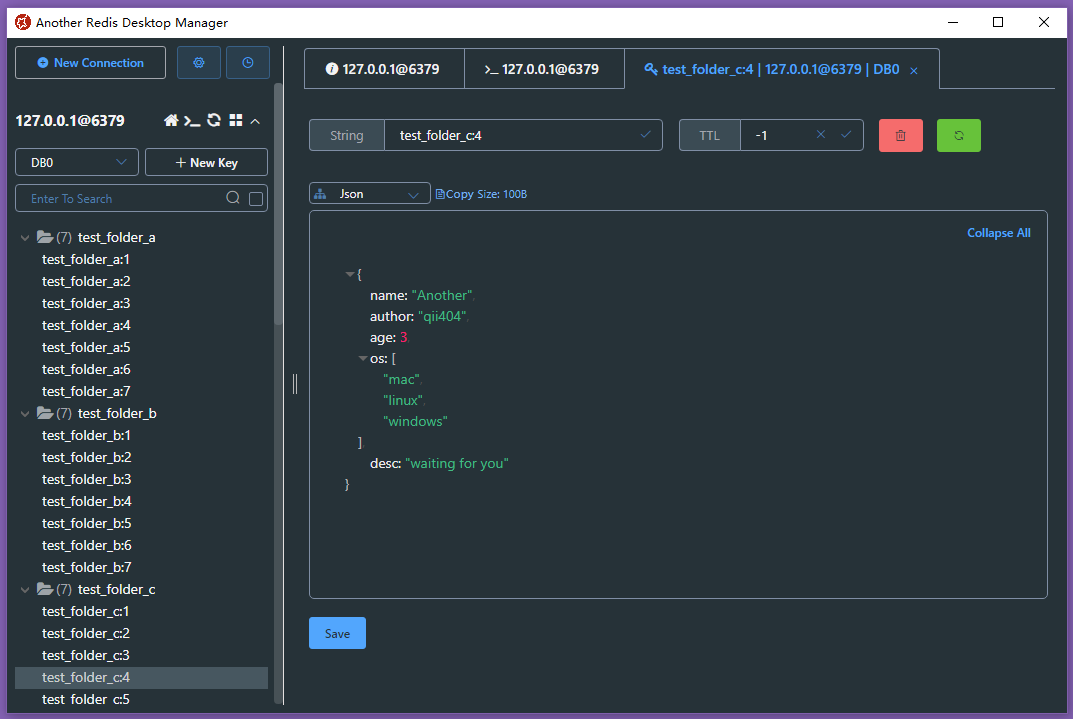
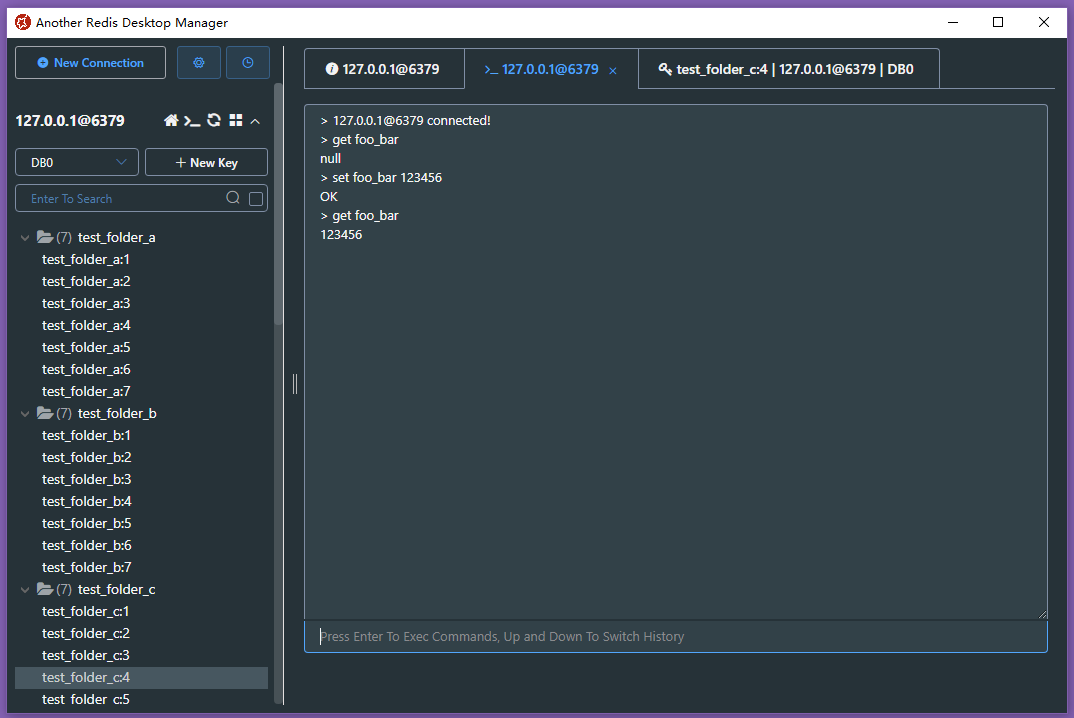
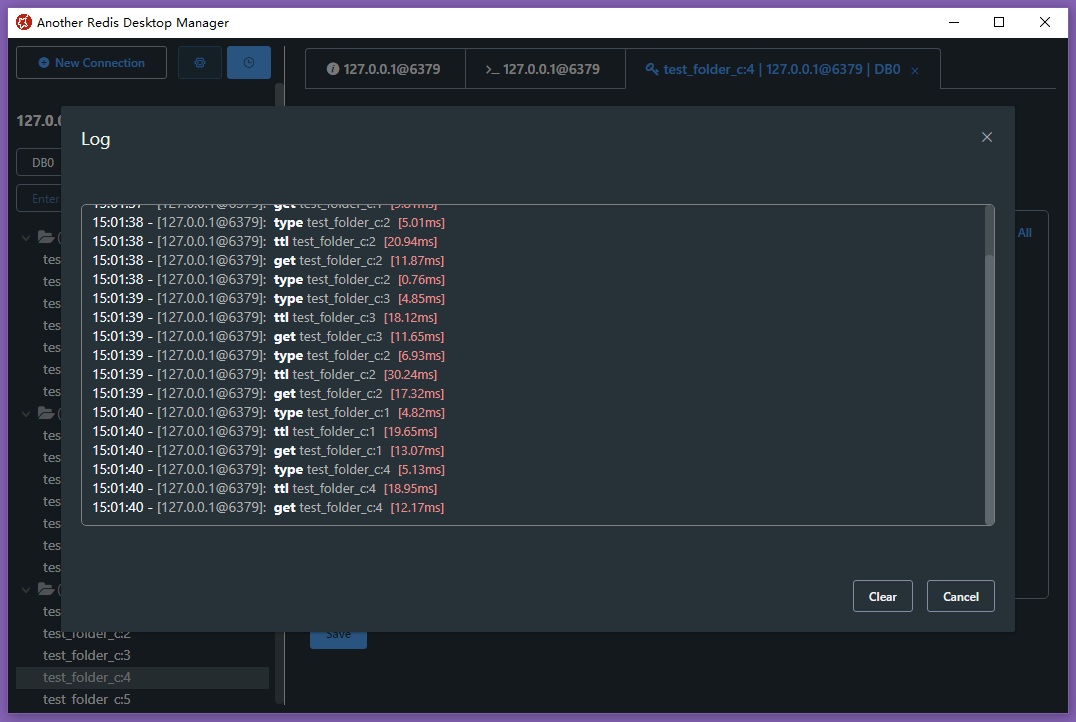
Awesome
Another Redis Desktop Manager
<img align="right" width="120" src="https://cdn.jsdelivr.net/gh/qishibo/img/ano-square-icon-128.png"><br>🚀🚀🚀 A faster, better and more stable redis desktop manager, compatible with Linux, windows, mac. What's more, it won't crash when loading massive keys.


<a href="https://www.producthunt.com/posts/another-redis-desktop-manager?utm_source=badge-featured"><img src="https://api.producthunt.com/widgets/embed-image/v1/featured.svg?post_id=340552&theme=dark" height="20" width="93" /></a>
Windows
- Download latest exe package from release [or gitee in China], double click to install.
- Or by chocolatey:
choco install another-redis-desktop-manager - Or by winget:
winget install qishibo.AnotherRedisDesktopManager - Or sponsor by win store, It's not free, and I will be very grateful to you. <br/><a href="https://apps.microsoft.com/store/detail/9MTD84X0JFHZ?launch=true&cid=github&mode=mini"><img src="https://cdn.jsdelivr.net/gh/qishibo/img/microsoft-store.png" height="58" width="180" alt="get from microsoft store"></a>
Linux
- Download latest AppImage package from release [or gitee in China],
chmod +x, double click to run. - Or by snap:
sudo snap install another-redis-desktop-managerTips: If permission denied when selecting private key, runsudo snap connect another-redis-desktop-manager:ssh-keysto give access to ~/.ssh folder. <br/>
Mac
If you can't open it after installation by brew or dmg, exec the following command then reopen:<br>
sudo xattr -rd com.apple.quarantine /Applications/Another\ Redis\ Desktop\ Manager.app
- Download latest dmg package from release [or gitee in China], double click to install.
- Or by brew:
brew install --cask another-redis-desktop-manager - Or sponsor by app store, It's not free, and I will be very grateful to you.
<br/>
Enjoy!


Feature Log
- 2024-11-03: Import batch commands from files
- 2024-10-07: Hash field TTL support(Redis>=7.4)
- 2024-06-06: Search connections support
- 2024-04-10: DB custom name support
- 2024-02-21: Java/Pickle viewers support
- 2024-02-15: Groups/Consumers in STREAM view
- 2024-01-31: Hey, long time! Command line(CLI) args support
- 2023-06-22: Export\Import keys support
- 2023-05-26: Search support in Stream && Slow log support
- 2023-04-01: Search support in List && Deflate raw support
- 2022-10-07: Arrow Keys support in key list && Memory Analysis in folder
- 2022-08-05: Clone Connection && Tabs Contextmenu\Mousewheel Support
- 2022-04-01: Protobuf Support && Memory Analysis
- 2022-03-03: Readonly Mode && Mointor Support
- 2022-01-24: Command Dump Support
- 2022-01-05: Support To Load All Keys
- 2022-01-01: Brotli\Gzip\Deflate Support && RedisJSON Support
- 2021-11-26: JSON Editable && Subscribe Support
- 2021-08-30: Execution log Support && Add Hot Keys
- 2021-08-16: Custom Formatter View Support!
- 2021-06-30: Sentinel Support!!
- 2021-06-24: ACL Support
- 2021-05-03: Stream Support && Cli Command Tips Support
- 2021-02-28: Connection Color Tag && Search History Support
- 2021-02-03: Multiple Select\Delete && Msgpack Viewer Support
- 2020-12-30: Tree View Support!!!
- 2020-11-03: Binary View Support && SSH Passparse\Timeout Support
- 2020-09-04: SSH Cluster Support && Extension Commands Support
- 2020-06-18: SSL/TLS Support!!!
- 2020-04-28: Page Zoom && Big Key Loads With Scan && Auto Json
- 2020-04-18: Unvisible Key\Value Format Support
- 2020-04-04: Cluster Support!!!
- 2020-03-13: Dark Mode Support!!! && JsonView In Other Place
- 2020-02-16: SSH Private Key Support
- 2020-02-13: Open Cli Console In Tabs
- 2019-06-14: Custom Font-Family Support
- 2019-05-28: Key List Resizable
- 2019-05-09: Search Support In Hash List Set Zset
- 2019-04-26: Auto Updater
- 2019-04-09: SSH Tunnel Connection Support
- 2019-04-01: Extract Search Support
- 2019-02-22: Single Connection Support
- 2019-01-08: Project Start
Dev Build
Linux Or Mac
# clone code
git clone https://github.com/qishibo/AnotherRedisDesktopManager.git --depth=1
cd AnotherRedisDesktopManager

# install dependencies
npm install

# if download electron failed during installing, use this command
# ELECTRON_MIRROR="https://npmmirror.com/mirrors/electron/" npm install

# serve with hot reload at localhost:9988
npm start


# after the previous step is completed to 100%, open another tab, build up a desktop client
npm run electron
If linux errors like this:
# if error like this
../src/FontManagerLinux.cc:1:35: fatal error: fontconfig/fontconfig.h: No such file or directory

# then try this
sudo apt install libfontconfig1-dev
Windows
# install build tools for the first time, just execute once
npm install -g windows-build-tools

# clone code
git clone https://github.com/qishibo/AnotherRedisDesktopManager.git --depth=1
cd AnotherRedisDesktopManager

# install dependencies, 32-bit or 64-bit all use win32
npm install --platform=win32

# if download electron failed during installing, use this command
# npm config set ELECTRON_MIRROR https://npmmirror.com/mirrors/electron/
# npm install --platform=win32

# serve with hot reload at localhost:9988
npm start


# after the previous step is completed to 100%, open another tab, build up a desktop client
npm run electron
Build Package
# prepare before package
npm run pack:prepare

# build package on respective platforms
# on windows build 64bit package
npm run pack:win
# on windows build 32bit package
npm run pack:win32

# on mac
npm run pack:mac

# on linux
npm run pack:linux
Sponsor
-
Give me a star ⭐ or upvote on Producthunt
-
Through OpenCollective
-
If you are a Mac user, you can purchase this software from the app store to sponsor, and then let the app store automatically update it for you. <br>
-
If you are a Windows user, you can purchase this software from the win store to sponsor. <br>

-
Wechat sponsor code [Sponsor me a cup of coffee ☕]
<img width="150px" src="https://cdn.jsdelivr.net/gh/qishibo/img/202109031655807.jpeg" />
Contributors
This project exists thanks to all the people who contribute.
Custom Viewer
When the default viewer does not meet the needs, you can format your content via customize script. <br>Method: Pull down the viewer list to the bottom, click "Custom -> Add", and then refer to the instructions below <br>Note: The script needs to output formatted content through
console.logechoetc., which can be any string or JSON string
| Config | Description |
|---|---|
Name | Custom name |
Command | Executable commands, such as xxx.py xxx.js xxx.class etc. The file needs x permission, which can be executed in the form of ./xxx.py; It can also be set to /bin/node /bin/bash or other system commands, and the script path needs to be placed in Params |
Params | Parameters spliced after Command, such as "--key {KEY} --value {VALUE}", where {KEY} and {VALUE} will be replaced with the corresponding Redis key and value. Note that if the content is invisible such as binary, you can use {HEX} instead of {VALUE}, and {HEX} will be replaced with the hexadecimal string. If HEX is too long (>8000 chars), it will be written to a temporary file. You can use {HEX_FILE} to obtain the file path, and read by yourself in the script |
Configuration example:
Add env to the first line of the script, the final executed command is:
./home/qii/pickle_decoder.py {HEX}, the script can receive parameters viaargv[1], ref #978
| Command | Params |
|---|---|
/home/qii/pickle_decoder.py | {HEX} |
/home/qii/shell_decoder.sh | {VALUE} |
Without execute permission x:
The final executed command is:
/bin/node /home/qii/node_decoder.js {HEX} --key={KEY}, the script can receive parameters viaargv[1]
| Command | Params |
|---|---|
/bin/bash | /home/qii/shell_decoder.sh {VALUE} |
/bin/node | /home/qii/node_decoder.js {HEX} --key={KEY} |
Start From Command Line(CLI)
If you want to start from command line(CLI), you can pass args to the App.
Examples
# Linux
# ./Another Redis Desktop Manager.AppImage

# Mac
# open /Applications/Another\ Redis\ Desktop\ Manager.app --args

# Windows
"D:\xxxx\Another Redis Desktop Manager.exe"

# COMMON
--host 127.0.0.1 --port 6379 --auth 123
--name tmp_connection

# CLUSTER
--cluster

# SSH
--ssh-host 192.168.0.110
--ssh-username root --ssh-password 123

# SENTINEL
--sentinel-master-name mymaster
--sentinel-node-password 123

# save connection
--save
# readonly mode
--readonly
Parameter Description
Common
| Args | Description | Args | Description |
|---|---|---|---|
| --host | Redis host* | --port | Redis port |
| --auth | Password | --name | Custom name |
| --separator | Key separator | --readonly | Enable readonly mode |
| --username | Username(Redis6 ACL) | --save | Enable saving, one-time link by default |
SSH
| Args | Description | Args | Description |
|---|---|---|---|
| --ssh-host | SSH host* | --ssh-port | SSH port(default:22) |
| --ssh-username | Username* | --ssh-password | Password |
| --ssh-private-key | Path of private key | --ssh-passphrase | Password of private key |
| --ssh-timeout | SSH timeout(s) |
CLUSTER
| Args | Description |
|---|---|
| --cluster | Enable CLUSTER mode |
SSL
| Args | Description | Args | Description |
|---|---|---|---|
| --ssl | Enable SSL* | --ssl-key | SSL Private Key Pem |
| --ssl-ca | SSL Certificate Authority | --ssl-cert | SSL Public Key Pem |
SENTINEL
| Args | Description |
|---|---|
| --sentinel-master-name | Name of master group*,like 'mymaster' |
| --sentinel-node-password | Password of Redis node |
FAQ
1. How to connect to Redis Cluster in internal network (such as Docker, LAN, AWS)?
Answer: Connect via SSH+Cluster (SSH to the internal network and then connecting to Cluster with internal IP such as 127.0.0.1, 192.168.x.x), you need to fill Redis Host with the internal IP.
How to get Redis internal IP? Connect through SSH, uncheck Cluster option, and then open the console to execute CLUSTER NODES, select any IP in the result.
2. Do I need to fill in the 'Username' in the Redis configuration?
Answer: The access control list (ACL) is only supported in Redis>=6.0, so do not fill it unless you need a special user.

