Awesome
Pyblish Lite
A lightweight alternative to pyblish-qml.

Supports
Python 2.6+ and Python 3.x
- PySide
- PySide2
- PyQt4
- PyQt5
Installation
You can install via pip, or clone manually.
$ pip install pyblish-lite
$ python -m pyblish_lite --debug  # Test install
Requires pyblish-base.
<br> <br> <br>Usage
Pyblish Lite runs both standalone and from a host and requires either PySide of PyQt bindings to be readily available.
Terminal
$ python -m pyblish_lite
Python
import pyblish_lite
pyblish_lite.show()
Maya
import pyblish.api
import pyblish_lite

pyblish.api.register_host("maya")

window = pyblish_lite.show()
Nuke
import pyblish.api
import pyblish_lite

pyblish.api.register_host("nuke")

window = pyblish_lite.show()
Mari
from PySide import QtGui

import mari
import pyblish.api
import pyblish_lite

pyblish.api.register_host("mari")

mari.app.activateMainWindow()
parent = QtGui.qApp.activeWindow()

window = pyblish_lite.show(parent)
Houdini
ATTENTION: This can't be run from the Houdini Python terminal, it'll crash the process.
import pyblish.api
import pyblish_lite

pyblish.api.register_host("houdini")

window = pyblish_lite.show()
Documentation
Below is the current and full documentation of Lite.
Currently, it has all things Pyblish QML except the perspective view, plus a few extras.
- Keyboard shortcuts
- Artist view
- Middle-click on any item to explore it's properties
- Comment section
- Scrollbars
- Select multiple items
- Remembers checked state between refreshes
- Continue publishing after successful validation
- Settings
Keyboard shortcuts
- Select a single item to toggle
- Drag, CTRL or SHIFT select to select multiple items
- Invert check with Space
- Toggle ON with Enter
- Toggle OFF with Backspace
- CTRL+A to select all
Artist view
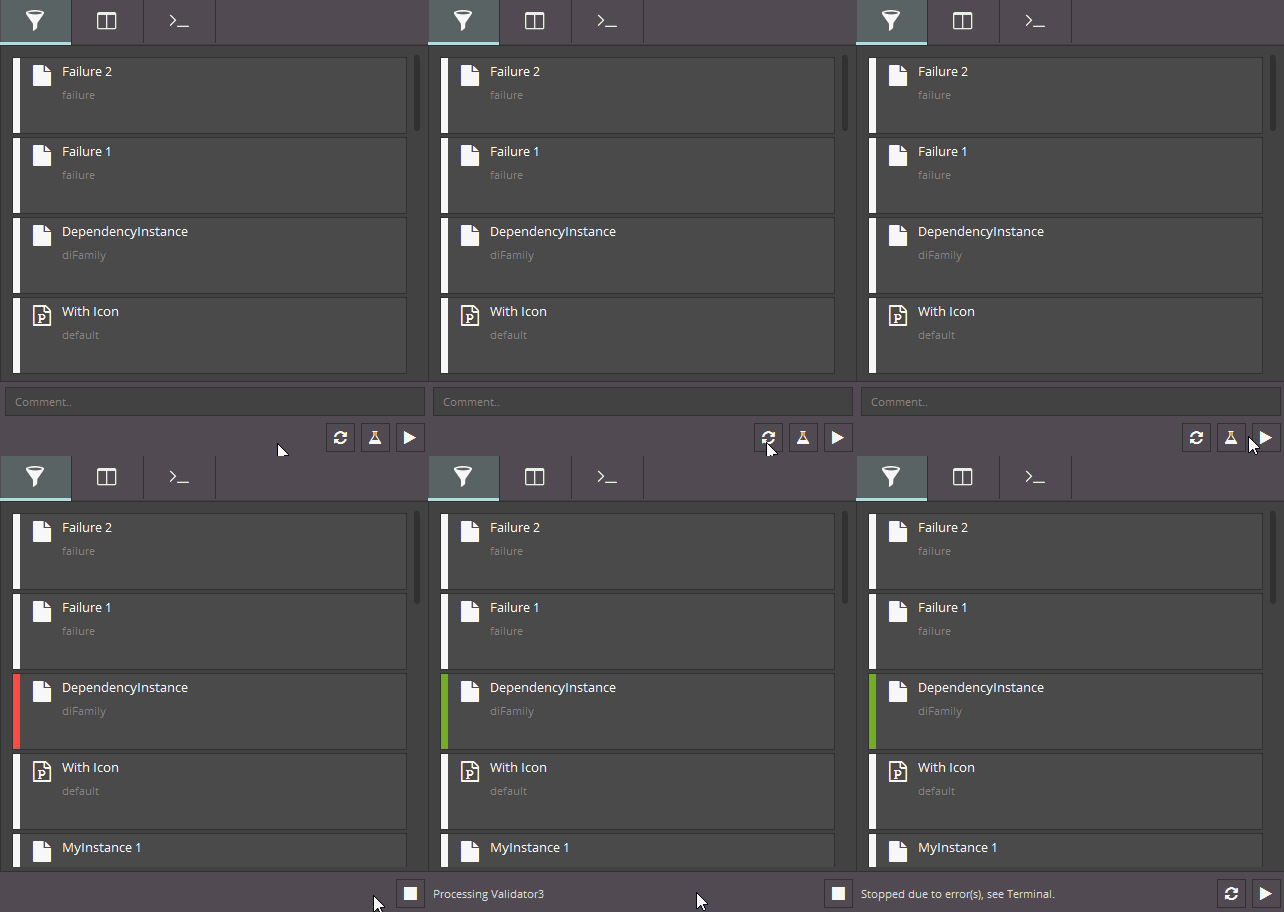
Launching Lite brings you to the landing page, called "Artist View".

It's designed to provide a minimal set of information relevant to any user, without going into detail. Here you can control the icon with which an instance is drawn via the icon data member.
instance.data["icon"] = "random"
Icons are derived from a font library known as FontAwesome. Their names and appearance can be found here:
As a future suggestion, maybe we'd also like to visualise some form of description or message here as well?
Overview
The next tab brings you to the full overview of available instances and the plug-ins associated with those instances. Here the user may toggle instances, like before, but also plug-ins tagged as optional=True.
In Lite's bigger brother QML, plug-ins that are not compatible with any instance are excluded from this list, simplifying situations where you may have hundreds of them, but only a few are relevant. This is an upcoming feature in Lite.
<br>Terminal
Finally, the last tab provides a full record of everything logged from within a plug-in, along with exceptions raised (for the artist) and their exact location in Python (for the developer).
QML also features filtering of these messages, via log level and freeform text search.
Middle Click
In Pyblish QML, items in the terminal are expanded to reveal more information about any particular message, like at which module and line within that module it came from. This information is available via middle-click.

Comment
Add context.data["comment"] = "" and the GUI adds a widget to interactively modify that data member.

Pre-fill it for a custom placeholder or guidelines for how to comment. Press "Enter" to publish.
<br>Settings
You can customise the user's experience with pyblish-lite from the settings module.
import pyblish_lite.settings

# Customize the title of the window Pyblish-lite produces.
# Default: "Pyblish"
pyblish_lite.settings.WindowTitle = "My Window"

# Customize which tab to show initially from the existing tabs available;
# "artist", "overview" and "terminal".
# Default: "artist"
pyblish_lite.settings.InitialTab = "overview"

# Customize whether to use labels for plugins and instances.
# Default: True
pyblish_lite.settings.UseLabel = False

# Custommize the width and height of the window
pyblish_lite.settings.WindowSize = (500, 500)
Testing
Tests are automatically run at each commit to GitHub via Travis-CI. You can run these tests locally either by (1) having the dependencies available on your PYTHONPATH, or (2) via Docker.
Option 1
$ cd pyblish-lite
$ export PYTHONPATH=/path/to/Qt.py:/path/to/pyside:/path/to/pyblish-base
$ nosetests --verbose --with-doctext --exclude=vendor
Option 2
$ cd pyblish-lite
$ docker build -t pyblish/pyblish-lite .
$ docker run --rm -v $(pwd):/pyblish-lite pyblish/pyblish-lite
Example output
# Doctest: pyblish_lite.model.ProxyModel ... ok
# Doctest: pyblish_lite.util.get_asset ... ok
# Anything runs ... ok
# Logging things that aren't string is fine ... ok
# Resetting works the way you'd expect ... ok
# Publishing works the way you'd expect ... ok
# Only supported families are published ... ok
# Only active plugins are published ... ok
# Only active instances are published ... ok
# Logging things that aren't string is fine ... ok
#
# ----------------------------------------------------------------------
# Ran 10 tests in 0.357s
#
# OK