Awesome
RoboMeshCat
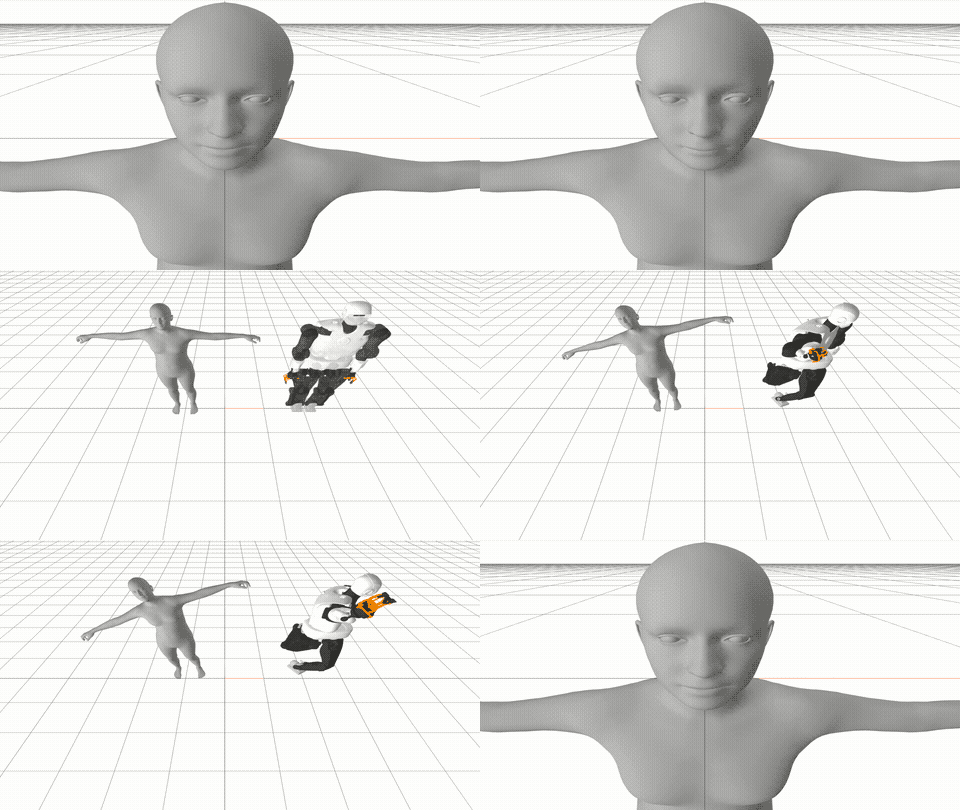
Set of utilities for visualizing robots in web-based visualizer MeshCat. The whole library is object and robot centric allowing you to modify properties of instances rather than manipulating the visualization tree of the MeshCat itself. The library allows you to easily generate videos like this (source code is here):

or like this (by installing a few more dependencies; source code):

Installation
From <img src="https://s3.amazonaws.com/conda-dev/conda_logo.svg" height="18">
conda install -c conda-forge robomeshcat
From PyPI
pip install robomeshcat
About
This library allows you to visualize and animate objects and robots in web browser. Compared to MeshCat library, on which we build, our library is object-oriented allowing you to modify the properties of individual objects, for example:
o = Object.create_sphere(radius=0.2)
o.pos[2] = 2.  # modify position
o.opacity = 0.3  # modify transparency
o.color[0] = 1.  # modify red channel of the color
o.hide()  # hide the object, i.e. set o.visible = False
In addition to objects, it allows you to easily create and manipulate robots (loaded from URDF file):
r = Robot(urdf_path='robot.urdf')
r[0] = np.pi  # set the value of the first joint
r['joint5'] = 0  # set the value of the joint named 'joint5'
r.pos = [0, 0, 0]  # set the base pose of the robot
r.color, r.opacity, r.visibility, r.rot = ...  # change the color, opacity, visibility, or rotation
All changes will be displayed immediately in the browser, that we call 'online' rendering.
By default, you can rotate the camera view with your mouse.
However, our library allows you to control the camera from the code as well through the Scene object, that is the main
point for visualization:
scene = Scene()
scene.add_object(o)  # add object 'o' into the scene, that will display it
scene.add_robot(r)  # add robot 'r' into the scene, that will display it
scene.camera_pos = [1, 1, 1]  # set camera position
scene.camera_pos[2] = 2  # change height of the camera
scene.camera_zoom = 2  # zoom in
scene.reset_camera()  # reset camera such that you can control it with your mouse again
For complete examples of object and robot interface see our two examples: 01_object.py and 02_robots.py.
It is also possible to visualize human model after installing a few more dependencies, see installation and example 06_human.py.
Animation
This library allows you to animate all the properties of the objects and robots (e.g. position, robot configuration, color,opacity) inside the browser (from which you can replay, slow-down, etc.). Simply use:
scene = Scene()
scene.add_object(o)

with scene.animation(fps=25):
    o.pos[2] = 2.
    scene.render()  # create a first frame of the animation, with object position z-axis set to 2.
    o.pos[2] = 0.
    scene.render()  # create a second frame of the animation with object on the ground
You can also store the animation into the video, using the same principle:
with scene.video_recording(filename='video.mp4', fps=25):
    scene.render()
See our examples on Animation and Image and video.
