Awesome
Elm Test Runner
Run elm-test and view results without leaving Atom
Setup
- Install
elm-test-runnerin Atom.- In Atom, go to Atom → Preferences...
- Click "Install".
- Search for "elm-test-runner".
- Find "elm-test-runner" in the list and click the "install" button.
Feature Overview
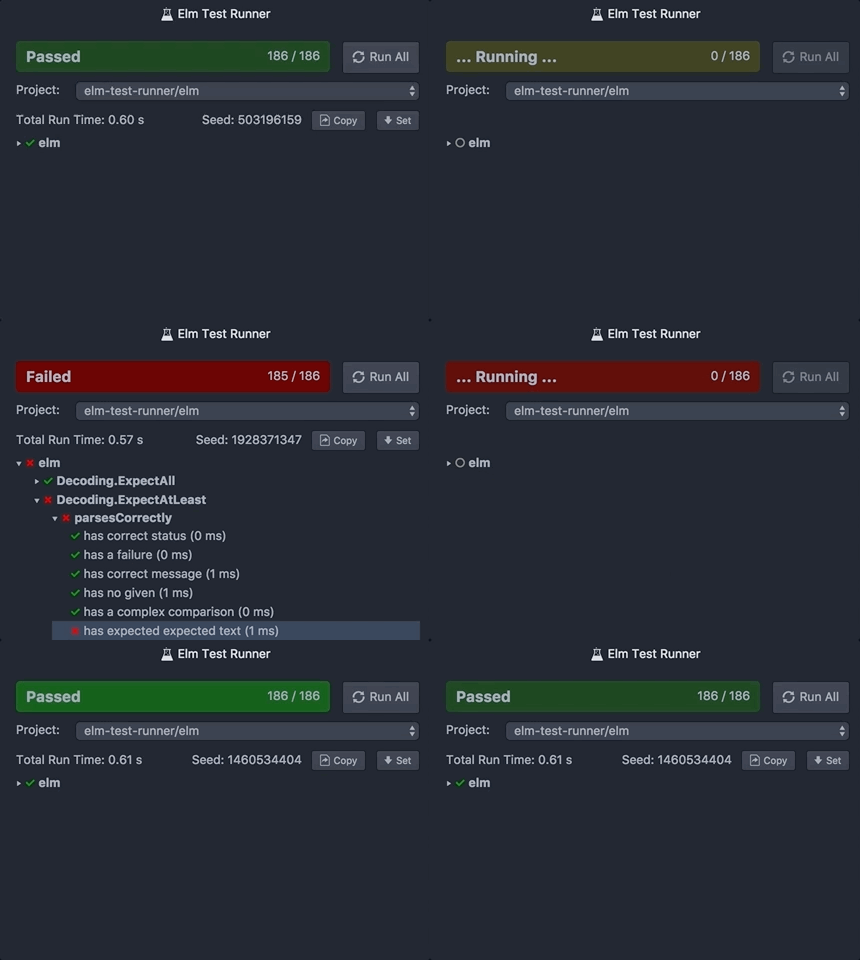
Run Tests Without Leaving Atom

- Open a project folder that has Elm tests in it. Typically, this is a directory that has an
elm-package.jsonfile, atestsdirectory that contains Elm files exposing functions of typeTest. I recommend that you set up your test directory withelm-test initin order to ensure compatibility. - Go to Packages → Elm Test Runner → Toggle Dashboard, or use ⌘-Alt-T to open the test pane.
- Click the "Run All" button, or use Alt-T to run tests.
- Wait for the test run to complete.
- Click on individual failing tests to view the failure results for those tests.
Project Selection
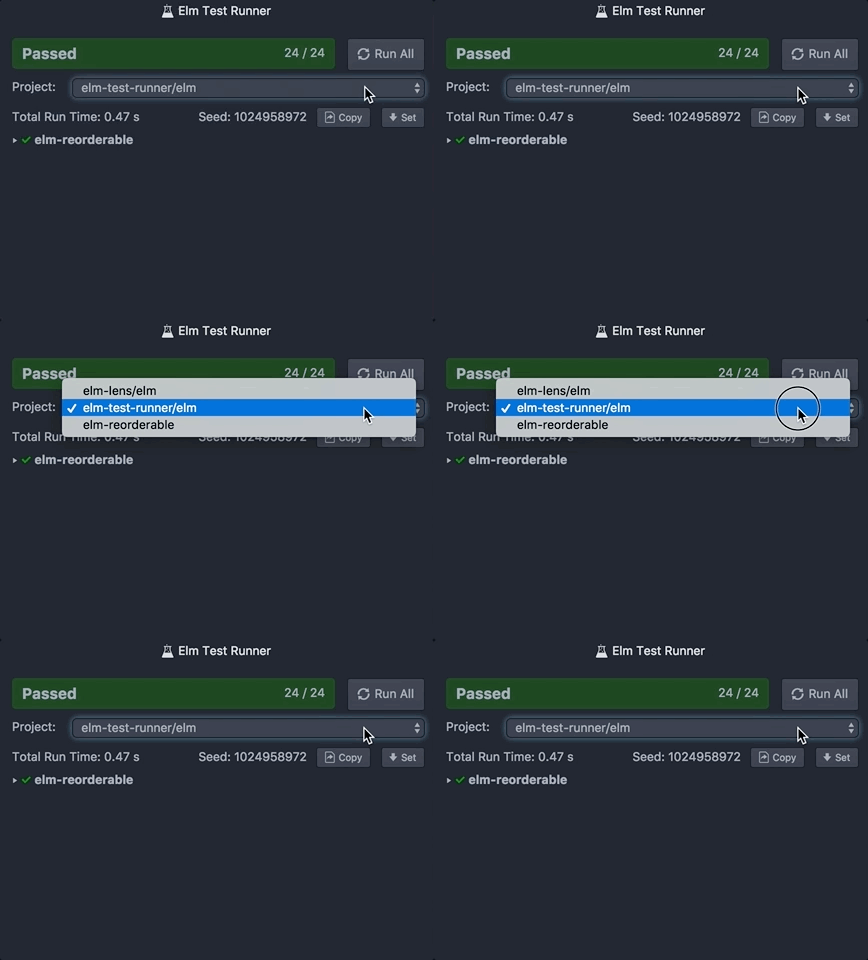
When you activate the Elm Test Runner panel for the first time in an Atom session, Elm Test Runner scans all projects in your workspace for directories that meet the following criteria:
- The directory contains an
elm-package.jsonfile. - The directory contains a subdirectory called
tests.
Each directory that meets these criteria is saved and added to the "Projects" selector at the top of the panel. If your Atom workspace contains multiple testable Elm projects, you can select which project Elm Test runs against by changing the value in the selector.
Your directories are only scanned once, and the results are cached. If you change your workspace to include or remove an Elm project after Elm Test Runner has been initialized, you will need to rescan for valid projects. You can do this from the following menu selection: Packages → Elm Test Runner → Re-Scan for Testable Directories.
Dock Left, Right, or Center
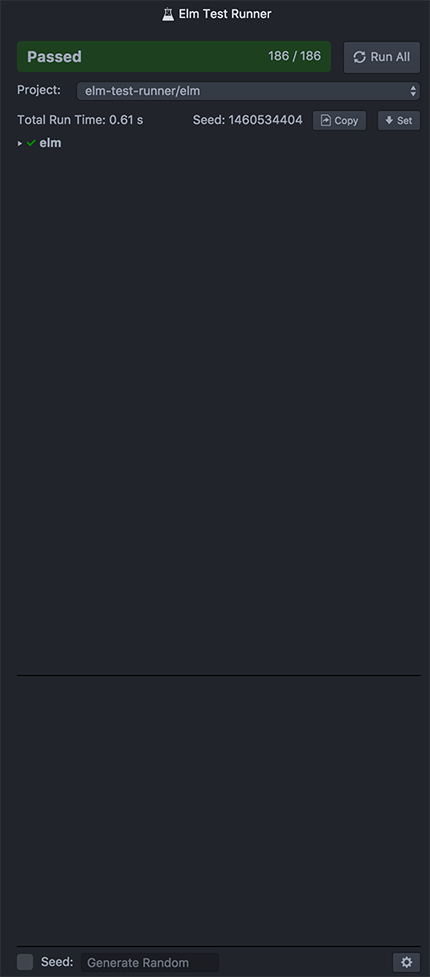

- Drag the header bar for Elm Test Runner from its default position on the right side of the screen into the lower dock, or the left dock.
- Elm Test Runner will move to that dock. Landscape orientation for the center bottom dock is supported.
Seed Utilities

- Toggle the "Seed" checkbox on and off in the lower left corner of the pane. If the checkbox is active, the number in the adjacent field will be used when running
elm-test. If the box is unchecked, or if the number field is empty (it will read "Generate Random"), then a random seed will be used. - To lock-in the seed used on the last test run, click the "Set" button. This will set the seed the number field and activate the "Seed" checkbox if it is not already active.
- To copy the seed for the last test run to the clipboard, click the "Copy" button. This will allow you to paste the seed into another location.
Test Generation with Elm Verify Examples
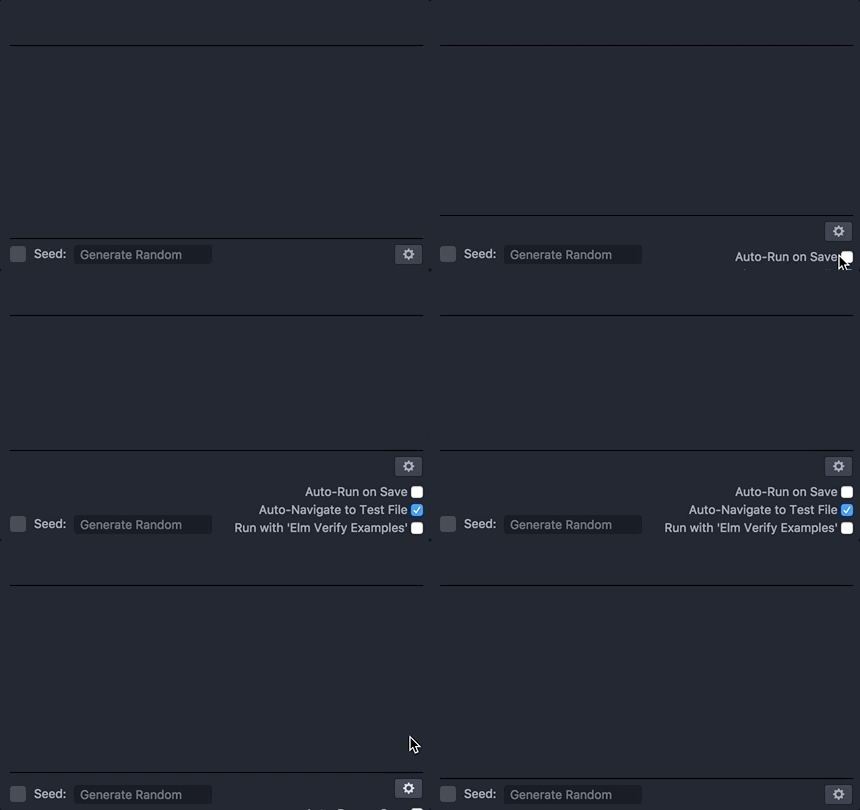
- To see the current state of this setting, toggle the settings panel open by clicking on the gear icon in the lower right corner of the panel.
- To change this setting:
- Click the checkbox next to the option
- Go to Packages → Elm Test Runner → Toggle Running with 'Elm Verify Examples'
- Use the key command Ctrl-Alt-V
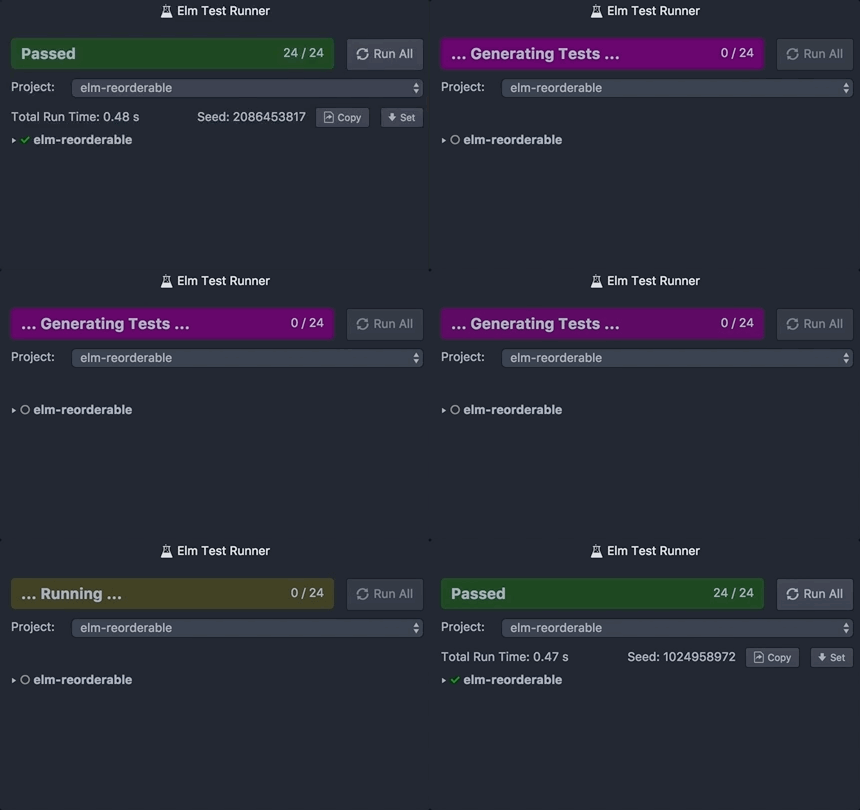
- When initiating a test run, Elm Test Runner will first run
elm-verify-examplesin your project directory before proceeding to runelm-test. The status bar at the top Elm Test Runner panel will indicate when tests are being generated as opposed to being run.
Auto-Run Tests on Save
- To see the current state of this setting, toggle the settings panel open by clicking on the gear icon in the lower right corner of the panel.
- To change this setting:
- Click the checkbox next to the option
- Go to Packages → Elm Test Runner → Toggle Auto-Run on Save
- Use the key command Ctrl-Alt-R
- When 'Auto-Run on Save' is enabled, executing a "save" action on any project file will initiate a test run in Elm Test Runner.
Auto-Navigate to Test
- Click on a passing or failing test, and the file containing the selected test will open in your editor.*
- To see the current state of this setting, toggle the settings panel open by clicking on the gear icon in the lower right corner of the panel.
- To change this setting:
- Click the checkbox next to the option
- Go to Packages → Elm Test Runner → Toggle Auto-Navigate to Test
- Use the command key Ctrl-Alt-N
Important Caveat: Only files that are in the current active Atom project are capable of being opened in this way.
Release History
Roadmap
- 0.4.0 Elm Coverage Integration
- 0.3.0 Select from Multiple Project Directories
- 0.2.0 Better Project Directory Detection / Elm Verify Examples
- 0.1.0 Initial Release