Awesome
RealityUI
RealityUI is a collection of utilities and UI objects for RealityKit. The UI objects included in RealityUI aim to offer familiar User Interface standards, but in a 3D setting for Augmented and Virtual Reality through RealityKit.
RealityUI also has a collection of components for interfacing with any Entity through touch or drag interactions.
<p align="center"> <a href="https://swiftpackageindex.com/maxxfrazer/RealityUI"> <img src="https://img.shields.io/github/v/release/maxxfrazer/RealityUI?color=F05138&label=Package%20Version&logo=Swift"/> </a> <a href="https://swiftpackageindex.com/maxxfrazer/RealityUI/main/documentation/realityui"> <img src="https://img.shields.io/badge/Swift-Doc-DE5C43.svg?style=flat"></a> <a href="https://codecov.io/github/maxxfrazer/RealityUI" > <img src="https://codecov.io/github/maxxfrazer/RealityUI/graph/badge.svg?token=3PCDBMSCLL"/> </a> <br/> <img src="https://github.com/maxxfrazer/RealityUI/workflows/build/badge.svg?branch=main"/> <img src="https://github.com/maxxfrazer/RealityUI/workflows/Deploy%20DocC/badge.svg?branch=main"/> <a href="./LICENSE.md"> <img src="https://img.shields.io/github/license/maxxfrazer/RealityUI"/> </a> <br/> <a href="https://swiftpackageindex.com/maxxfrazer/RealityUI"> <img src="https://img.shields.io/endpoint?url=https%3A%2F%2Fswiftpackageindex.com%2Fapi%2Fpackages%2Fmaxxfrazer%2FRealityUI%2Fbadge%3Ftype%3Dplatforms"/> </a> <a href="https://swiftpackageindex.com/maxxfrazer/RealityUI"> <img src="https://img.shields.io/endpoint?url=https%3A%2F%2Fswiftpackageindex.com%2Fapi%2Fpackages%2Fmaxxfrazer%2FRealityUI%2Fbadge%3Ftype%3Dswift-versions"/> </a> </p>
Requirements
- iOS 13, macOS 10.15 or visionOS 1.0
- Swift 5.8
- Xcode 13
Content
Installation
Swift Package Manager
Add the URL of this repository to your Xcode 11+ Project under Project > Swift Packages.
https://github.com/maxxfrazer/RealityUI.git
Usage
Add import RealityUI to the top of your swift file to start.
Registering RealityUI Components
All components used in RealityUI must be registered before they are used, simply call RealityUI.registerComponents() anywhere in your app before any classes starting with RUI are initialised to avoid issues with that. For more information on what is meant by registering components see Apple's documentation here.
Activating Gestures
visionOS
With visionOS, gestures can be enabled on a RealityView using View/addRUIDragGesture() or View/addRUITapGesture() modifiers, or by adding the gestures directly with .gesture(RUIDragGesture()) or .gesture(RUITapGesture()). The RealityView might look something like this:
RealityView { content in
    let swtch = RUISwitch()
    swtch.scale = .init(repeating: 0.1)
    content.add(swtch)
}.addRUIDragGesture()
The above snippet adds an interactive switch/toggle to the scene.
This gesture works for any entity with RUIDragComponent, for example:
RealityView { content in
    let movable = try! await ModelEntity(named: "toy_biplane")
    movable.generateCollisionShapes(recursive: false)

    movable.components.set(RUIDragComponent(type: .move(nil)))
    movable.components.set(InputTargetComponent())

    content.add(movable)
}.addRUIDragGesture()

iOS/macOS
Enabling RealityUI gestures can be doen by calling RealityUI.enableGestures(.all, on: ARView), with ARView being your instance of an ARView object.
RUISlider, RUISwitch, RUIStepper and RUIButton all use RUIDragComponent, which requires .ruiDrag. If you are adding elements that use the component RUITapComponent you can use the gesture .tap.
I would just recommend using .all when enabling gestures, as these will inevitably move around as RealityUI develops.
RealityUI.enableGestures(.all, on: arView)
Control Entities
By default all RealityUI Entities are quite large. This is used to standardize the sizes so that you always know what to expect. For example, all UI thumbs are spheres with a diameter of 1 meter, which is 1 unit in RealityKit, ± any padding adjustments. All RealityUI Entities face [0, 0, -1] by default. To have them point at the user camera, or .zero, you can use the .look(at:,from:,relativeTo:) method like so: .look(at: .zero, from: [0, 0, 1]). Or if you want it to turn around straight away if you've positioned it at [0, 0, -1], set the orientation to simd_quatf(angle: .pi, axis: [0, 1, 0]). Using the .look() method works here by setting the at: value to the direction the button should be used from.
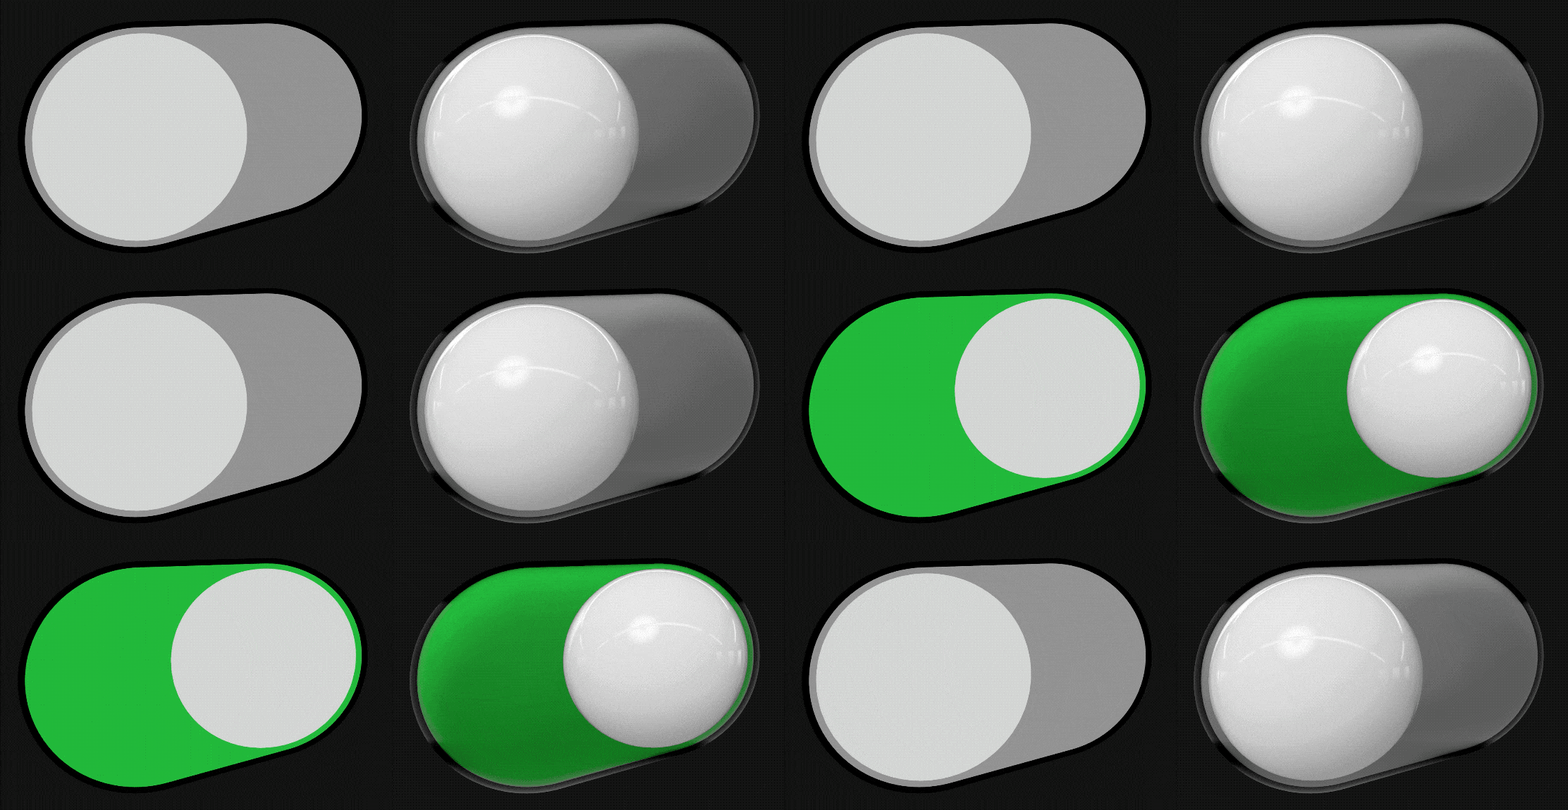
RUISwitch
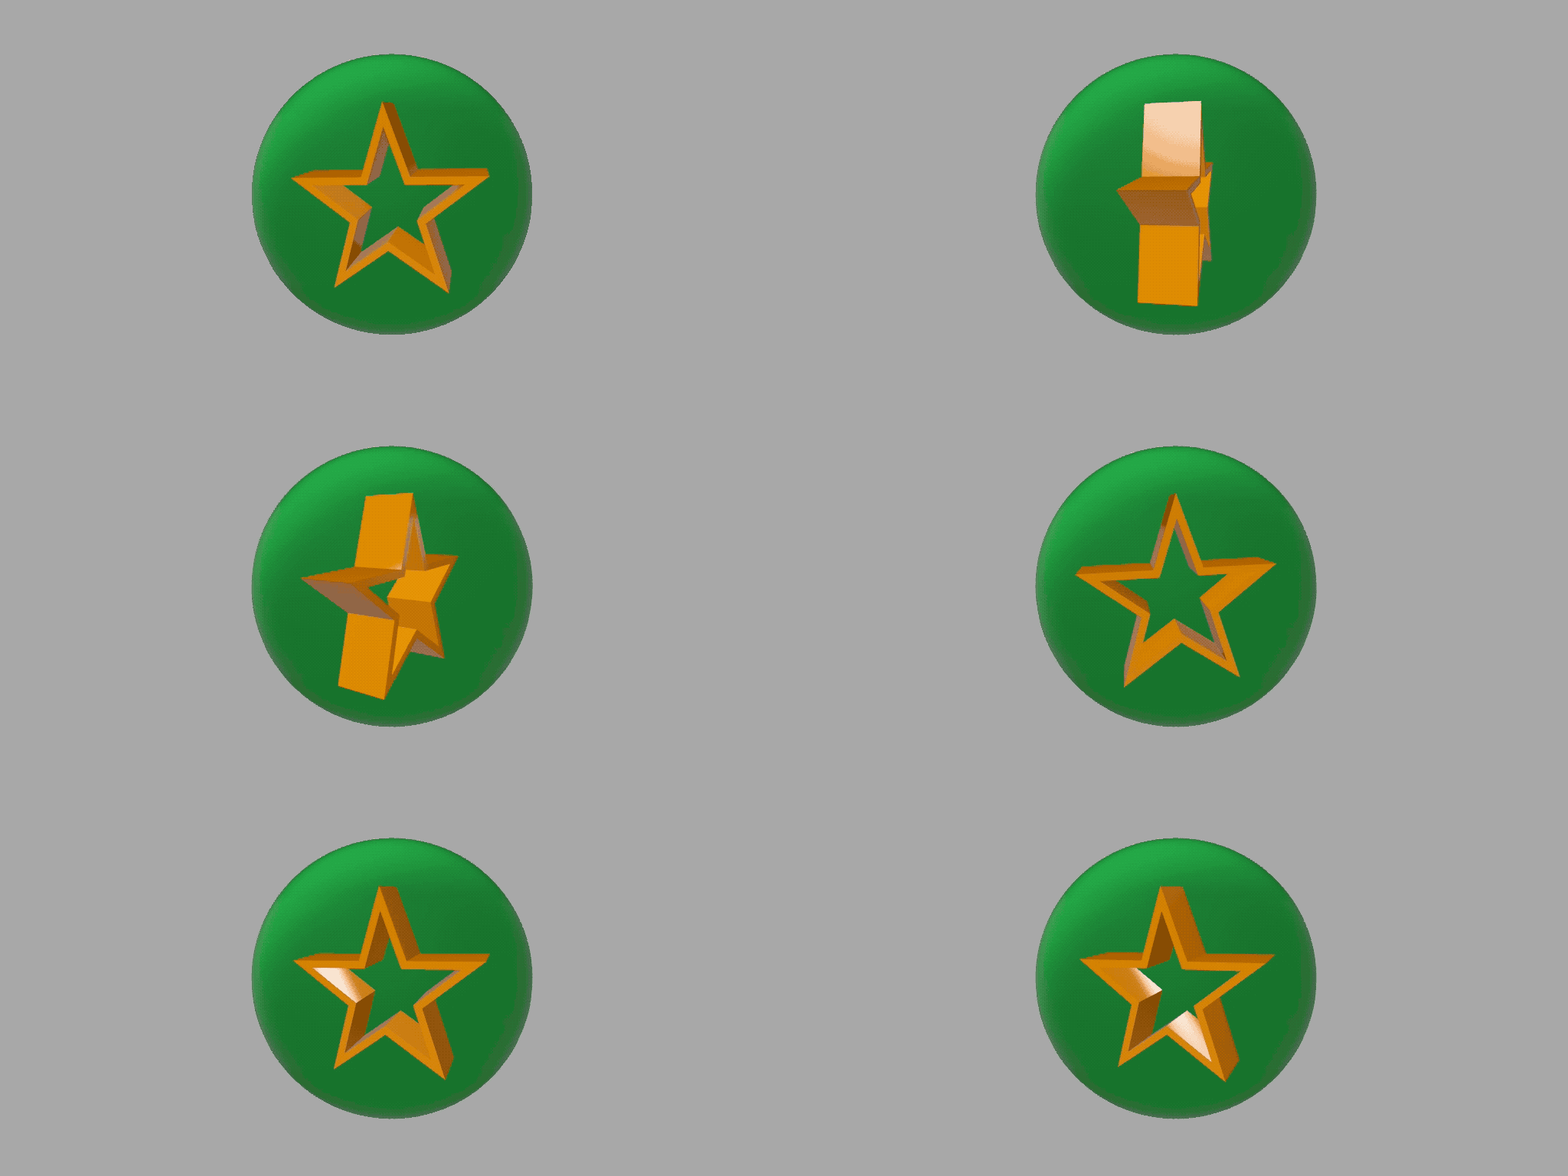
RUISwitch is a 3D toggle switch with an on and off state. Default bounding box is 2x1x1m
RUIStepper
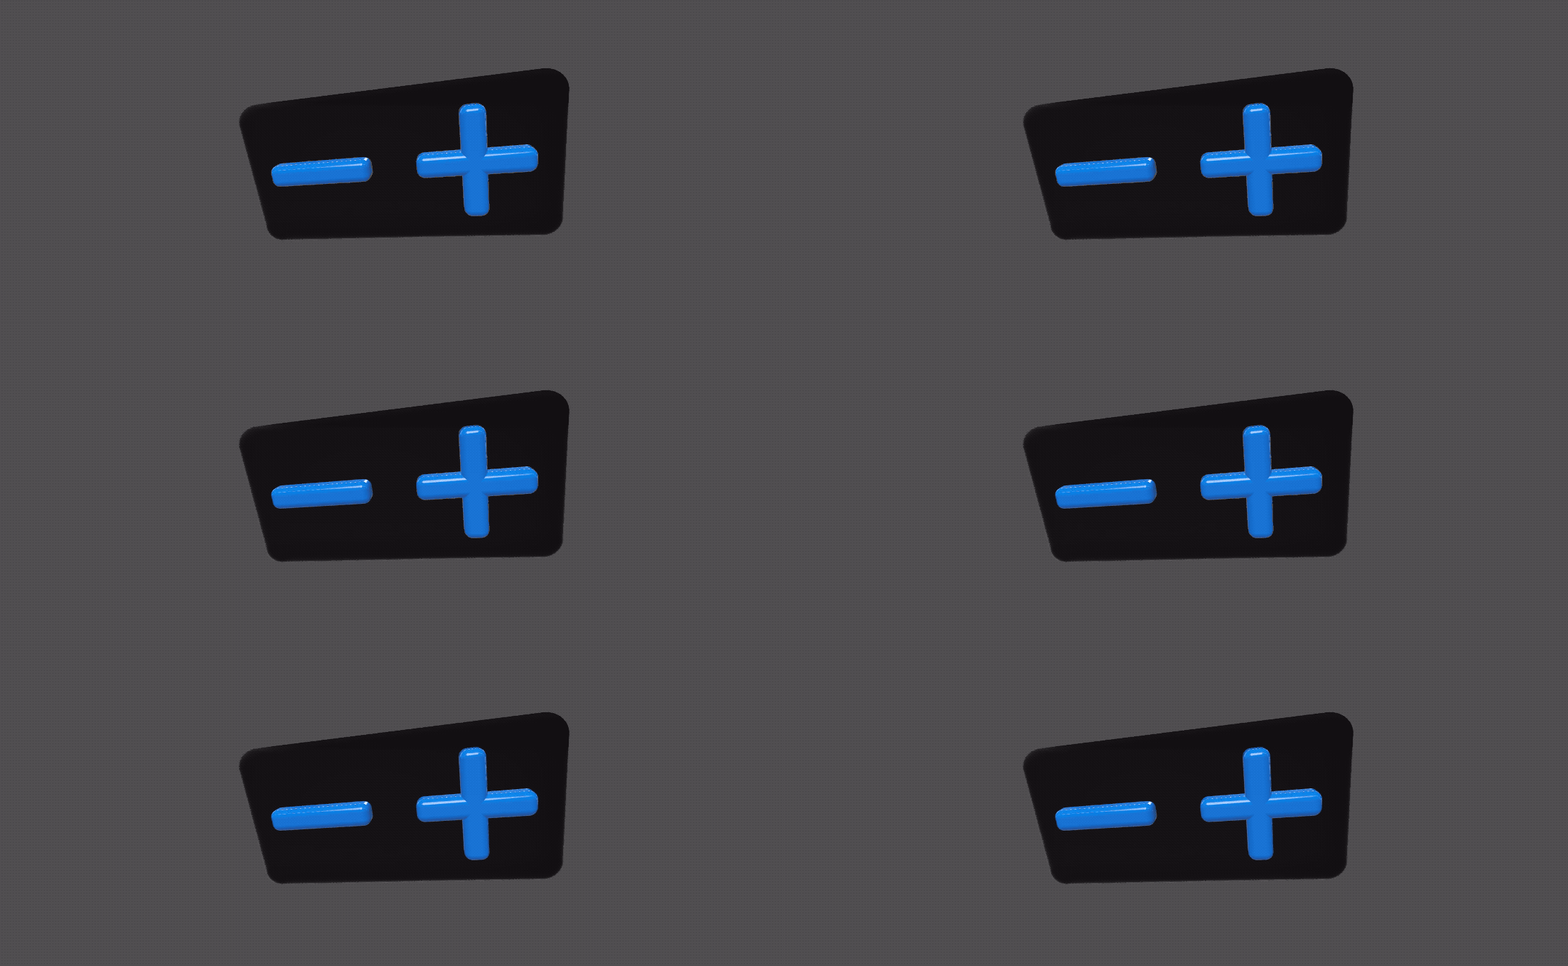
RUIStepper is used to increment or decrement a value. Default bounding box is 2x1x0.25m
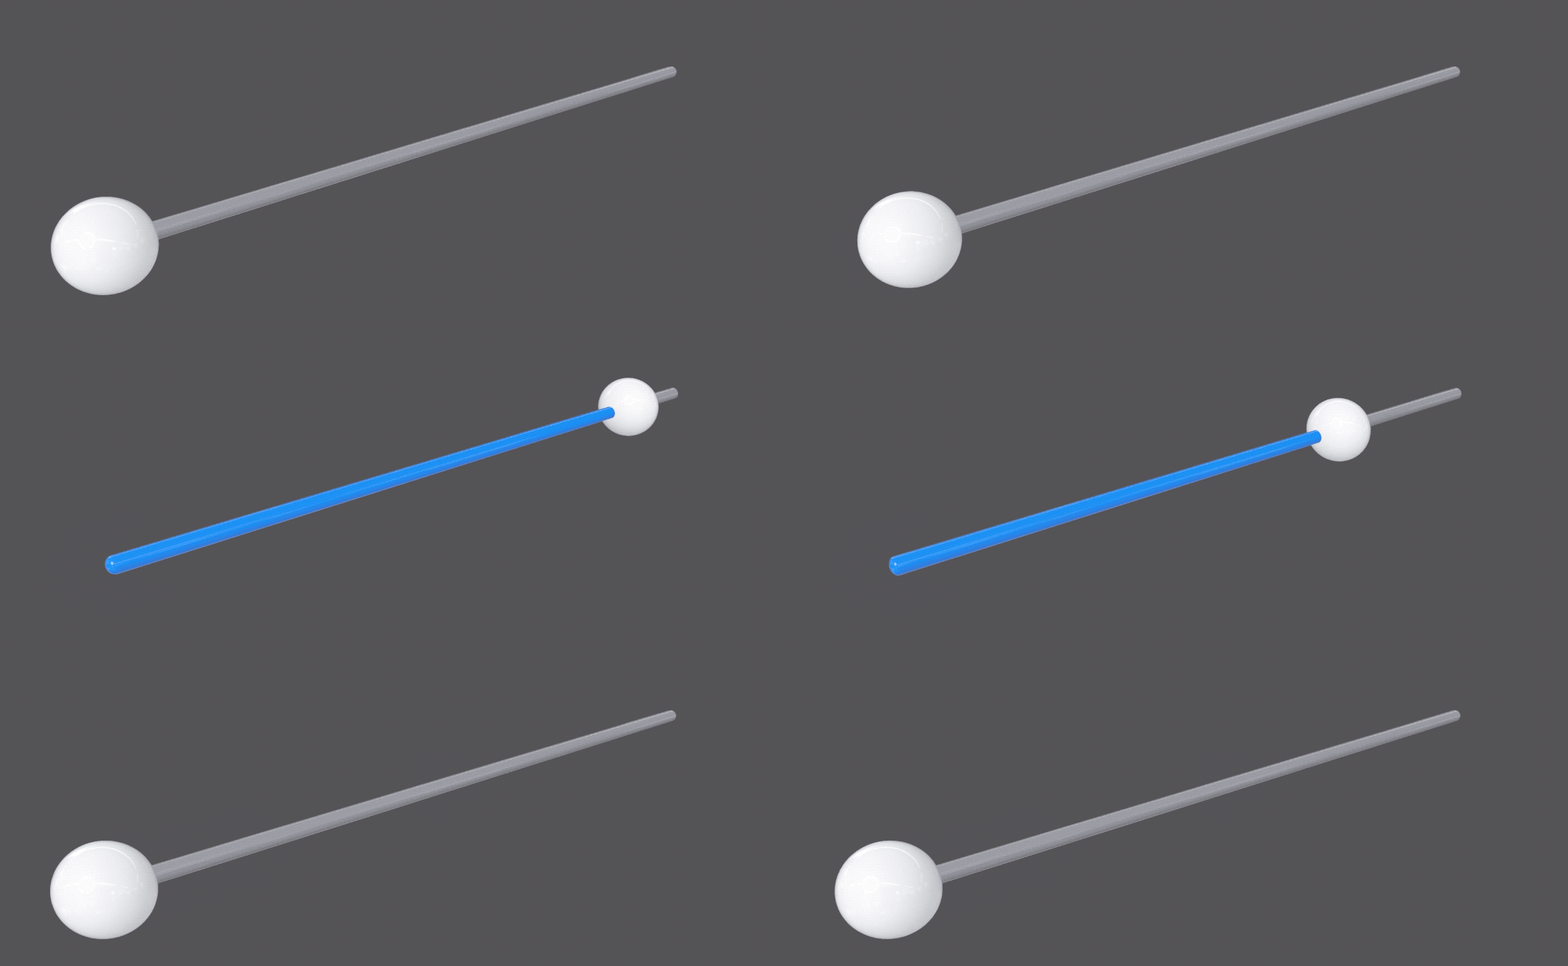
RUISlider
An interactive track to represent an interpolated value. Default bounding box is 10x1x1m including thumb.
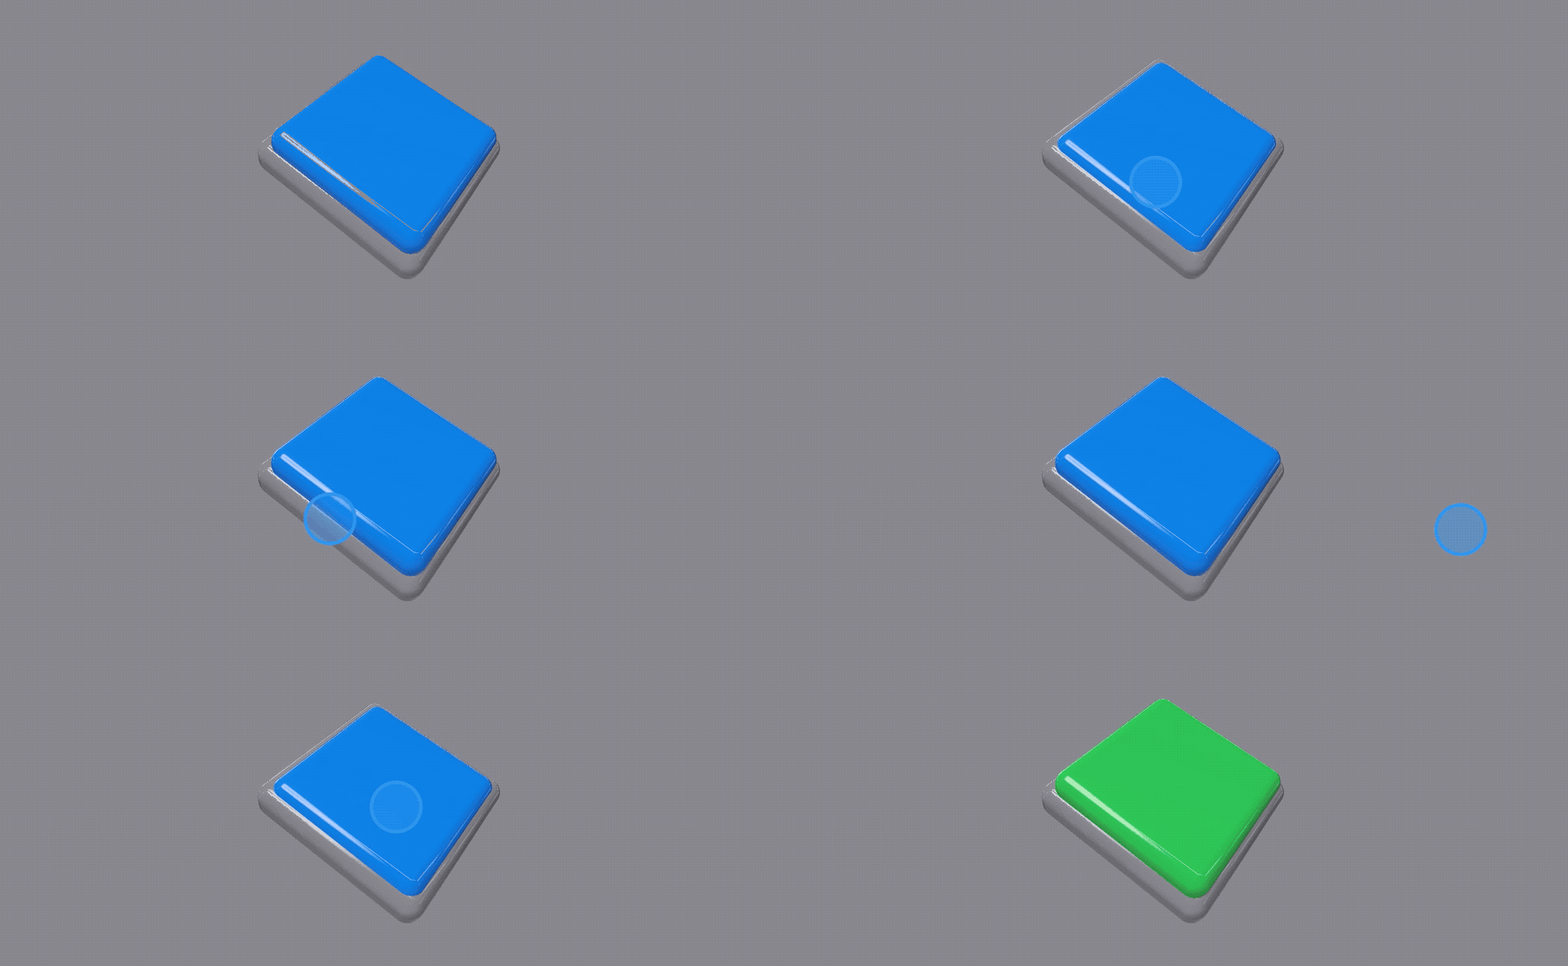
RUIButton
RUIButton is used to initiate a specified action. The action here will only trigger if the gesture begins on a button, and also ends on the same button. This is similar to the touchUpInside UIControl Event.
Default button bounding box before depressing the button into the base is [1, 1, 0.3]
Gestures
All of the RealityUI Control Entities use custom gestures that aren't standard in RealityKit, but some of them have been isolated so anyone can use them to manipulate their own RealityKit scene.
Drag
Drag objects anywhere in space with 3 degrees of freedom with RUIDragComponent, using the .move type.

This type has an optional constraint, to fix the movement within certain criteria:
-
Box Constraint: Restricts movement within a specified
BoundingBox, providing a defined area where the entity can move. -
Points Constraint: Limits movement to a set of predefined points, represented as an array of
SIMD3<Float>. -
Clamp Constraint: Uses a custom clamping function to control the movement. This function takes a
SIMD3<Float>as input and returns a modifiedSIMD3<Float>to determine the new position.
Turn
Unlock the ability to rotate a RealityKit entity with just one finger.

Tap
Create an object in your RealityKit scene with an action, and it will automatically be picked up whenever the user taps on it!
No Gif for this one, but check out RUITapComponent to see how to add this to an entity in your application.
If you instead wanted to use something similar to a "touch up inside" tap, you can use RUIDragComponentType/click.

Animations
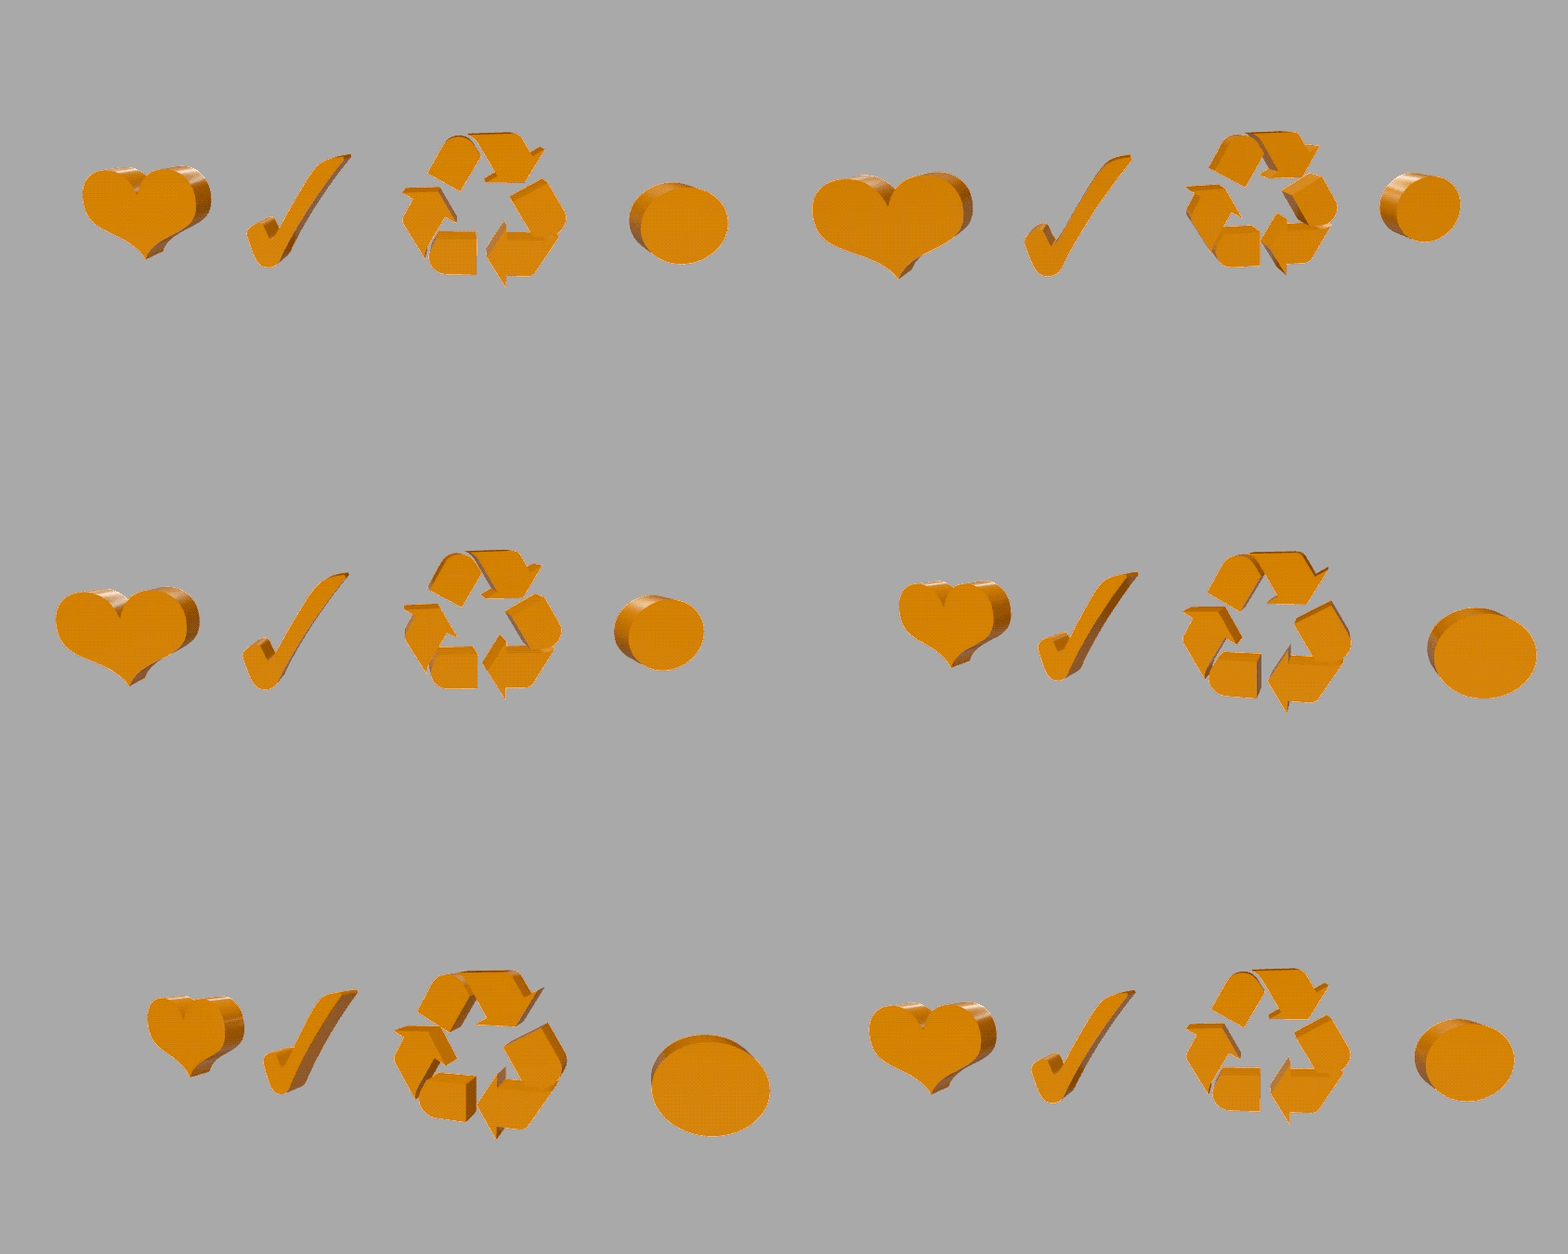
There aren't many animations added by default to RealityKit, especially none that you can set to repeat. See the wiki page on how to use these animations.
Spin
Spin an Entity around an axis easily using ruiSpin.
Shake
Shake an entity to attract attention, or signal something was incorrect.
Text
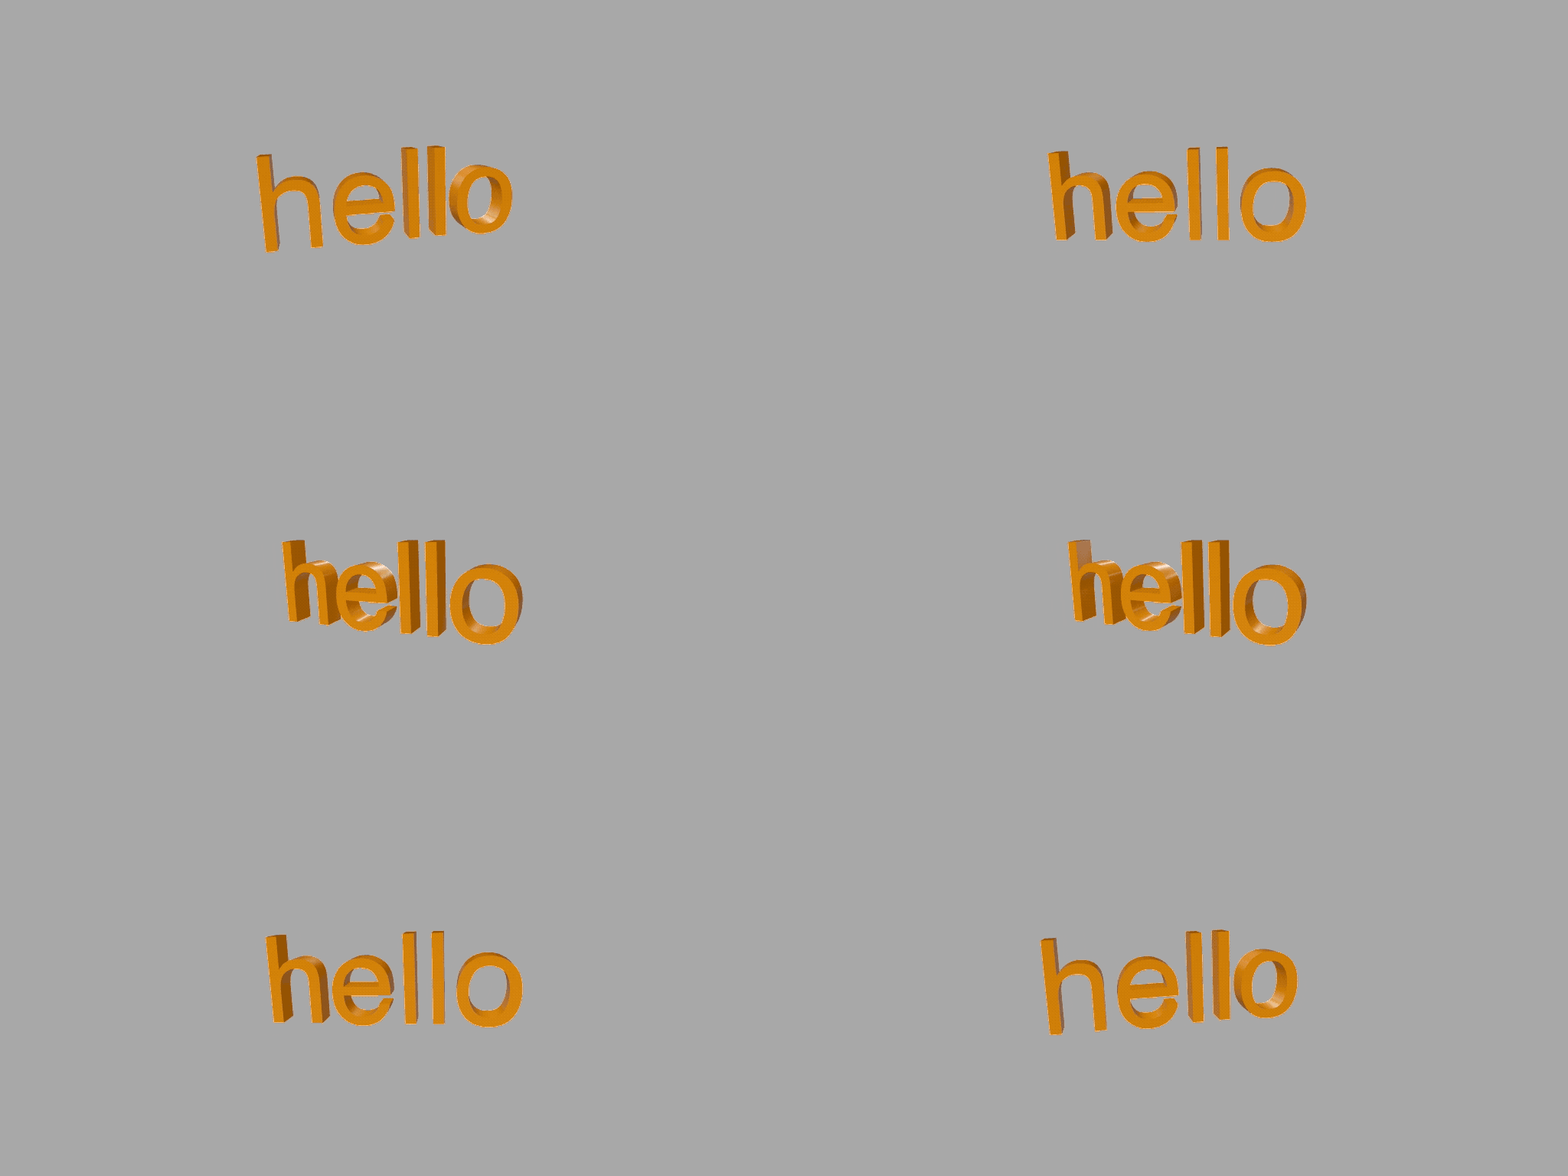
It's already possible to place text in RealityKit, but I felt it needed a little upgrade.
With RUIText you can easily create an Entity with the specified text placed with its bounding box centre at the middle of your entity.
More
More information on everything provided in this Swift Package in the documentation.
Also see the Example Project for iOS in this repository.
