Awesome
<p align="center"> <img src="https://img.shields.io/github/v/release/maxxfrazer/MultipeerHelper?color=orange&label=SwiftPM&logo=swift"/> <img src="https://img.shields.io/badge/platform-iOS%20%7C%20macOS%20%7C%20tvOS-lightgrey"/> <img src="https://img.shields.io/badge/Swift-5.2-orange?logo=swift"/> <img src="https://img.shields.io/github/license/maxxfrazer/MultipeerHelper"/> <img src="https://github.com/maxxfrazer/MultipeerHelper/workflows/build/badge.svg?branch=main"/> <img src="https://github.com/maxxfrazer/MultipeerHelper/workflows/swiftlint/badge.svg?branch=main"/> </p>
MultipeerHelper
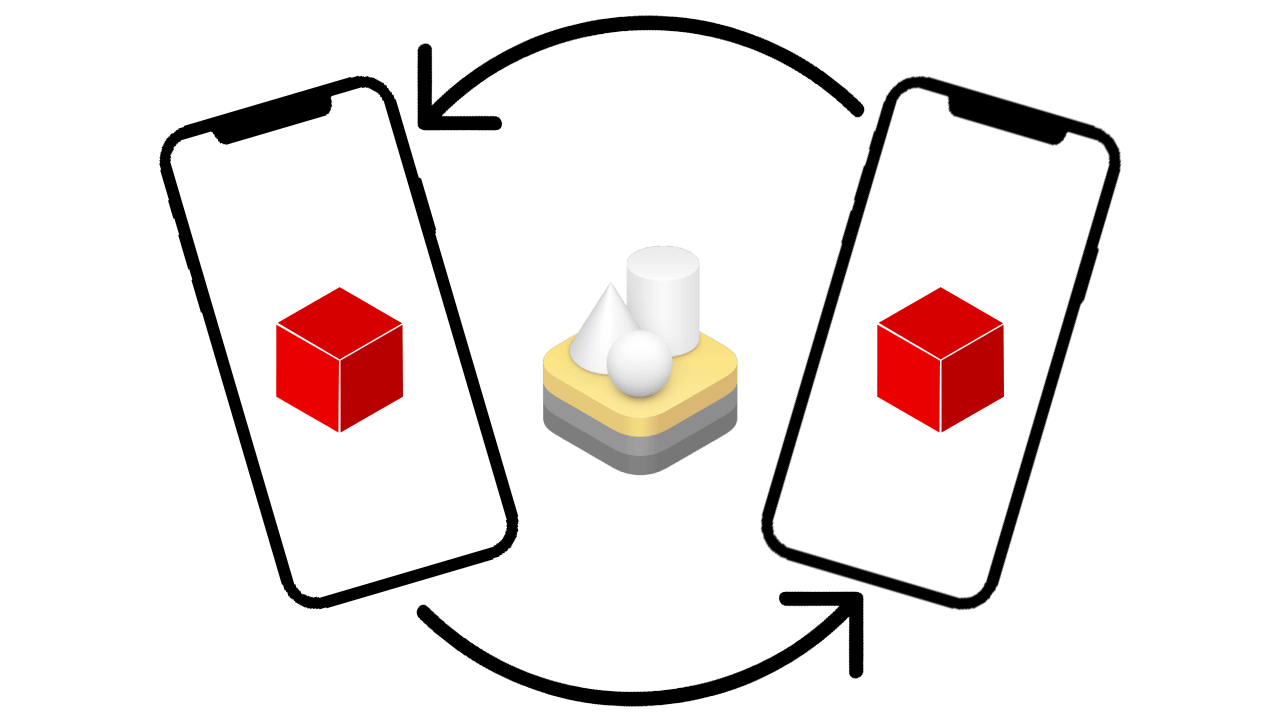
MultipeerConnectivity can be a big pill for developers to swallow. This package aims to simplify the creation of a multi-peer experience, while still delivering the full power of Apple's API.
Installation
This is a Swift Package, and can be installed via Xcode with the URL of this repository:
git@github.com:maxxfrazer/MultipeerHelper.git
For more information on how to add a Swift Package using Xcode, see Apple's official documentation.
Usage
To use this package, all you have to do is import MultipeerHelper and initialise the object:
self.multipeerHelp = MultipeerHelper(
  serviceName: "helper-test"
)
Because MultipeerConnectivity looks over your local network to find other devices to connect with, there are a few new things to include since iOS 14.
The first thing, is to include the key NSLocalNetworkUsageDescription in your app's Info.plist, along with a short text explaining why you need to use the local network. For example "This application needs access to the local network to find opponents.".
As well as the above, you also need to add another key, NSBonjourServices. Bonjour services is an array of Bonjour service types.
For example, if your serviceName is "helper-test", you will need to add _helper-test._tcp and _helper-test._udp.
The two above keys are included in the Example Project.
See full documentation here:<br> https://maxxfrazer.github.io/MultipeerHelper/documentation/multipeerhelper/
RealityKit
To extend this to RealityKit's synchronization service, simply add the following:
self.arView.scene.synchronizationService = self.multipeerHelp.syncService
And also make sure that your ARConfiguration's isCollaborationEnabled property is set to true.
To make sure RealityKit's synchronizationService runs properly, you must ensure that the RealityKit version installed on any two devices are compatible.
By default, any OS using MultipeerHelper that can install RealityKit (iOS, iPadOS and macOS) will have a key added to the discoveryInfo.
To use this easily, you can add the shouldSendJoinRequest method to your MultipeerHelperDelegate, and make use of the checkPeerToken which is accessible to any class which inherits the MultipeerHelperDelegate. Here's an example:
extension RealityViewController: MultipeerHelperDelegate {
  func shouldSendJoinRequest(
    _ peer: MCPeerID,
    with discoveryInfo: [String: String]?
  ) -> Bool {
    self.checkPeerToken(with: discoveryInfo)
  }
}
This method is used in the Example Project.
Initializer Parameters
serviceName
This is the type of service to advertise or search for. Due to how MultipeerConnectivity uses it, it should have the following restrictions:
- Must be 1–15 characters long
- Can contain only ASCII lowercase letters, numbers, and hyphens
- Must contain at least one ASCII letter
- Must not begin or end with a hyphen
- Must not contain hyphens adjacent to other hyphens.
sessionType (default: .both)
This lets the service know if it should be acting as a service host (advertiser), peer (browser), or in a scenario where it doesn't matter, both. The default for this parameter is both, which is the scenario where all devices want to just connect to each other with no questions asked.
peerName (default: UIDevice.current.name)
String name of your device on the network.
encryptionPreference (default: .required)
encryptionPreference is how data sent over the network are encrypted.
delegate (default: nil)
This delegate object will inherit the MultipeerHelperDelegate protocol, which can be used for all the handling of transferring data round the network and seeing when others join and leave.