Awesome
game-prototype
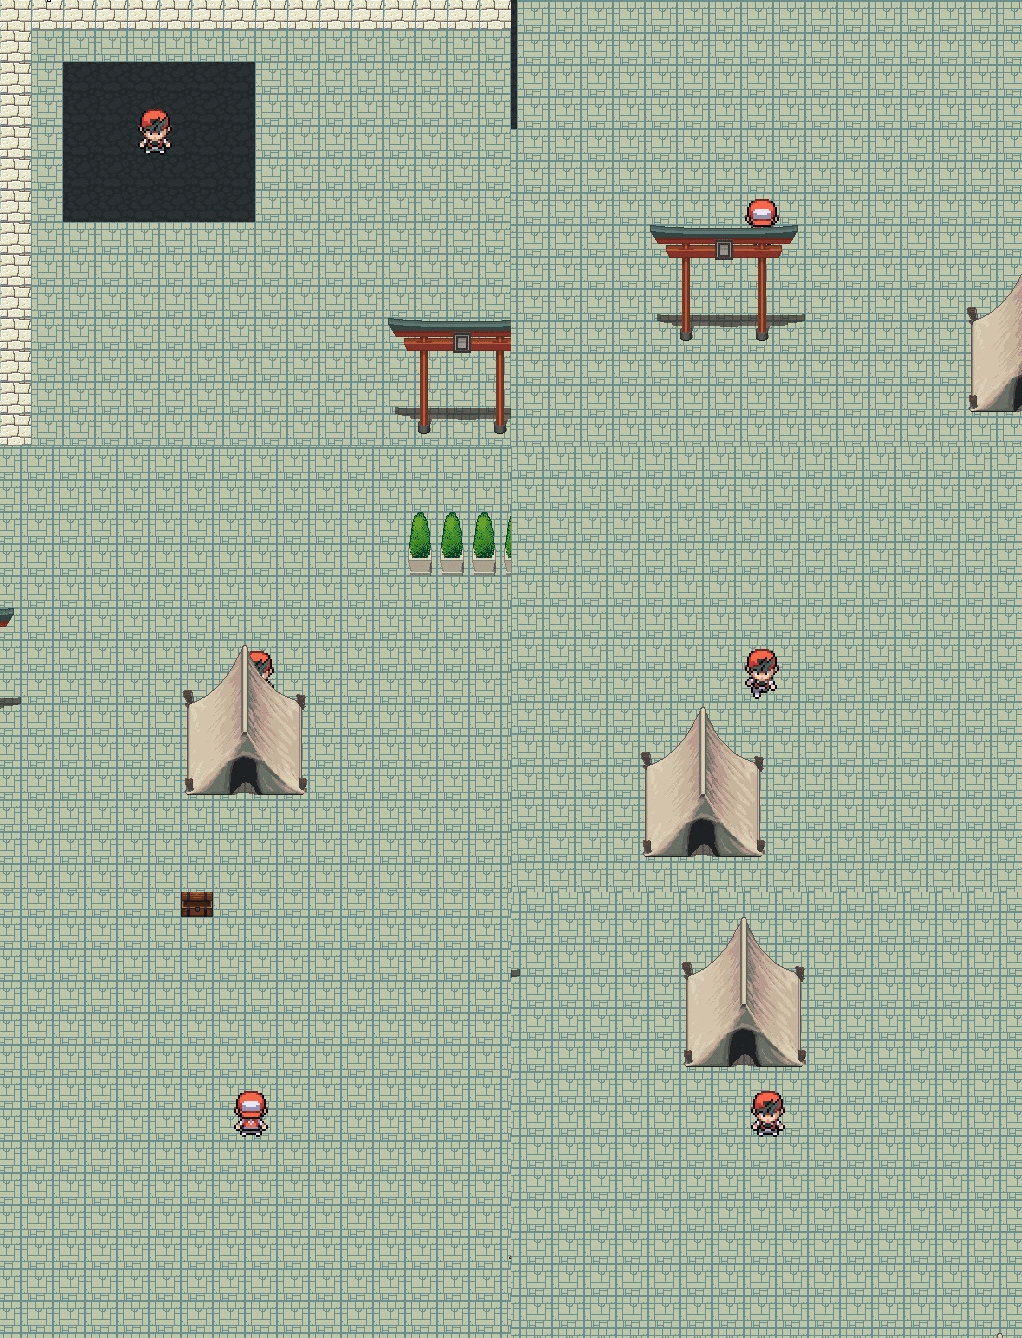
A simple 2D top-down game framework.
Using this structure, you are able to build simple 2D top-down games, like some titles listed here.
To facilitate game development, the framework integrates with some useful tools:
- Tiled Map Editor (Used to build maps based on tiles)
- Aseprite (Used to generates sprites and animations)
- Lua You can build routines and scripts to describe some behaviors for your game logic.

Dependencies
This structure is built using the following languages / libraries:
Importing the project
If you use Microsoft Visual Studio Community 2017 to develop, follow the steps below.
- Open Visual Studio IDE
- On menu bar, select: File > New > Project...
- On left-side, select Templates and Visual C++
- On right-side, select: Empty Project
- On the field Name: write:
game-prototype - On the field Location: write the path where your project folder is. In this example:
C:\Users\your-user\projects\workspace - On field Solution name: write:
game-prototype - Check the box: Create directory for solution
- Hit OK
If all went well, you will see your project in the column: Solution Explorer
Now to be easier to understand the project structure, change the view mode:
- On Solution Explorer click on Show All Files icon.
- Now, expands some folders inside assets and src, to see some files...
- Observes if the files has a red icon, indicating that it is not included on the project. If it is, right-click on the file and click Include In Project. Try to include the whole folder to add all files to the project (sometimes this does not works).
Done, the project was imported and the source files were included, now we need to configure it.
Configuring
To be able to build and run our project, we need to configure it. So, let's start!
Configuring the output folder
- Right click on game-prototype in Solution Explorer
- Properties
- You gonna see on the top of the window, the selector: Configuration, so, choose the option:
All Configurations - On selector Plataform, choose the option
Win32 - On left-side of the window, click on General
- Now, in right-side, edit the field Output Directory. Change the default value to:
$(SolutionDir)bin\$(Configuration)\ - In Intermediate Directory put the value:
$(SolutionDir)bin\$(Configuration)\intermediates\ - Hit the button Apply
Configuring the include paths
- On left-side, select VC++ Directories
- Now, in right-side, edit the field Include Directories. A modal is gonna open. Now add this folders, each on a different line:
$(SolutionDir)dependencies\SDL2-2.0.5\include $(SolutionDir)dependencies\SDL2_image-2.0.1\include $(Solutiondir)dependencies\SDL2_mixer-2.0.1\include $(SolutionDir)dependencies\SDL2_ttf-2.0.14\include $(SolutionDir)dependencies\lua5.1\include $(SolutionDir)dependencies\glm - Hit the button OK to close modal and hit the button Apply
Configuring Linker
- On left-side, expand Linker and select General
- Edit the field: Additional Library Directories. A modal is gonna open, so, include the follow paths, each on a different line:
$(SolutionDir)dependencies\SDL2-2.0.5\lib\x86 $(SolutionDir)dependencies\SDL2_image-2.0.1\lib\x86 $(SolutionDir)dependencies\SDL2_mixer-2.0.1\lib\x86 $(SolutionDir)dependencies\SDL2_ttf-2.0.14\lib\x86 $(SolutionDir)dependencies\lua5.1\lib\x86 - Hit the button OK to close modal and hit the button Apply
- On left-side, expand Linker and now select Input
- Edit the field: Additional Dependencies. A modal is gonna open, so, include the follow libraries:
SDL2.lib SDL2main.lib SDL2_image.lib SDL2_mixer.lib SDL2_ttf.lib lua5.1.lib - Hit the button OK to close modal and hit the button Apply
- On left-side, expand Linker and now select System
- Edit the field: SubSystem and choose the option:
Console (/SUBSYSTEM:CONSOLE) - Hit the button Apply
- Now you can hit OK to close the configuration properties window.
Adding DLL's
Now, we need to add the project's DLL's before build.
You can find all needed DLL's inside the path: game-prototype/dependencies/DLLs/.
Copy everything and paste inside of: game-prototype/bin/Debug/ and game-prototype/bin/Release/
Building
After all this boring configuration, we able to finally build and run the project.
- On the top of Visual Studio, you can see a selector where you have the options:
Debug,ReleaseandConfiguration Manager.... Choose the optionDebug. - Now, choose
x86on the next selector. - Click on play button
Local Windows Debuggerto run the application in Debug mode.
