Awesome
#Influga is no longer maintained. Please consider to use alternative, if you are using InfluxDB 0.9+, my recommendation is re:dash
Influga 

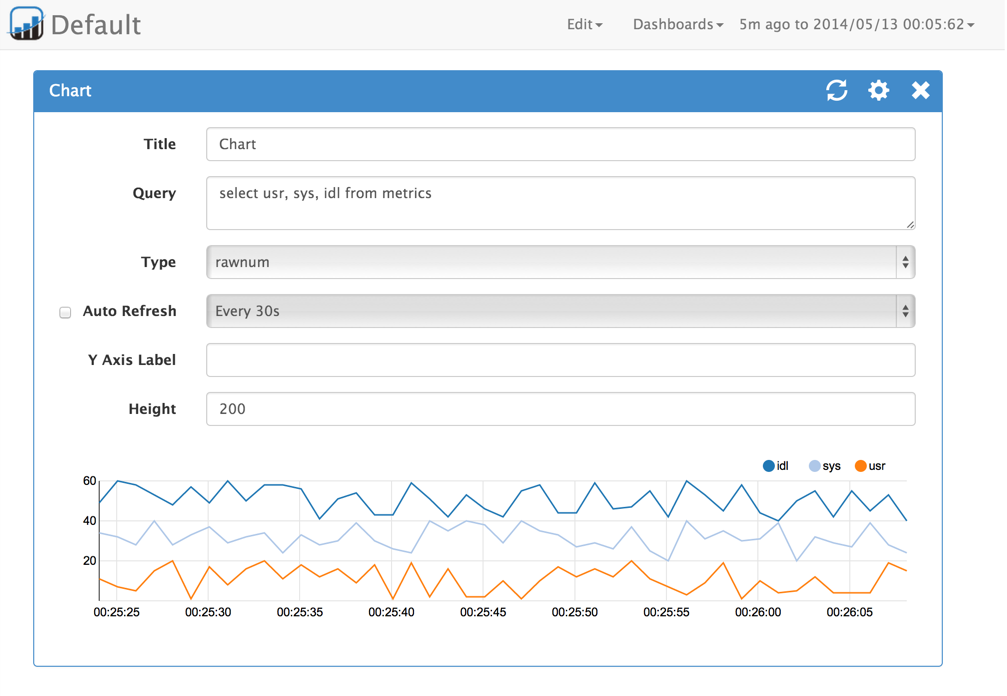
A InfluxDB Dashboard and Graph Editor.

Features
- Create dashboard for InfluxDB
- Influga can write raw query for InfluxDB
- Drag and drop panel sorting
- Mobile optimized layout
How to use
Install
You can install influga via npm:
$ npm install -g influga
Setup
Move to working directory and type influga init
$ influga init
Config file template is created to influga-config.json
Edit config for your environment

{
  "dashboardDbPath": "./db/influga.db",
  "host": "localhost",
  "port": 8086,
  "database": "db",
  "username": "root",
  "password": "root"
}
Config file template is created to influga-config.json.
Open this file on your editor and edit values for your environment.
| Name | Description |
|---|---|
| dashboardDbPath | Dashboard database file path |
| host | InfluxDB hostname or IP |
| port | InfluxDB HTTP API port. Default is 8086 |
| database | InfluxDB database name |
| username | InfluxDB username |
| password | InfluxDB user's password |
Run
Run influga server using start command with config file, like this.
$ influga start -c influga-config.json
Now you can access on your browser, http://[server]:8089
How to develop
Install
$ npm install -g gulp
$ npm install -g bower
$ npm install
$ bower install
Build and run
$ gulp
$ gulp watch
Build for production
$ gulp production
LICENSE
MIT