Awesome
Bluemix and video streaming
The idea of this article is trying to deploy an app in Bluemix to stream videos, looking at the Bluemix services page I found the ustream services where you can get a free account to publish up to 10GB of videos.
https://console.ng.bluemix.net/catalog/services/ustream/
Basically we will cover 3 main topics among the writing:
-
Create cuba application.
-
Login in ustream API (oauth2) using ruby.
-
Upload a video file using the ustream flow ( http - ftp ).
-
Deploy the app into bluemix.
So let's put the hands in the thing.
Create cuba aplication.
Im going to use the cuba framework everytime I can choose, so for this let's create a some files to start an empty cuba app.
we need basically 2 files to start, app.rb and config.ru, then Ill create a dir to place the views call it views/ of course.
emacs app.rb
require 'cuba'
require 'mote'
require 'mote/render'

Cuba.plugin Mote::Render

Cuba.define do
  on root do
  end
end
mkdir views/
Login in ustream API (oauth2) using ruby
Ustream api uses oauth2 as authorization method, to login we should make an htttp POST to this endpoint:
http://www.ustream.tv/oauth2/authorize
with this params: client_id redirect_uri response_type
I'll like to keep thinks simple so, for this toy app the idea is to have a simple form to upload the video after login against ustream. Im going to add page with a link like this:
<a href="http://www.ustream.tv/oauth2/authorize?client_id={{client_id}}&redirect_uri={{redirect_uri}}&response_type=token">[ Login using Ustream ]</a>
you can see it the file here:
https://github.com/gramos/video-streaming-bluemix/blob/master/views/index.mote#L34
after the user clicks in this link it will be redirected to ustream asking to allow to access to the user' s account.

the user clicks in allow and then it is redirected to the redirect_url.
After this we are able to start uploading videos through the API using the token given in the response (access_token), in our example you can see it as a param in the URL. We are good for now, lets move to the next step.

Upload a video file using the ustream flow ( http - ftp )
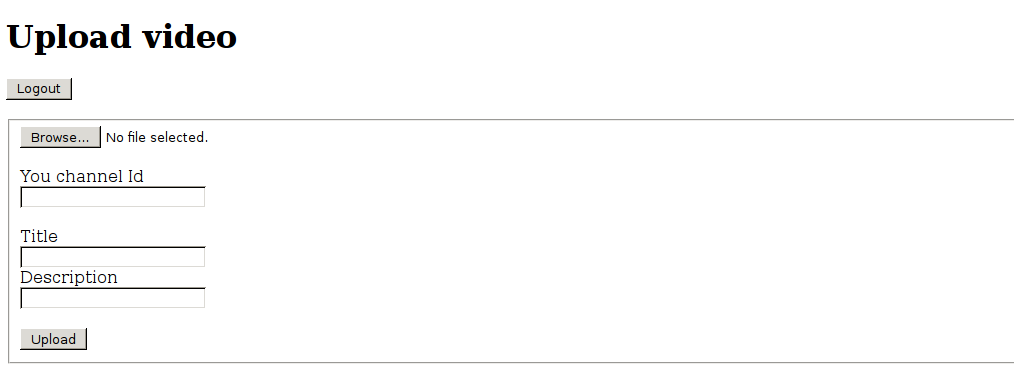
To upload a file using ustream, I'm going to add a form with three input text: channel_id, title, description and one input to choose the video file from the user computer.
https://github.com/gramos/video-streaming-bluemix/blob/master/views/index.mote#L8
So the user will upload the file and fill the form with his data, the click in the upload button and then we need to start the comunication with the ustream API, in particular the 3 following steps As descripted in the Documentation:
1- Initiate an upload process by an API call. In the response you can find the details of the FTP connect. https://github.com/gramos/video-streaming-bluemix/blob/master/app.rb#L32 the response is a Json with th ftp credentials, so we save the response and parse it
2- Upload the video.
Now we can start uploading the video file using the credentials given by the previous response.
3- When upload finished, send a file in place signal, which tells to our server that it can start process the file.
The response is a json with status 202 Accepted, everything seems to be ok but not all thinks are so happy here :), I made a request to see the video status and the status is pending forever, I also connect to the ftp using the data retorned in the response of the first request and see that the uploaded file has only 1kb, which is wrong. You can play a little with app here if you want:
http://video-demo.mybluemix.net/
Im not going to explain how to deploy the app in bluemix since you can find a lot documentation using google for this.
Conclution:
Bluemix play well for this simple app, but the documentation related to integration between bluemix and ustream is a bit confusing and is not easy to find what you are looking for. The process of upload a video with http + ftp requires using ftp which is a very old and unused protocol and the error messages of the API are not explanatory.
How install and run the app
Clone the repo
git clone git@github.com:gramos/video-streaming-bluemix.git
Install gems
bundle install
Generate the env file
cp env.example.sh env.sh
edit env.sh and fill it with your data.