Awesome
<div align=center><img src="https://flutterkit.github.io/zerkerdocs/logo/logo.png"/></div> <br/> <div align=center> <a href="https://pub.dartlang.org/packages/zerker" target="_blank"><img src="https://img.shields.io/pub/v/zerker.svg" alt="pub package" /></a> <a href="https://flutter.dev/" target="_blank"><img src="https://img.shields.io/badge/Made%20with-Flutter-5fc9f8.svg" alt="Made-with-Flutter" /></a> <a href="https://dart.dev/" target="_blank"><img src="https://img.shields.io/badge/Made%20with-Dart-13589c.svg" alt="Made-with-Dart" /></a> </div>What is Zerker
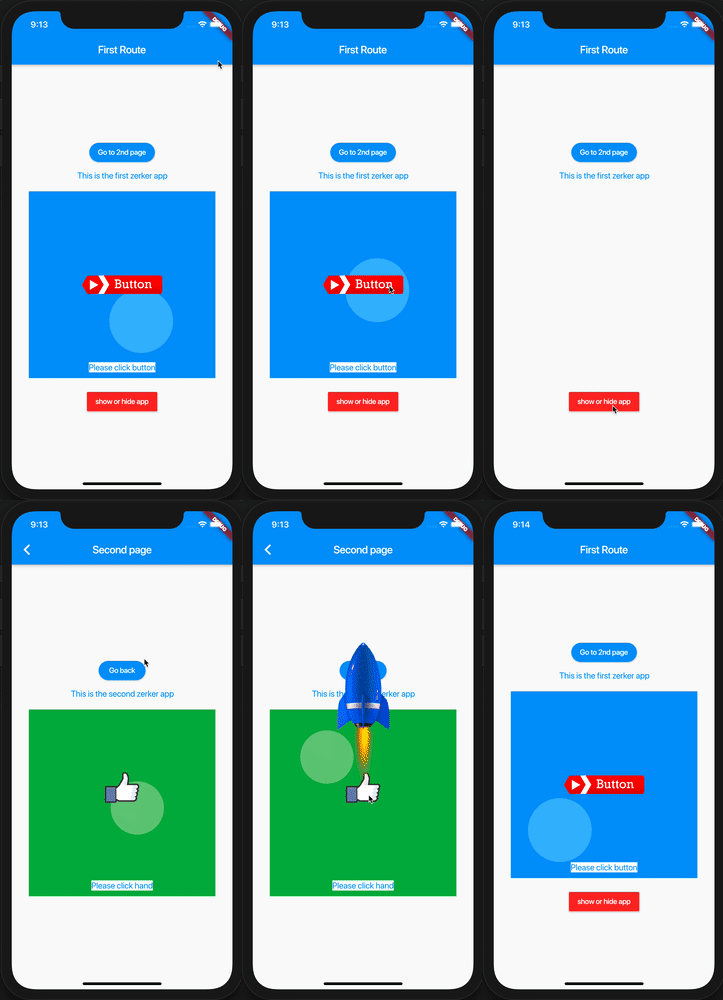
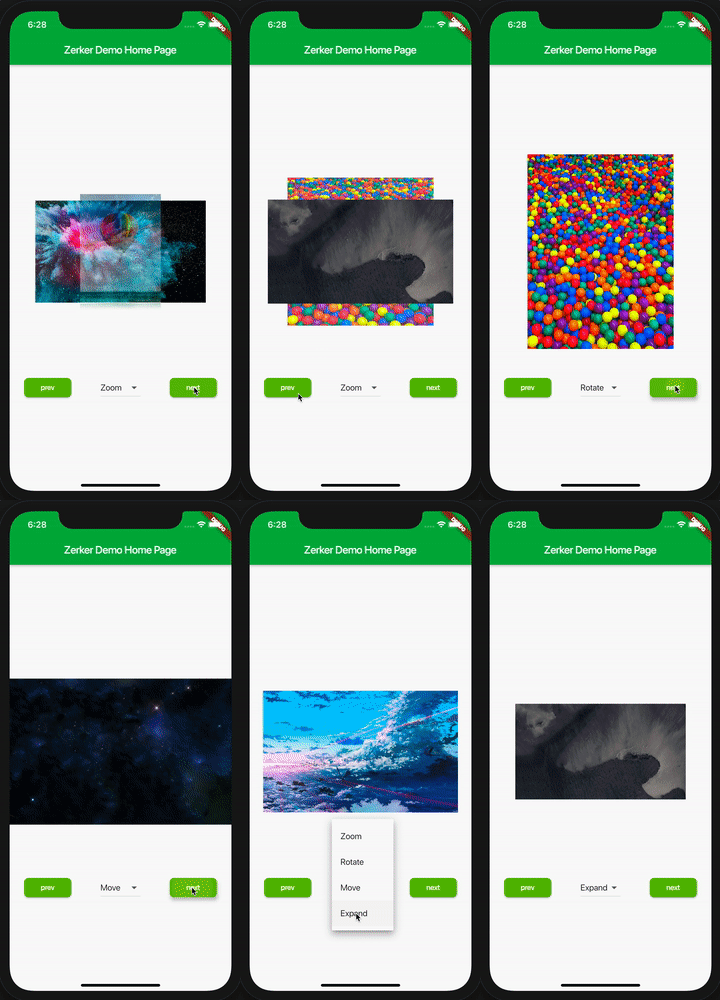
Zerker is a flexible and lightweight flutter canvas graphic animation library.
With Zerker, you can create a lot of seemingly cumbersome animation effects, such as animated animations, pop-up animations, scene transitions, icon effects, and more.
At the same time, you can create a lot of simple games with Zerker. Zerker contains elements such as sprites, scrolling backgrounds, and atlases, making it easy to create game worlds with them.
➤ More detailed documentation about Zerker is here https://flutterkit.github.io/zerkerdocs/

Installation
Add this to your package's pubspec.yaml file, And execute the commandflutter pub get:
dependencies:
  zerker: <latest_version_here>
More detailed installation steps, you can refer to here. https://pub.dev/packages/zerker/install
Getting started
Import the package
import 'package:zerker/zerker.dart';
Useage
Create a zerker widget
class _MyHomePageState extends State<MyHomePage> {
  @override
  Widget build(BuildContext context) {
    return Scaffold(
        appBar: AppBar(
          title: Text(widget.title),
        ),
        body: Center(
          child: Zerker(app: MyZKApp(), clip: true, interactive: true, width: 350, height: 350),
        ));
  }
}
Create your Zerker class inherited from ZKApp
class MyZKApp extends ZKApp {

  @override
  init() {
    super.init();
    /// init zerker scene
  }

  @override
  update(int time) {
    super.update(time);
    sprite.position.x++;
  }
}
Initialize the scene and create elements in the init function
/// Create a zerker sprite
ZKSprite bigboy = ZKSprite(key: "bigboy")
  ..animator.make("front", [0, 1, 2, 3, 4])
  ..animator.make("left", ['5-9'])
  ..animator.make("after", ['10-14'])
  ..animator.make("right", ['15-19'])
  ..onTapDown = (event) {
    bigboy.animator.play("right", 8, true);
  };
stage.addChild(bigboy);

/// Create a zerker text
ZKText text = ZKText()
  ..setPosition(100, 100)
  ..text = "hello world"
  ..setStyle(color: Colors.blueGrey, backgroundColor: Colors.red[50]);
stage.addChild(_text);
More cases
You can quickly start learning an example here. https://flutterkit.github.io/zerkerdocs/guide/tutorial.html

More zerker examples you can view here https://github.com/flutterkit/zerker-samples. If you have any questions about Zerker, please let me know by email, thank you very much!


License
Zerker is licensed under MIT license. View license. https://github.com/flutterkit/zerker/blob/master/LICENSE