Awesome
Stunts in Unity3D
This is a toy project to import assets of the original Stunts into Unity, and possibly turning it into a functional demo.
Basic Setup
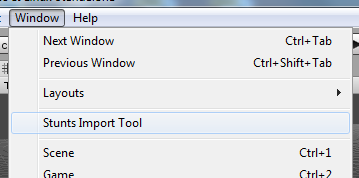
The first step after loading the project is to open the import tool via the Window menu:
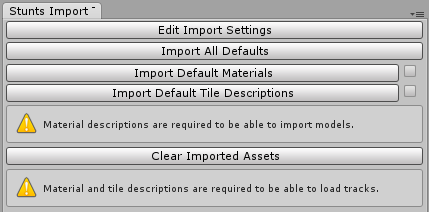
A dockable window opens that will immediately tell you to get the original game (Stunts version 1.1):

You can get a copy that’s known to work well from the following location: http://downloads.pigsgrame.de/STUNTS11.ZIP
Unpack the contents of this archive into the GameData directory.
Afterwards, you can extract various look-up tables needed for importing the meshes. Just press the Import All Defaults button. You can verify the success of this operation by choosing Edit Import Settings and checking e.g. that the palette and material definitions are filled in.
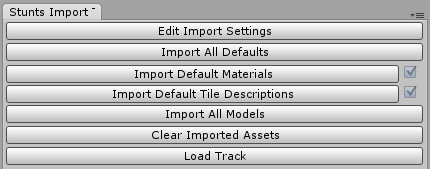
Now comes the fun part! You’ll see a new button called Import All Models. Pressing it will start the slightly lengthy import process. You have to redo this step if you changed the palette in the import settings, for instance, because everything is baked into the models at this time.
Loading Tracks
With the models loaded, you can finally load a track file. If you’re not there yet, open the CarTest scene:

This scene is not strictly necessary, but it provides the green base that’s part of every track in the original game. Also, the base quad has its own material that gives it a positive polygon offset so there’s no Z fighting with the flat elements.
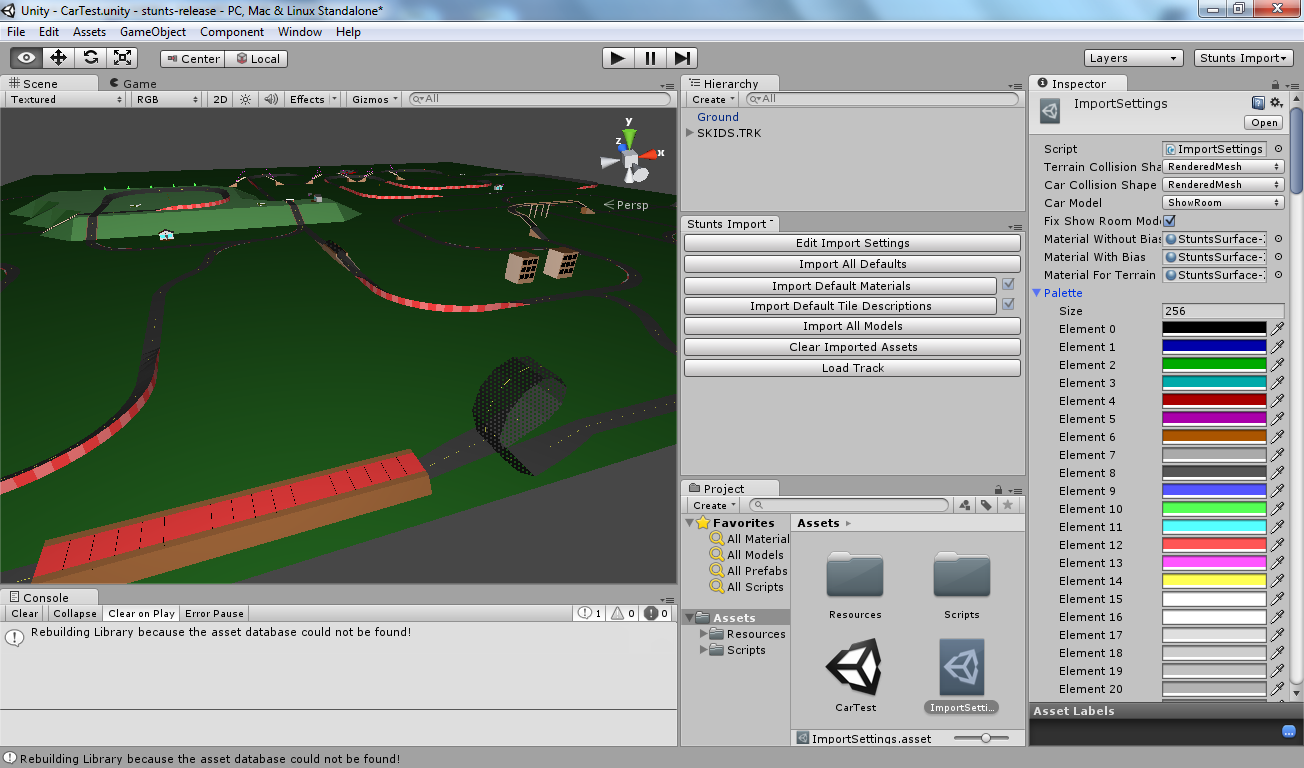
So if you choose Load Track from the import tool, you can just navigate to GameData and choose one of the TRK files. If all went well, you should be seeing something like this:
Loading Cars
There’s no real support for getting the cars in the scene, but you can add the models manually with relative ease. For instance, to get the detailed showroom models into the scene, you should do the following:
- Go to
Resources/Cars/ShowRoomMeshesand drag the car of your liking onto the scene. - Place it in the hierarchy right under the root of the TRK node that holds the level. This makes it easy to scale the model.
- Because the showroom models are 20 bigger than the in-game ones, set the scale of the object to
0.05. - Finally, add the appropriate materials by hand. Set the size of the
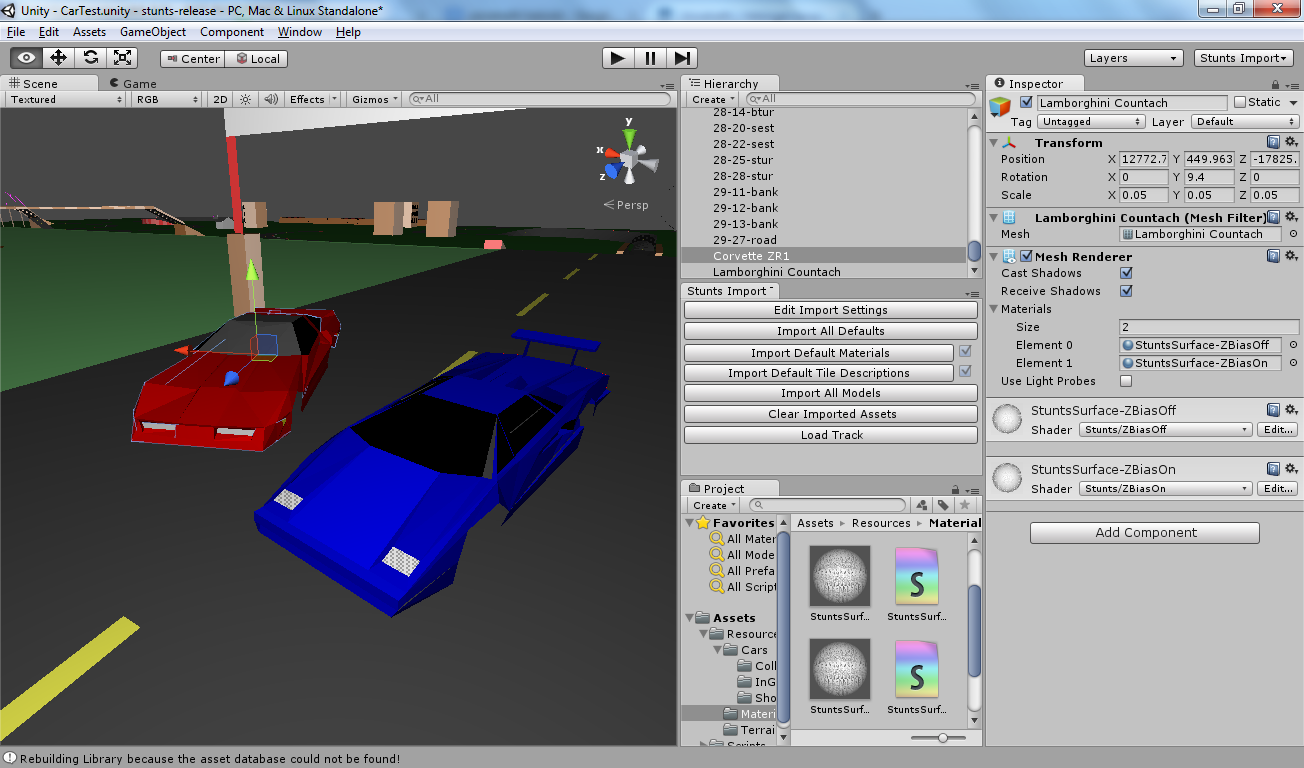
Materialsarray to 2, addStuntsSurface-ZBiasOffas the first element, andStuntsSurface-ZBiasOnas the second. These shaders are needed to be able to see vertex colours and the Stunts-specific bitmask patterns.
If everything went well, you should see something like this:
