Awesome
Cartographer
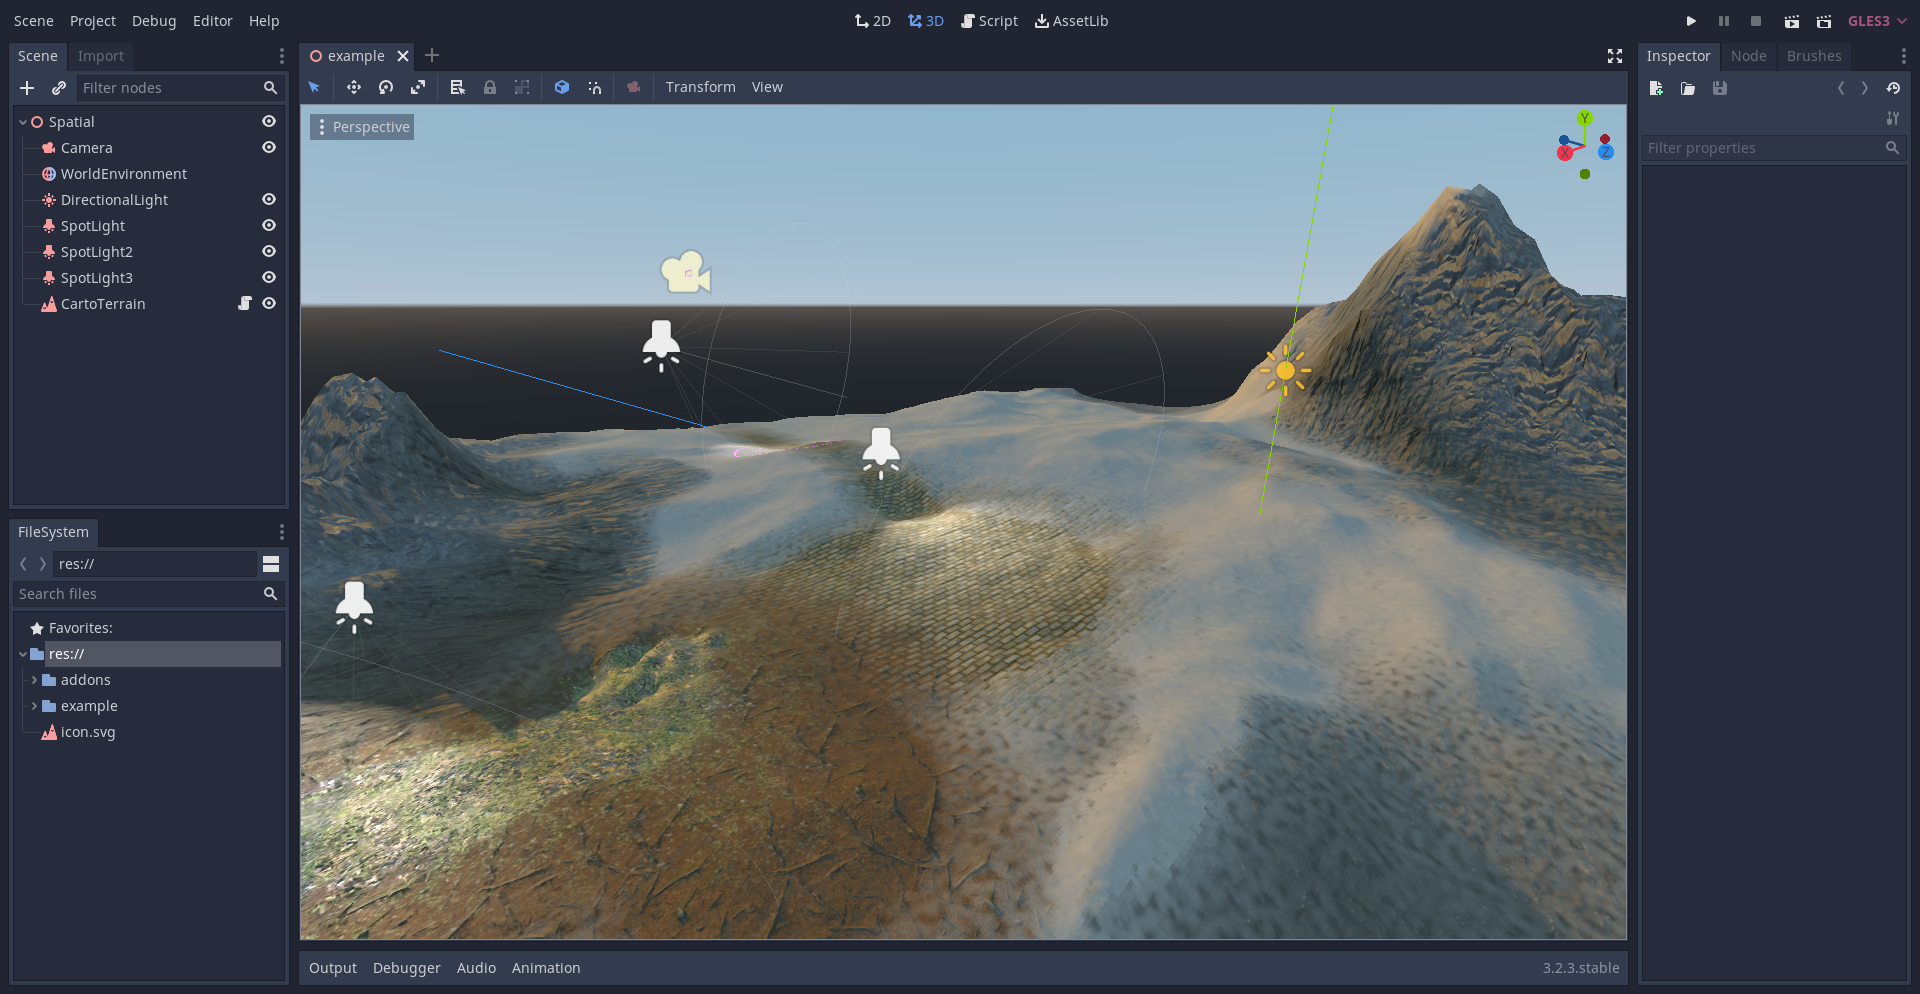
Cartographer is a GPU powered terrain editor for Godot 3.

Features
- GPU Clipmap LOD terrain mesh
- Terrain sizes from 32 to 1024 units
- Layered Terrain Material
- 16 layer Weightmap with GPU painting
- Triplanar texture mapping
- Full PBR material support
- Masked weight blending (Experimental)
- GPU Heightmap sculpting
- 16bit Heightmaps
- Terrain holes (for caves etc.)
- Physics
- Heightmap physics collision shape generator
- Terrain ray picking for painting and sculpting
- GPU ray picking
- Friction map?
- Dynamic lighting
- Lightmap baking
- Audio map?
- Customizable terrain visual shader
- Custom visual shader nodes
- Undo / redo
- TextureArray editing
- Custome TextureArray ResourceSaver (save as
.texarr) - Custom TextureArray importer/builder
- Custome TextureArray ResourceSaver (save as
- Brushes panel
- Custom Brushes
- Brush strength
- Brush scale
- Brush rotation
- Brush spacing
- Brush strength jitter
- Brush scale jitter
- Brush rotation jitter
- Brush spacing jitter
- Editing tools
- Raise
- Lower
- Paint
- Erase
- Fill
- Smooth
- Sharpen
- Level
- Select
- Advanced editing with:
- Anchors
- Shapes
Guide
Terrain Editing
- Install the addon into your project.
- Remember to enable the cartographer singleton.
- In a spatial scene click add and type "cartoterrain".
- Add a CartoTerrain node.
- Inspect the terrain node, set the height, width, depth to desired size.
- In the inspector select and expand the Material property.
- Under the Albedo, Normal or Ao, Roughness, Metallic group find the textures field.
- Click
New CartoMultiTextureto create a new texture array, (orLoadto load an existing array). - Click the
Createbutton to initialize the new texture array, choose the size and format from the dialog. - You will now have an empty texture array, click the folder icon on a layer to load an image for that layer.
- Click the down arrow to edit the layer's image channels directly.
- Click on a layer to select it for paiting, it will highlight when selected.
- To enjoy PBR rendering you need to add matching textures to each group. So if you add an Albedo texture at index 2 then you should add its NormalMap texture to index 2 of the Normal array. For AO, Roughness, and Mettalic textures add the AO texture to index 2 channel 0 (Red), the Roughness texture to index 2 channel 1 (Green), the Mettalic texture to index 2 channel 2 (Blue).
- If you add a NormalMap to a layer, don't forget to enable that layer for NormalMapping.
- ATTENTION! Godot's texture arrays are quite buggy. Cartographer comes with tools to help work around this.
You should save your texture array to an external file for perfomance, but saving the texture array in the scene
or as a standard Godot resource (.tres or .res) causes errors. Cartographer has a custom texture array resource saver,
click the
Saveoption and choose to save the texture array as a.texarrfile type. Even better, use the custom TextureArray Importer that builds TextureArrays from JSON files. More info below.
- Click on the Brushes tab on the right side of the editor, you must have a brush selected to do any editing.
- Choose a brush or add a new brush
- If adding a brush make sure to set the channel for the brush mask.
- 16bit .exr brushes are best.
- Make sure the terrain node is selected, and choose your terrain editing tool from the icons above the main view.
- You can choose to raise or lower terrain, or paint or fill a texture.
- Hold
altwhile using a tool to do the opposite, ie. while raising holdaltto lower.
- Sculpt and paint your terrain.
- Remember to save with
ctrl-swhile working. - IMPORTANT! To improve editing and runtime performance, under the Material property find the heightmap and
weightmap textures and save them to external files (as
.res).
Physics
- To add collision physics to your terrain add a StaticBody to your terrain node.
- Add a CollisionCartoTerrain node to the StaticBody.
- Select the CollisionCartoTerrain node and in the inspector choose the Terrain Path, (select your terrain node).
- The HeightmapShape will be auto generated and updated when the terrain changes.
- IMPORTANT! Do not add the physics while sculpting your terrain, it will be very slow as the HeightMapShape will be forced to update as you make changes.
- Either only add the physics nodes once you are done editing.
- Or only add the Terrain Path to the CollisionCartoTerrain once you are done editing.
Custom TextureArray Importer
Cartographer now comes with a custom TextureArray Importer, this is the most stable and performant way to generate TextureArrays for your terrain material. Godot comes with a built-in TextureArray importer, but it works by requiring you to merge all your textures into one large image in a grid pattern, then importing that image and telling the importer how many rows and columns it should split the image by.
Cartographer's TextureArray Importer builds the TextureArray from a simple JSON file. In the JSON build file you can set the texture width and height, list the images you'd like to use for each layer, and even build a layer channel by channel. The format is simple:
{
  // Set the width and height for each layer
  "size": [1024, 1024],
  // Set each layer in the array
  "layers": [
    // A layer in the array can be a resource path
    "res://assets/textures/rock_albedo.jpg",
    // or a file system path
    "file://home/user/project/assets/textures/rock_albedo.jpg",
    // or simply a hex color
    "#FFFFFF",
    // Layers can also be created by mixing channels directly, using an object like this
    {
      // The key selects the destination channels, the value is an array,
      // with the first item being the image (or color hex #FFFFFF) source,
      // the second item are the source channels, here they are being read in reverse,
      // mapping blue to red, green to green, and red to blue
      "rgb": ["res://assets/textures/rock_albedo.jpg", "bgr"],
      // Here the alpha channel is set to the red channel from the rock_mask image
      "a": ["res://assets/textures/rock_mask.jpg", "r"],
    },
  ],
}
Save the file with a .tabld file extension, select the file in the editor and go to the import tab to choose your build import options.
Experimental Masked Weight Blending
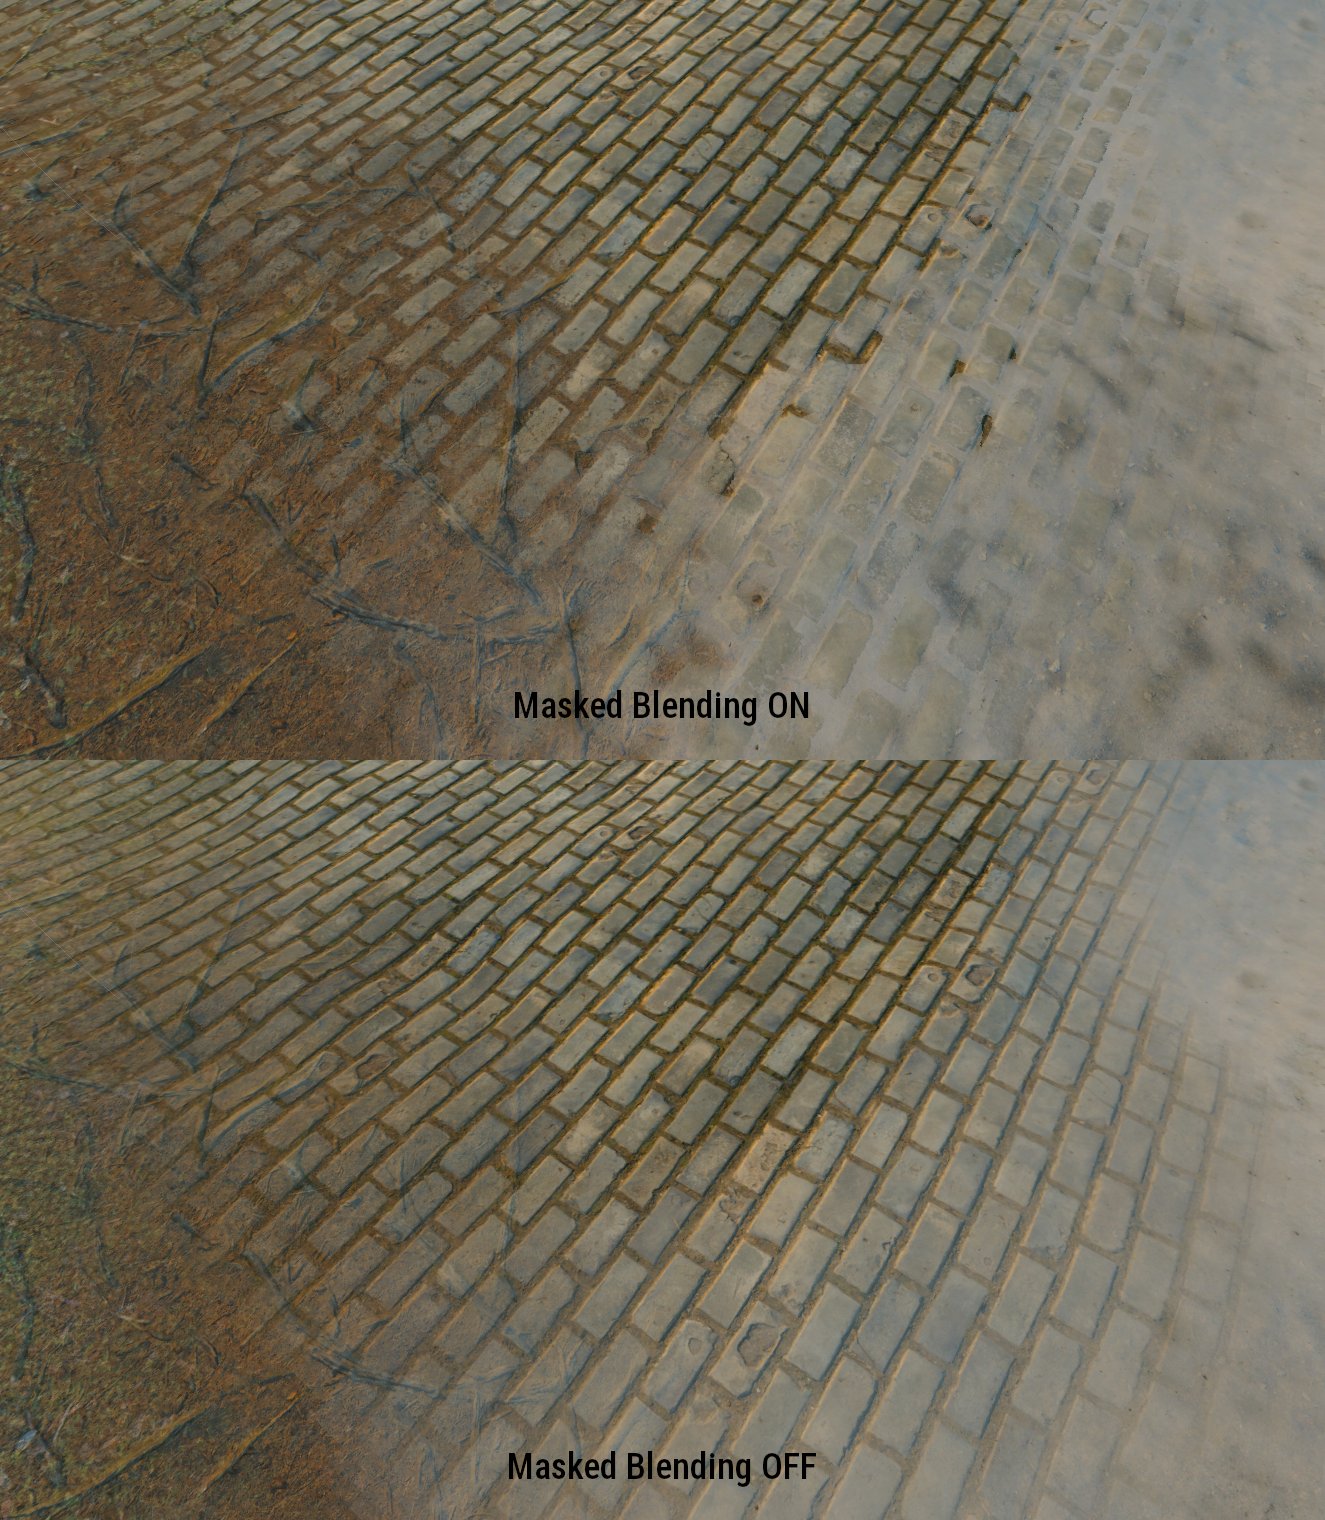
There is experimental support for masked weight blending in Cartographer. Masked weight blending uses a mask added to the alpha channel on an Albedo layer to boost or reduce the weight of a layer where it blends into another layer. This breaks up smooth gradient blends from the brush used to paint the layer, and makes the blending look more natural for the texture. For example; a brick layer with a mask blending into a sand layer will have the sand seem to fill the gaps between bricks more than the surface of the bricks. An example below:
 Comparison of the same weight blend with and without masked blending