Awesome
vim-colors-xcode
A number of Xcode’s colourschemes, now for (Neo)Vim!

xcodedark | xcodedarkhc (high-contrast) |
|---|---|
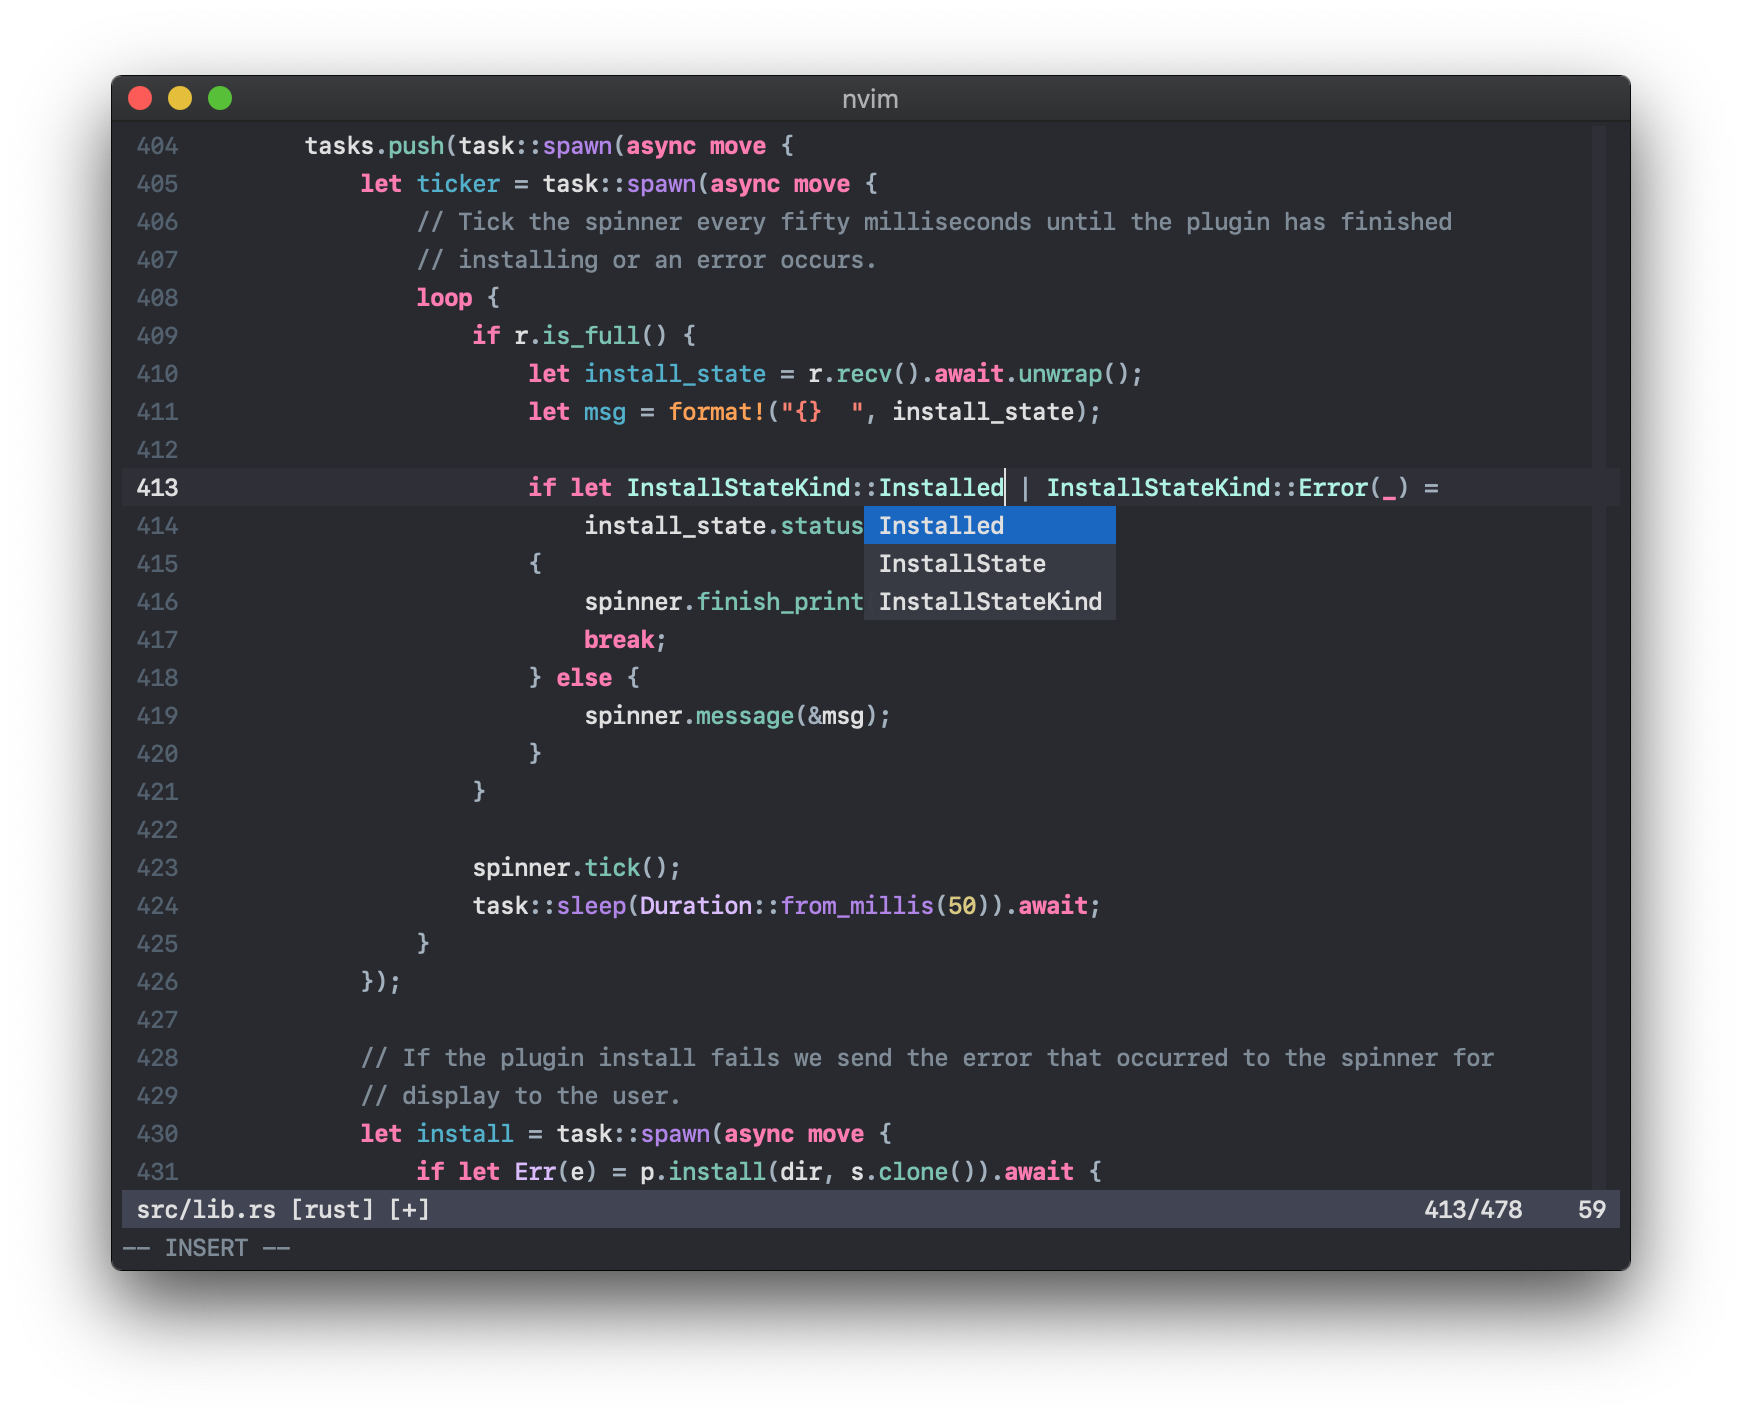 | 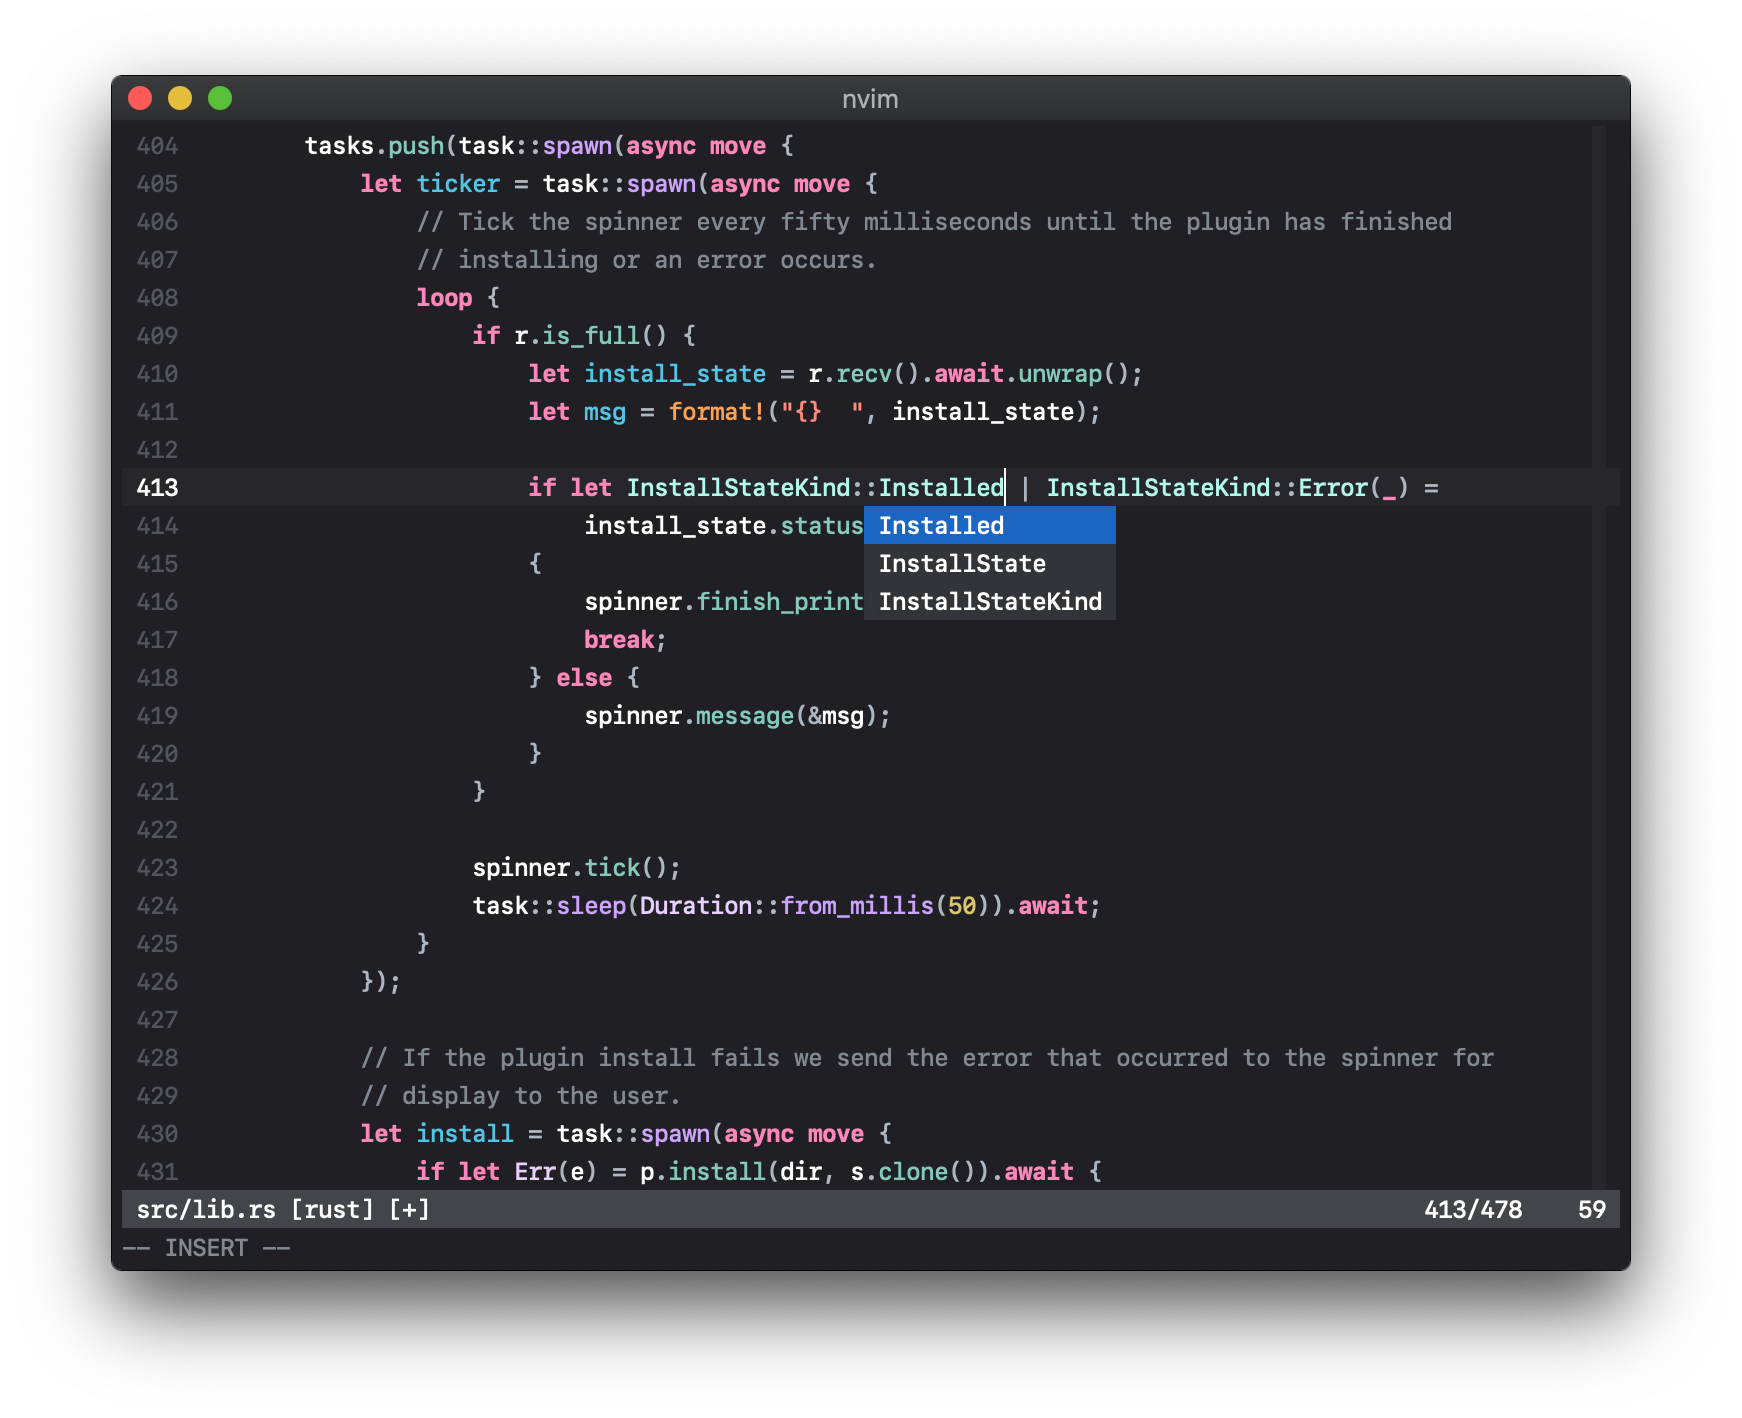 |
xcodelight | xcodelighthc (high-contrast) |
|---|---|
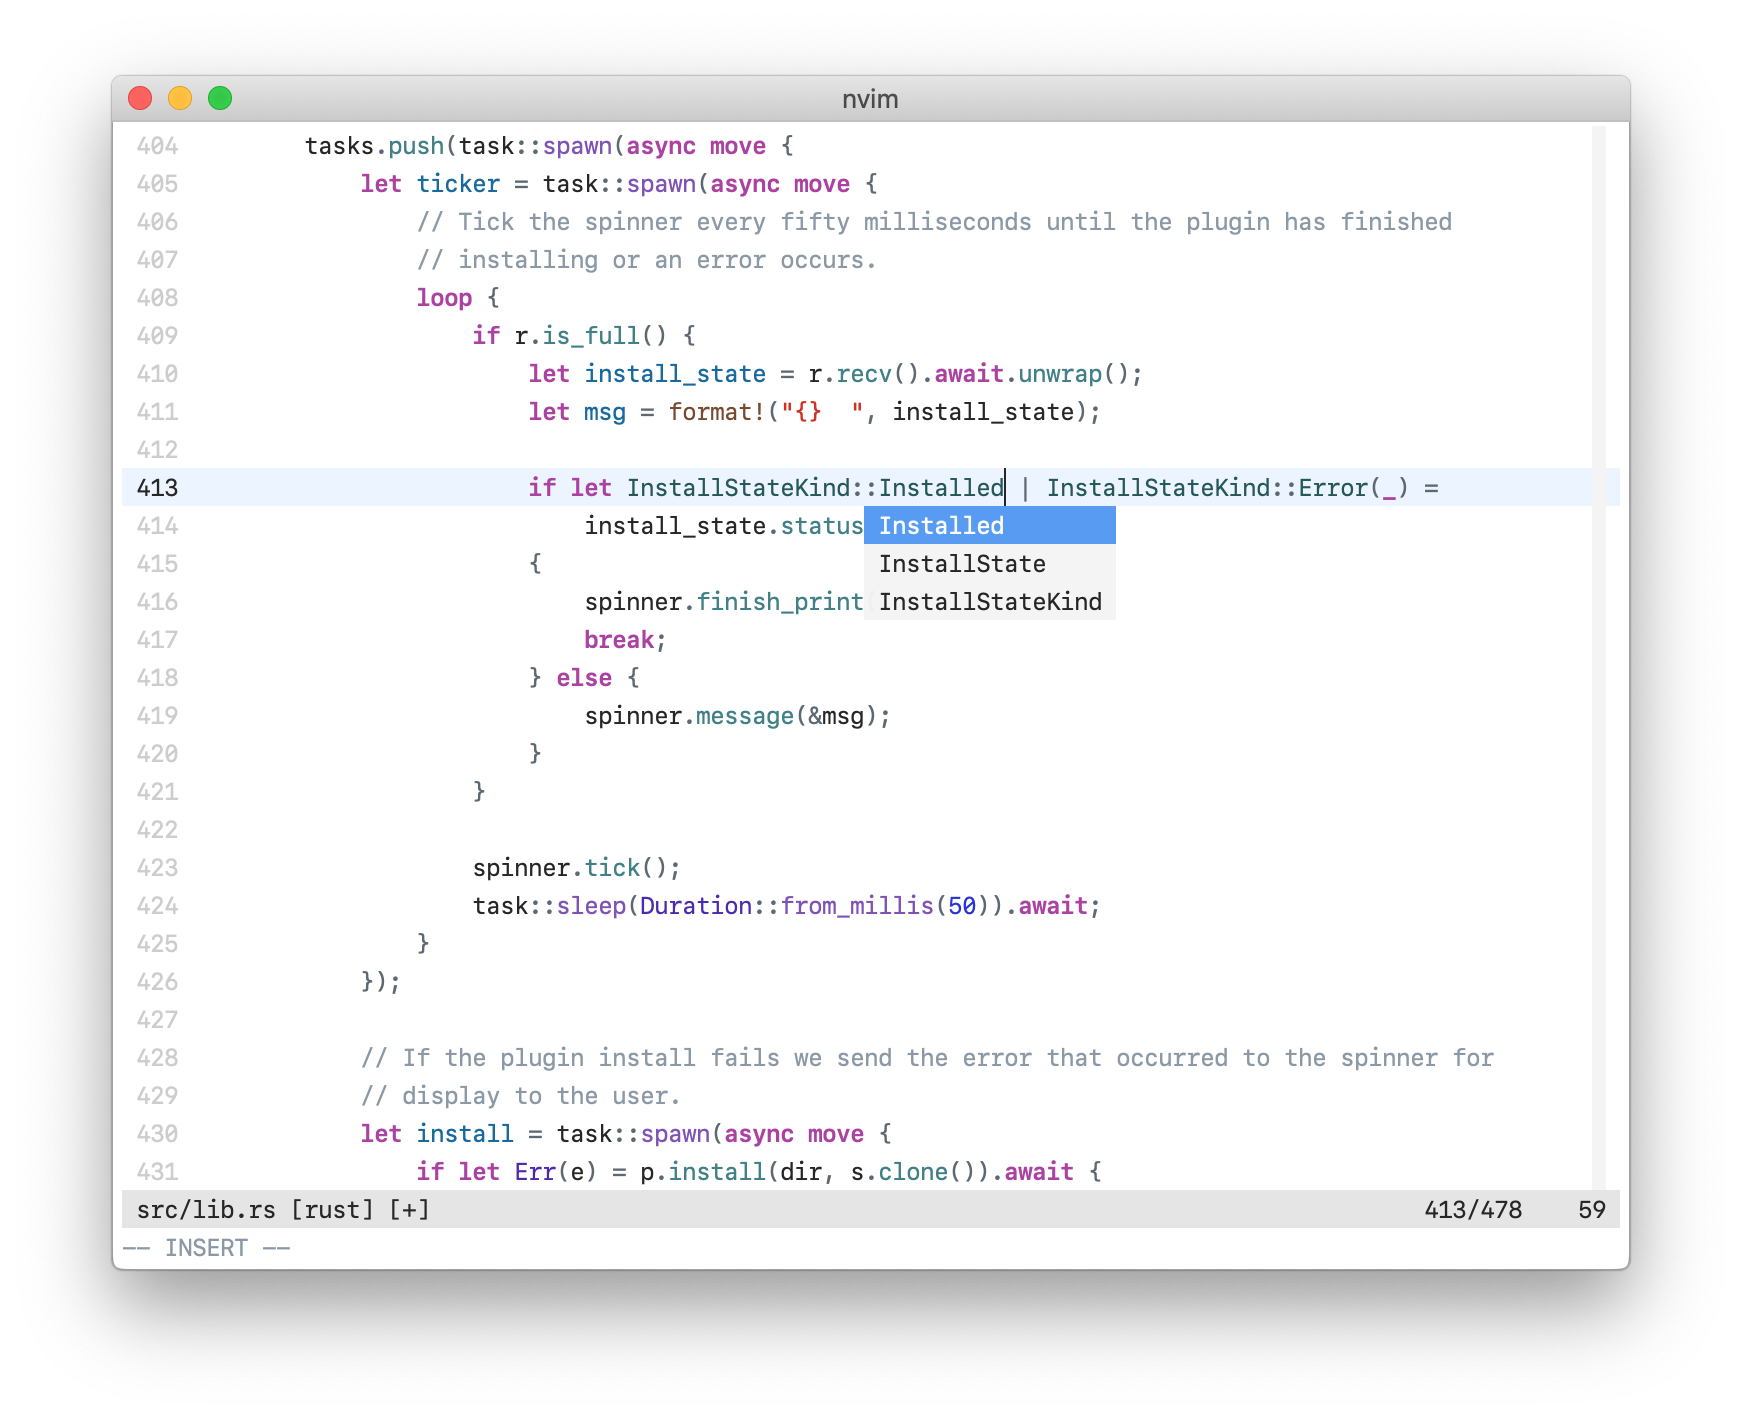 | 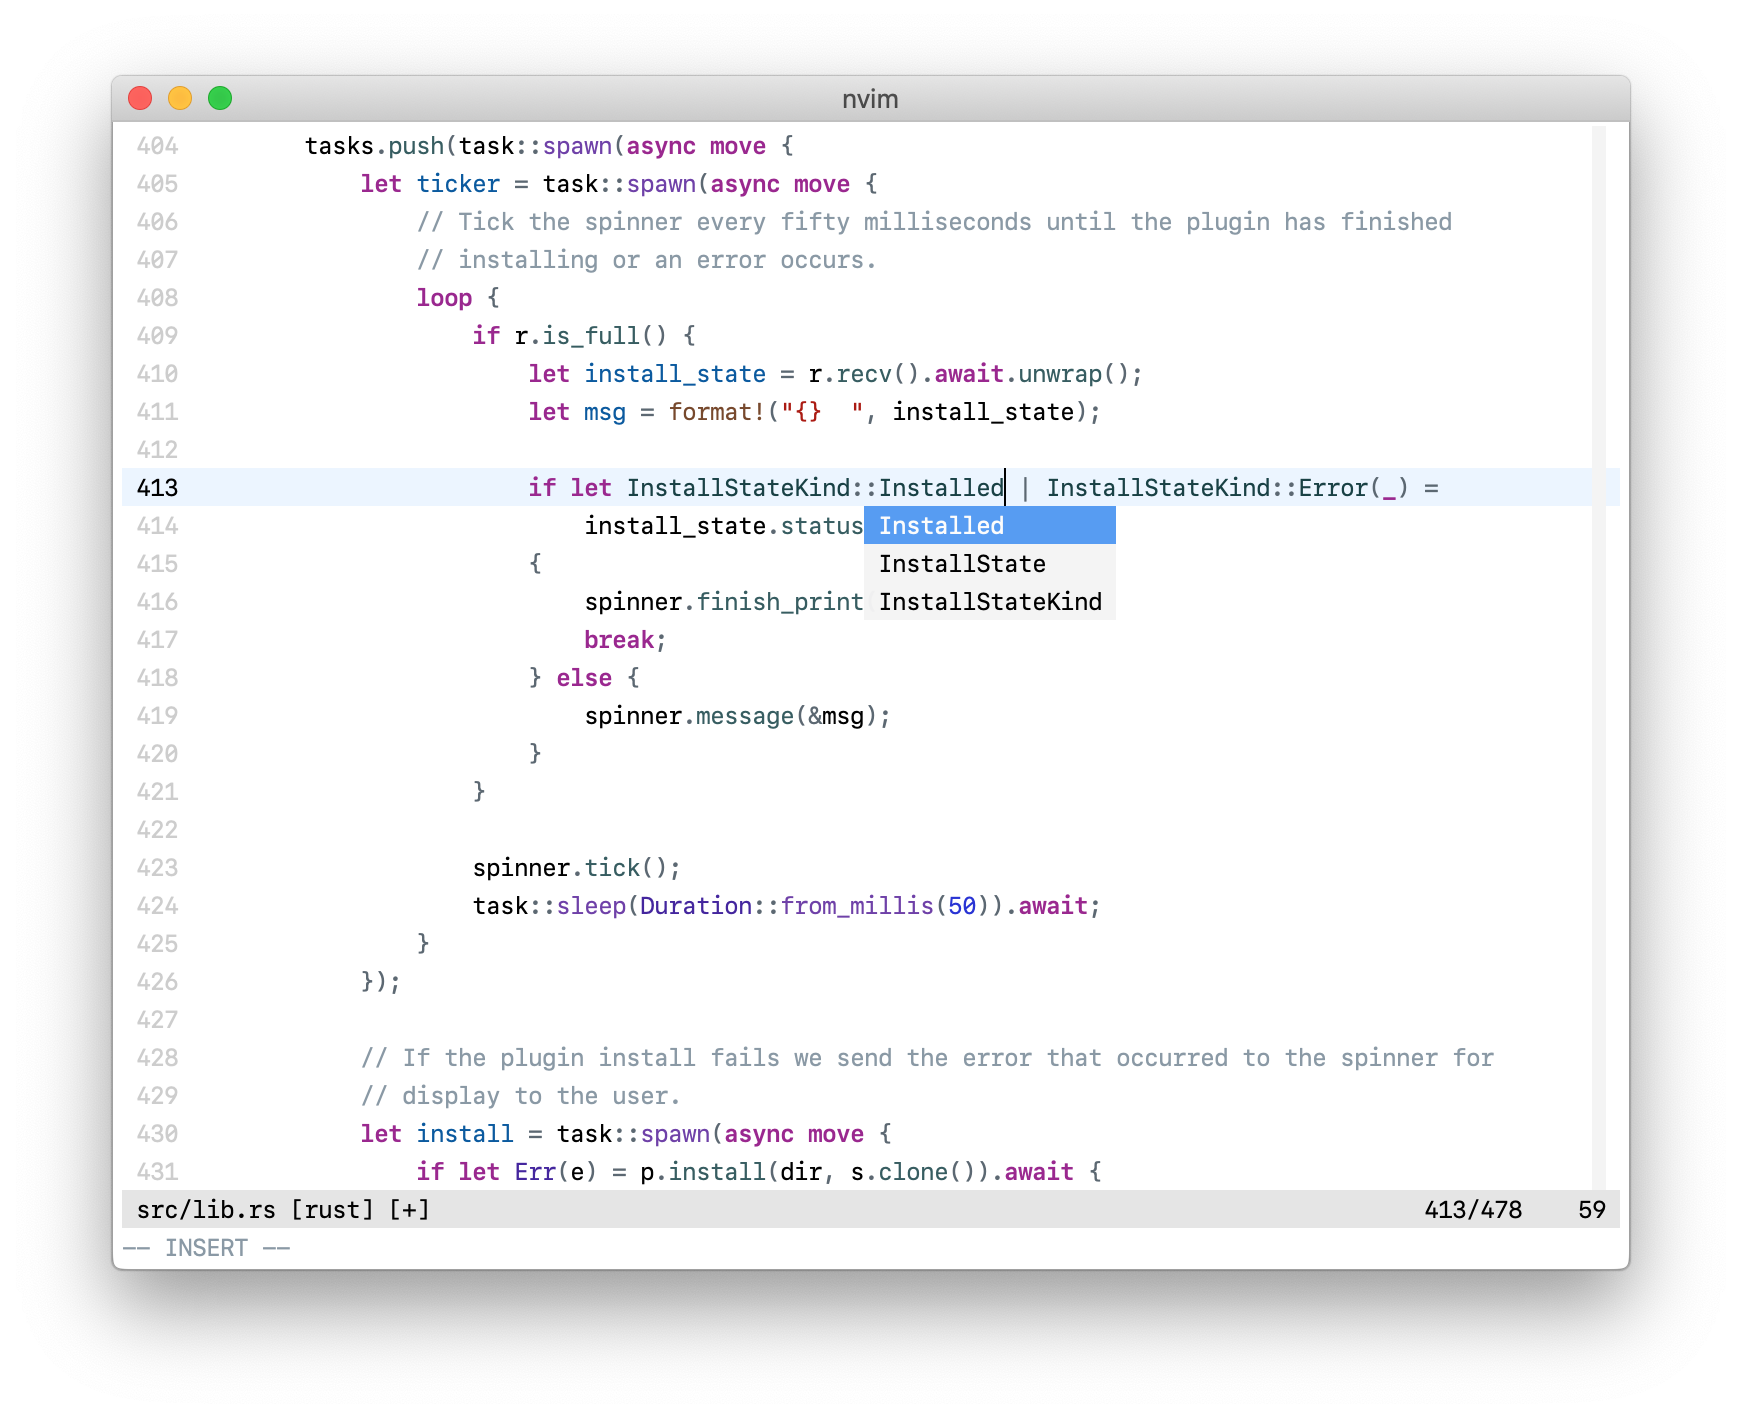 |
Use your favorite runtimepath/plugin manager. If you don’t have one, I recommend Plug:
Plug 'arzg/vim-colors-xcode'
Or, alternatively, you can install the old-fashioned way by copying the relevant directories right into ~/.vim:
$ git clone https://github.com/arzg/vim-colors-xcode.git
$ cp -r vim-colors-xcode/{autoload,colors,doc} ~/.vim
These colourschemes have been carefully tuned for the following language plugins:
- Bib(La)TeX (built-in)
- CSS (hail2u/vim-css3-syntax)
- Git (tpope/vim-git)
- Go (fatih/vim-go)
- HTML (othree/html5.vim)
- JSON (built-in)
- JavaScript (pangloss/vim-javascript)
- Jinja 2 (Glench/Vim-Jinja2-Syntax)
- Markdown (tpope/vim-markdown)
- Rust (arzg/vim-rust-syntax-ext)
- SCSS (cakebaker/scss-syntax.vim)
- Swift (arzg/vim-swift)
- TypeScript (HerringtonDarkholme/yats.vim)
- Vim help (built-in)
- VimL (built-in)
These plugins are specifically supported:
To get the closest experience to Xcode it is recommended that you use the following configuration for Signify:
let g:signify_sign_add    = '┃'
let g:signify_sign_change = '┃'
let g:signify_sign_delete = '•'

let g:signify_sign_show_count = 0 " Don’t show the number of deleted lines.
Xcode updates its Git gutter signs immediately upon editing. To achieve this you can add the following to your vimrc:
" Update Git signs every time the text is changed
autocmd User SignifySetup
            \ execute 'autocmd! signify' |
            \ autocmd signify TextChanged,TextChangedI * call sy#start()
Use :help xcode<variant>, where variant is either dark, darkhc, light, lighthc, or wwdc, to view a list of all the possible options and their default values. Add g:xcode<variant>_ in front of every option name for use. For example, emph_funcs would turn into g:xcodedarkhc_emph_funcs if you want it to apply to the dark high contrast variant and g:xcodelight_emph_funcs for the light version.
Note that I’ve only added screenshots of the light and dark variants for the options below for reasons of brevity.
<details> <summary>Comment Style</summary>- This option does not exist in the WWDC colourscheme
- The default value is
0
<sup>green_comments</sup> | Dark | Light |
|---|---|---|
0 | 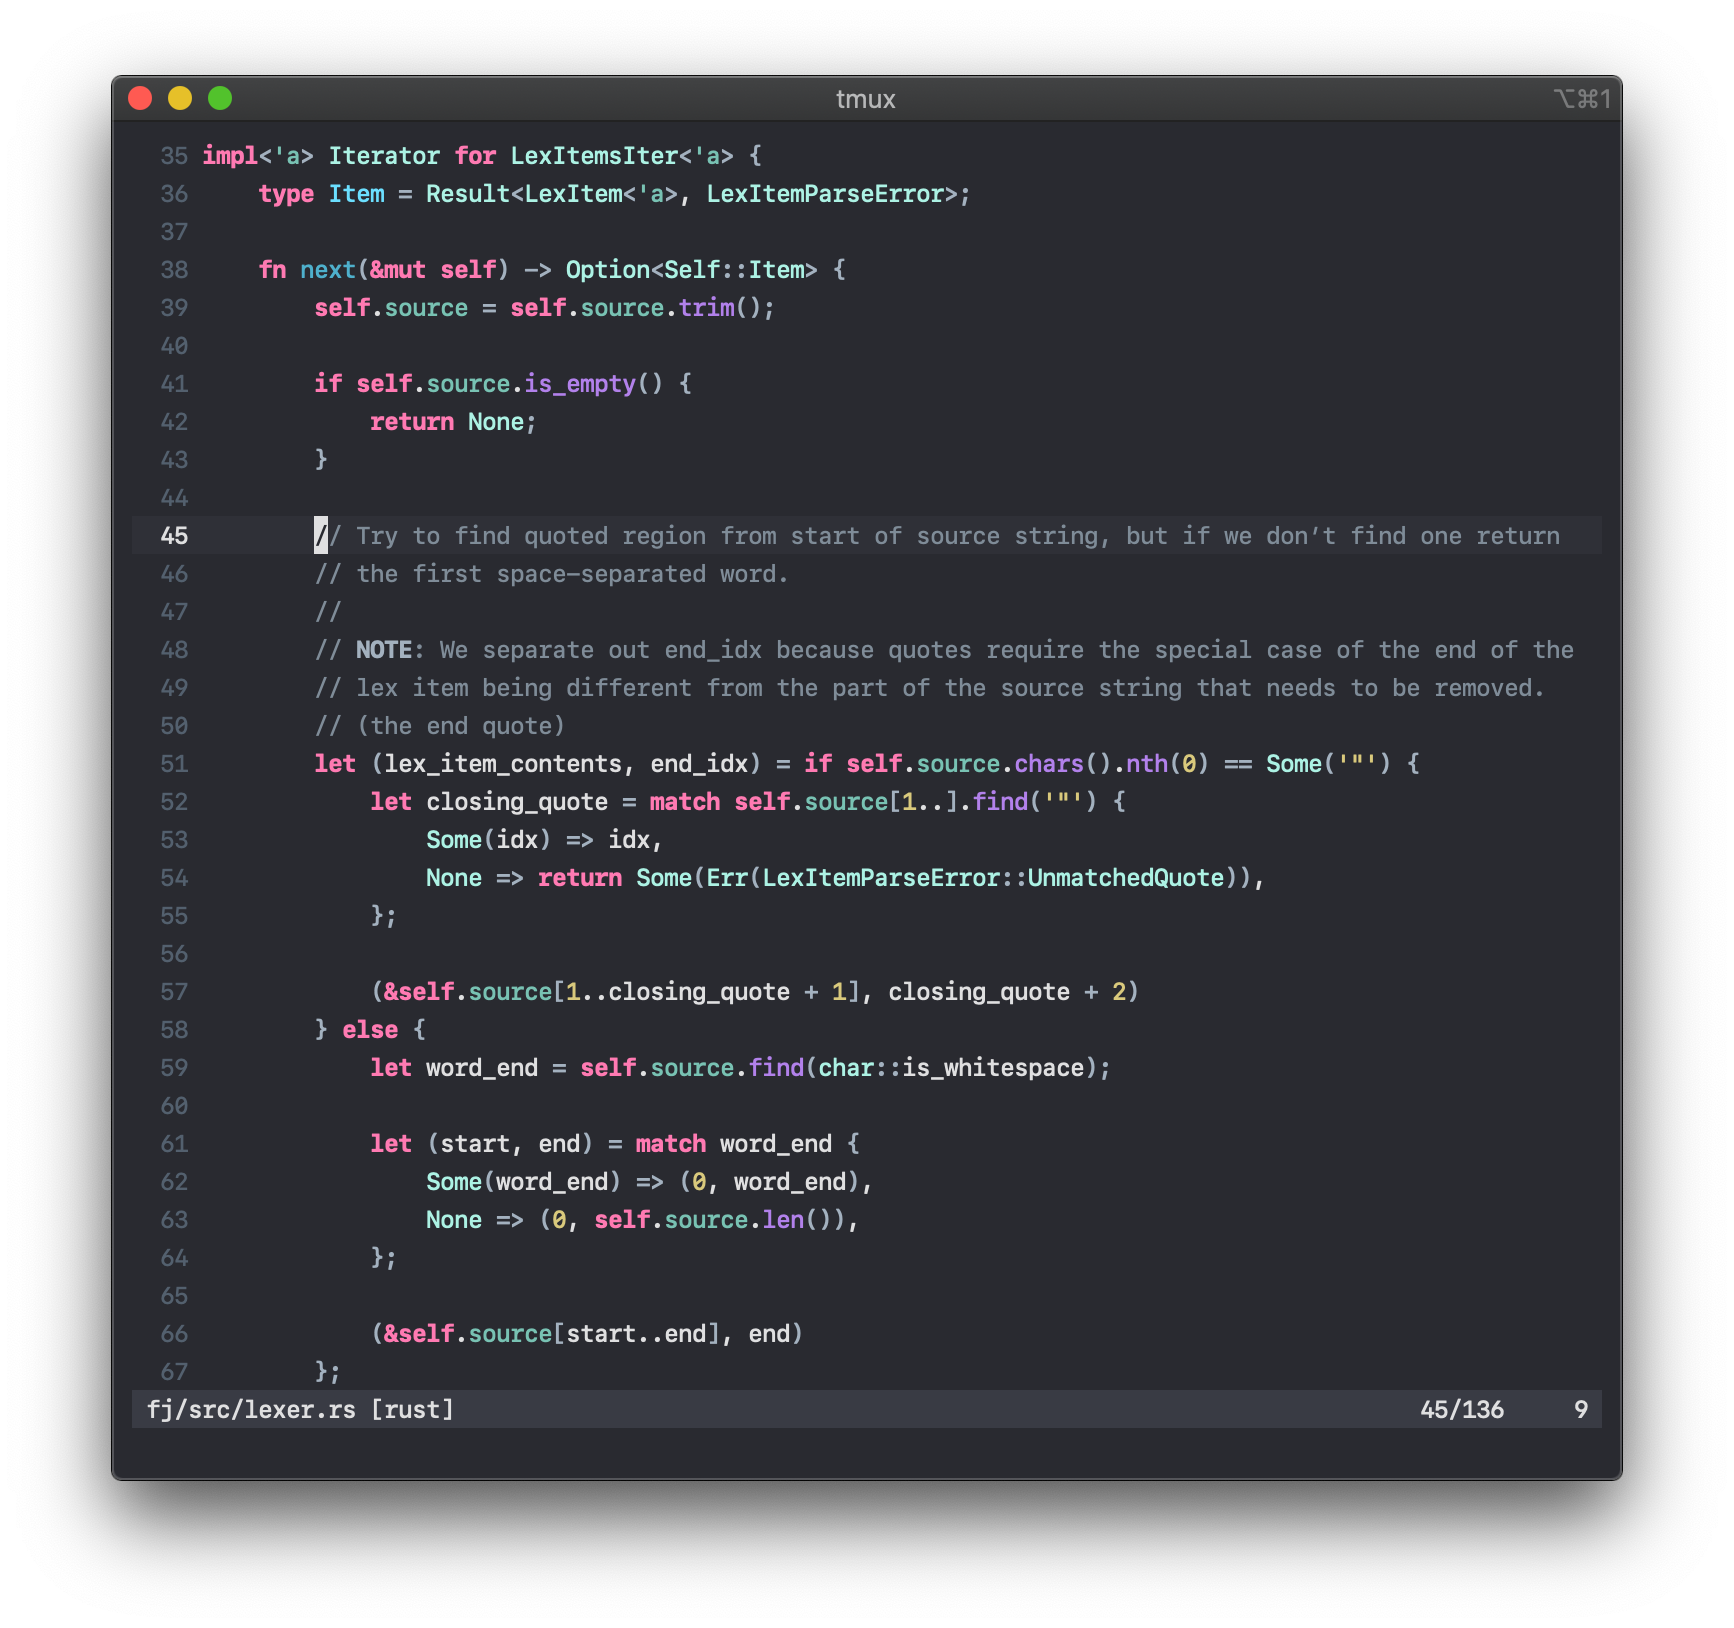 | 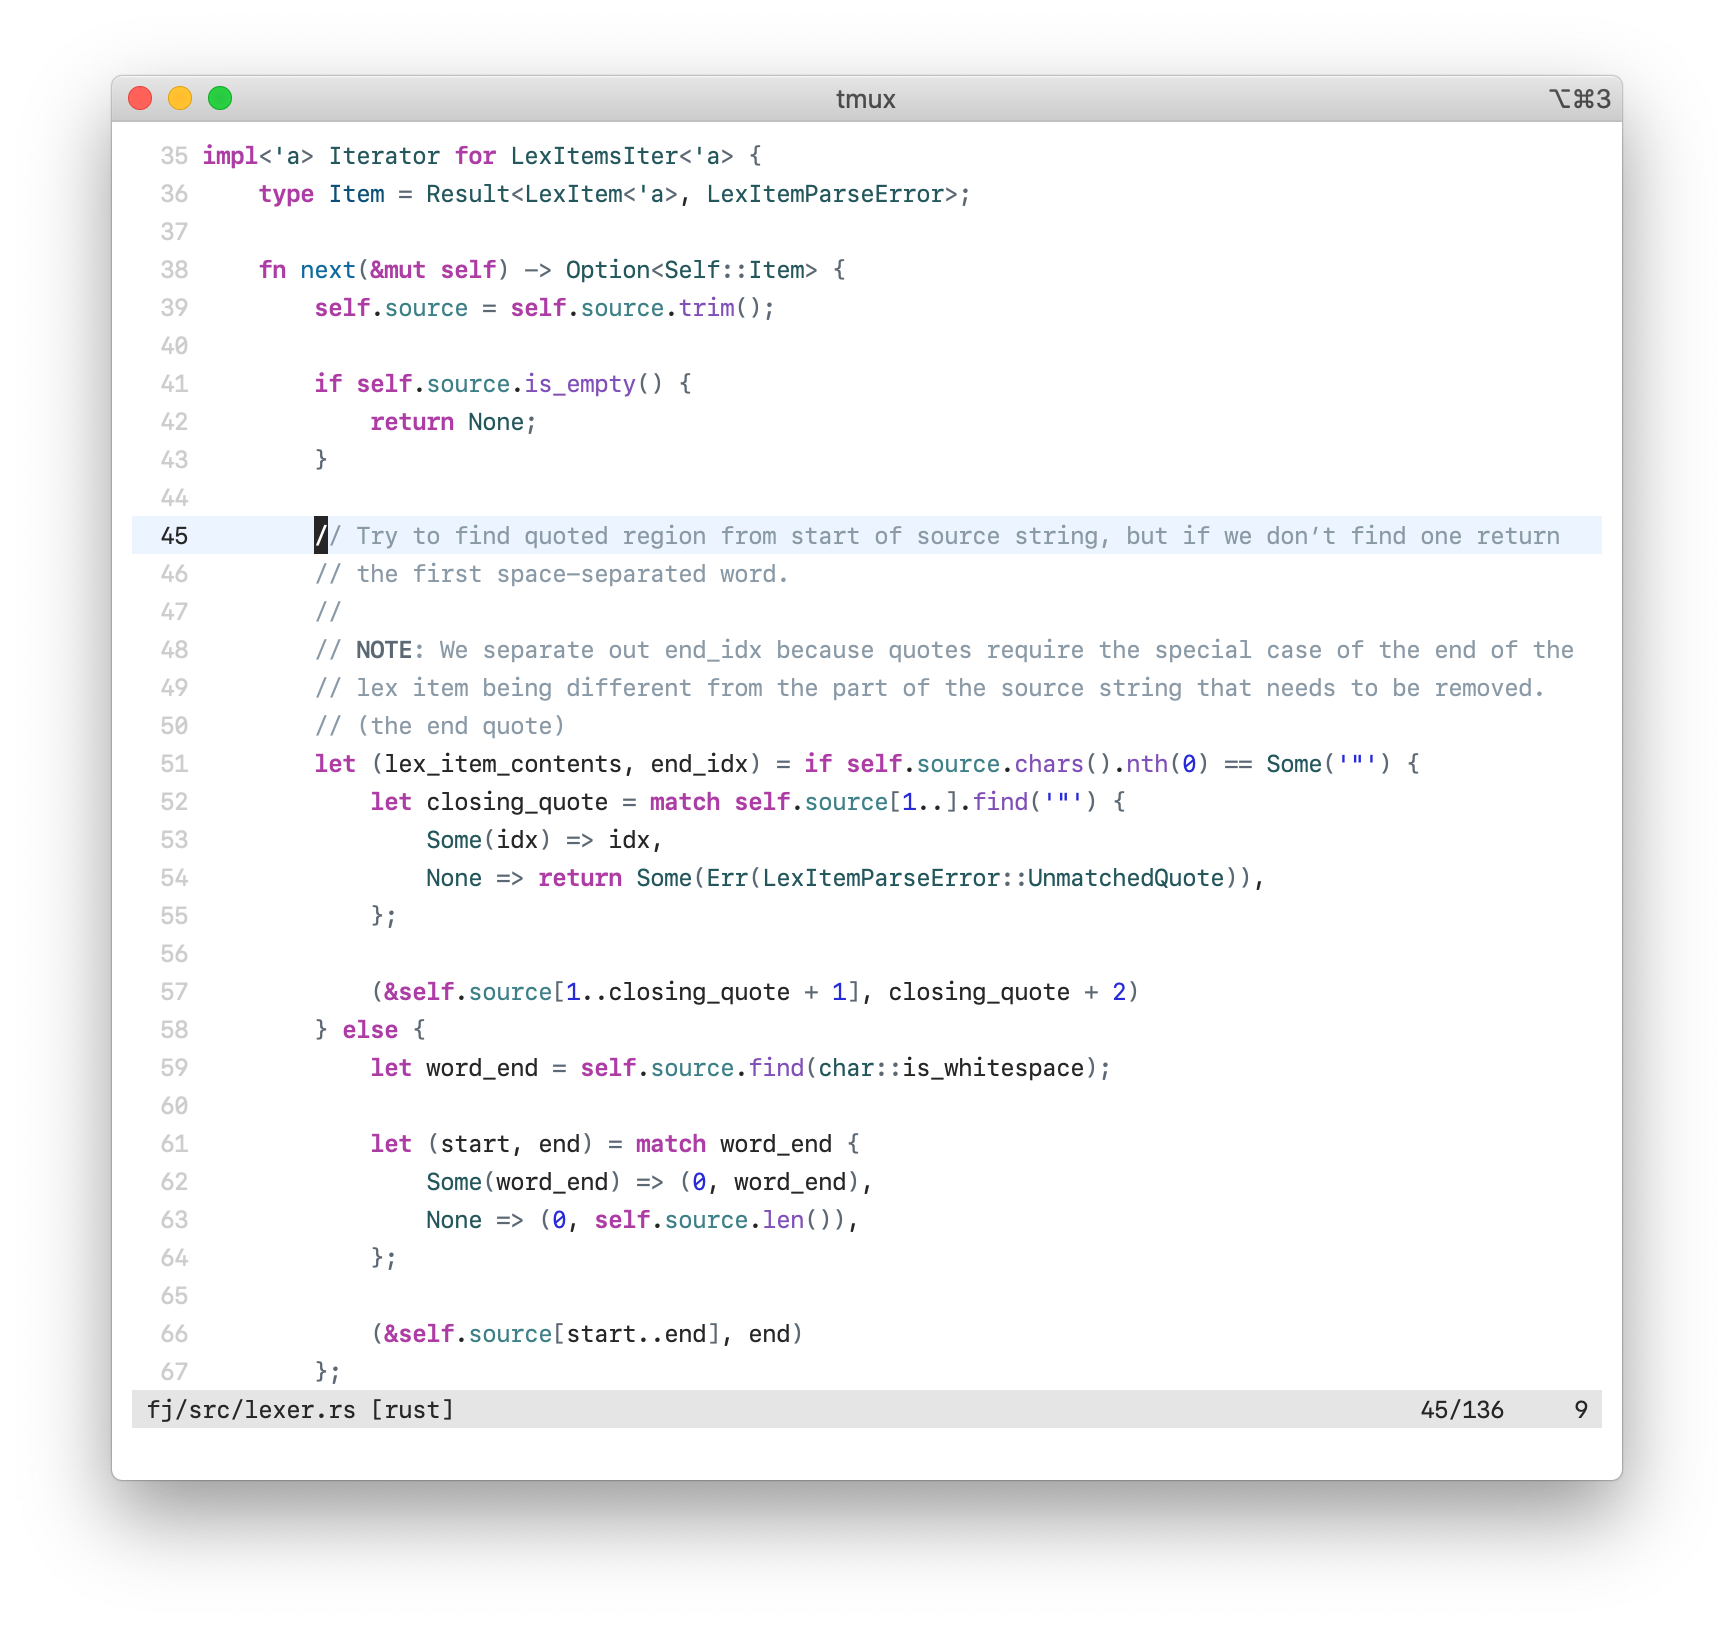 |
1 | 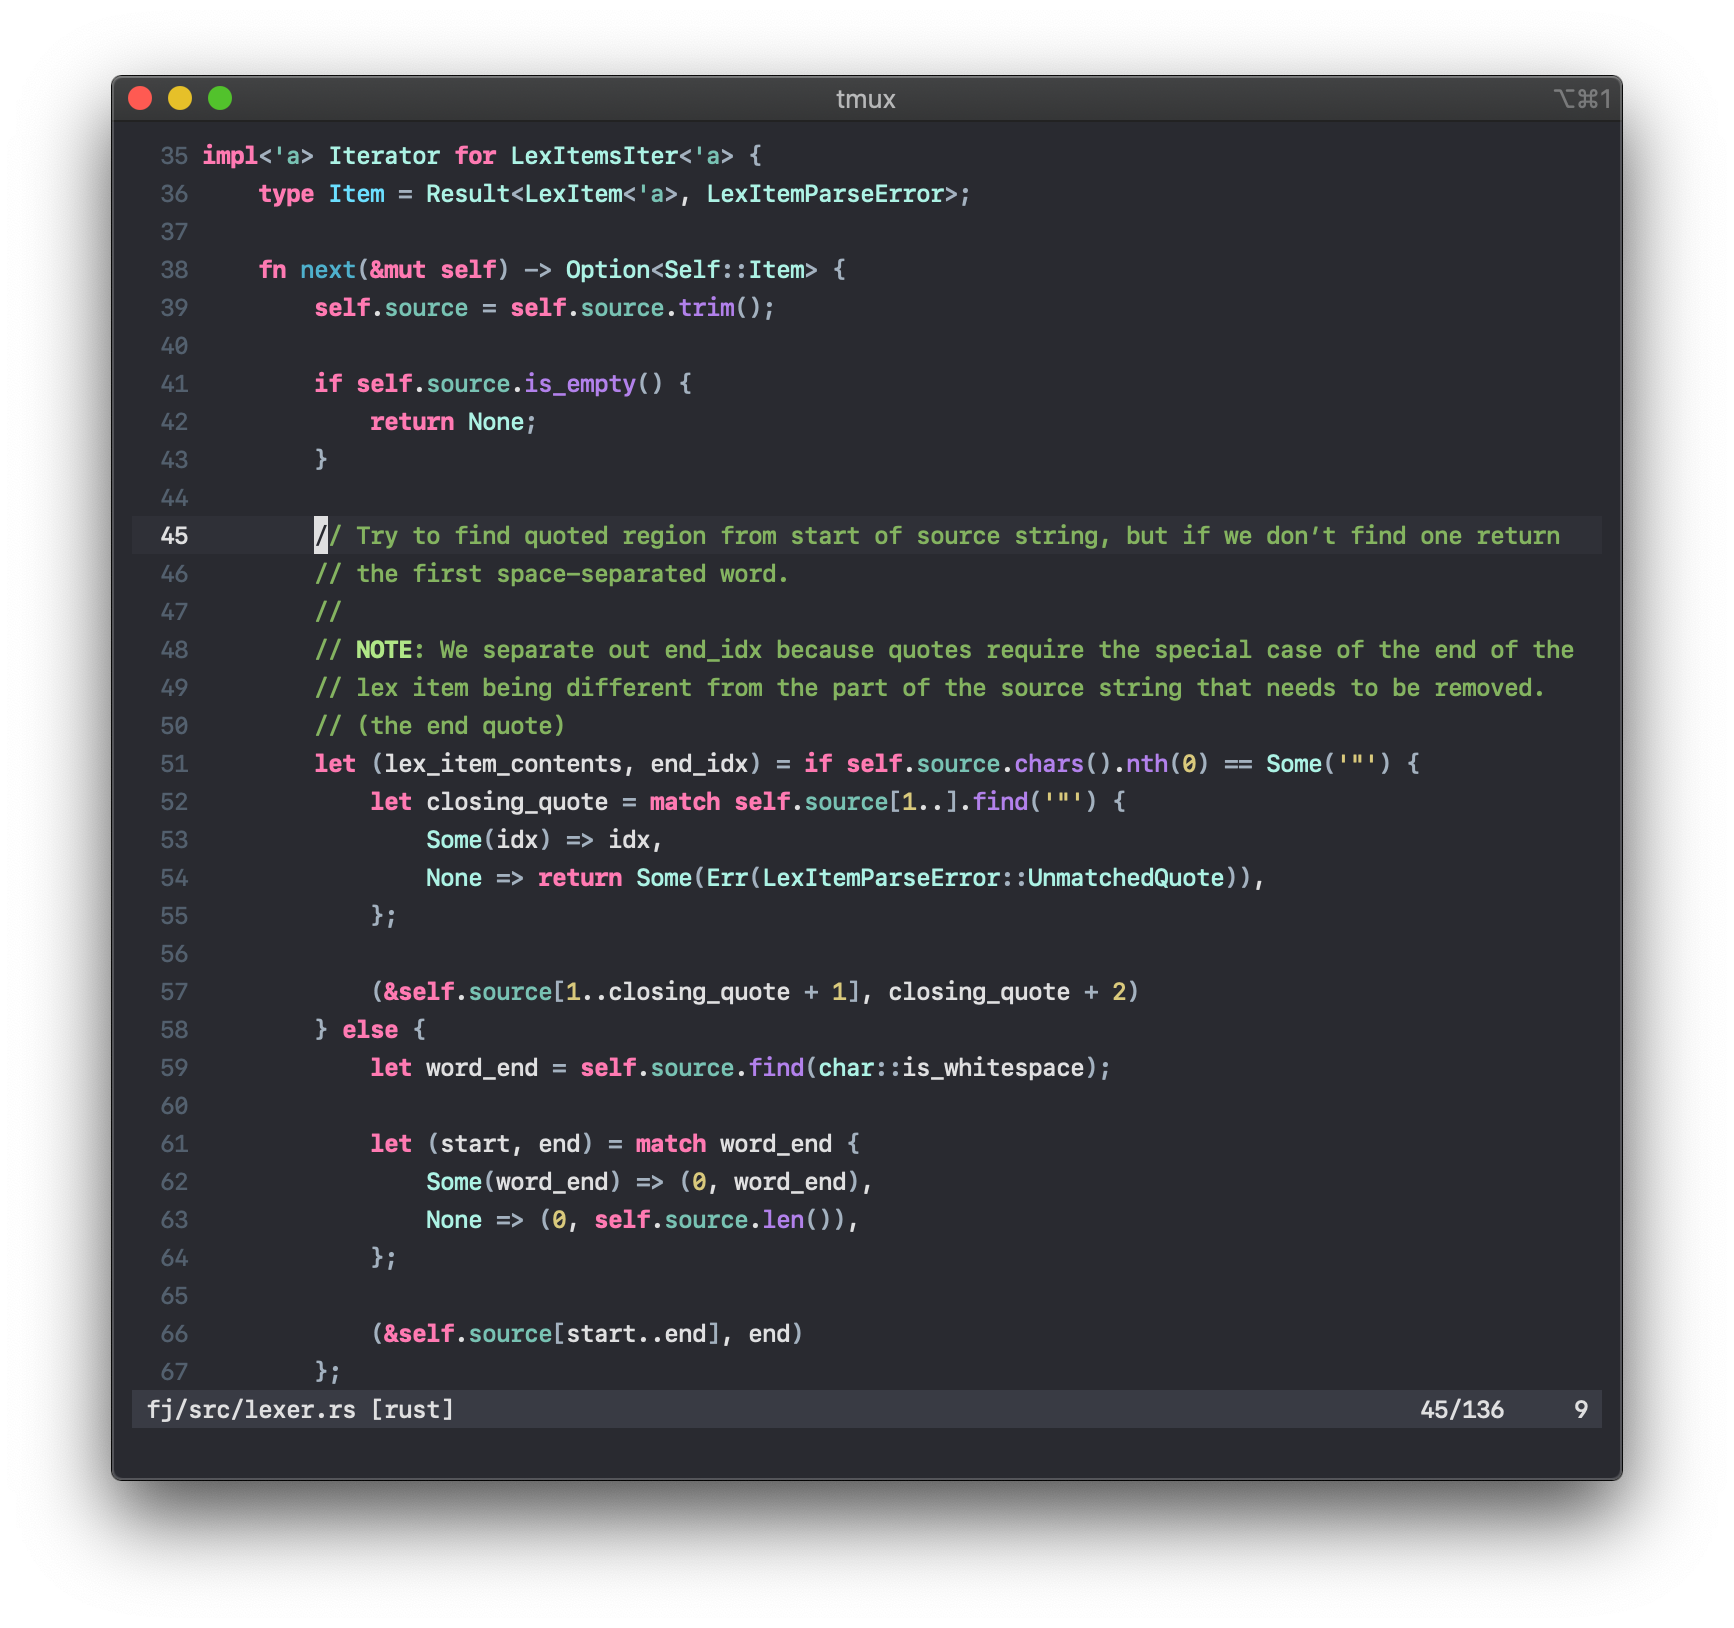 | 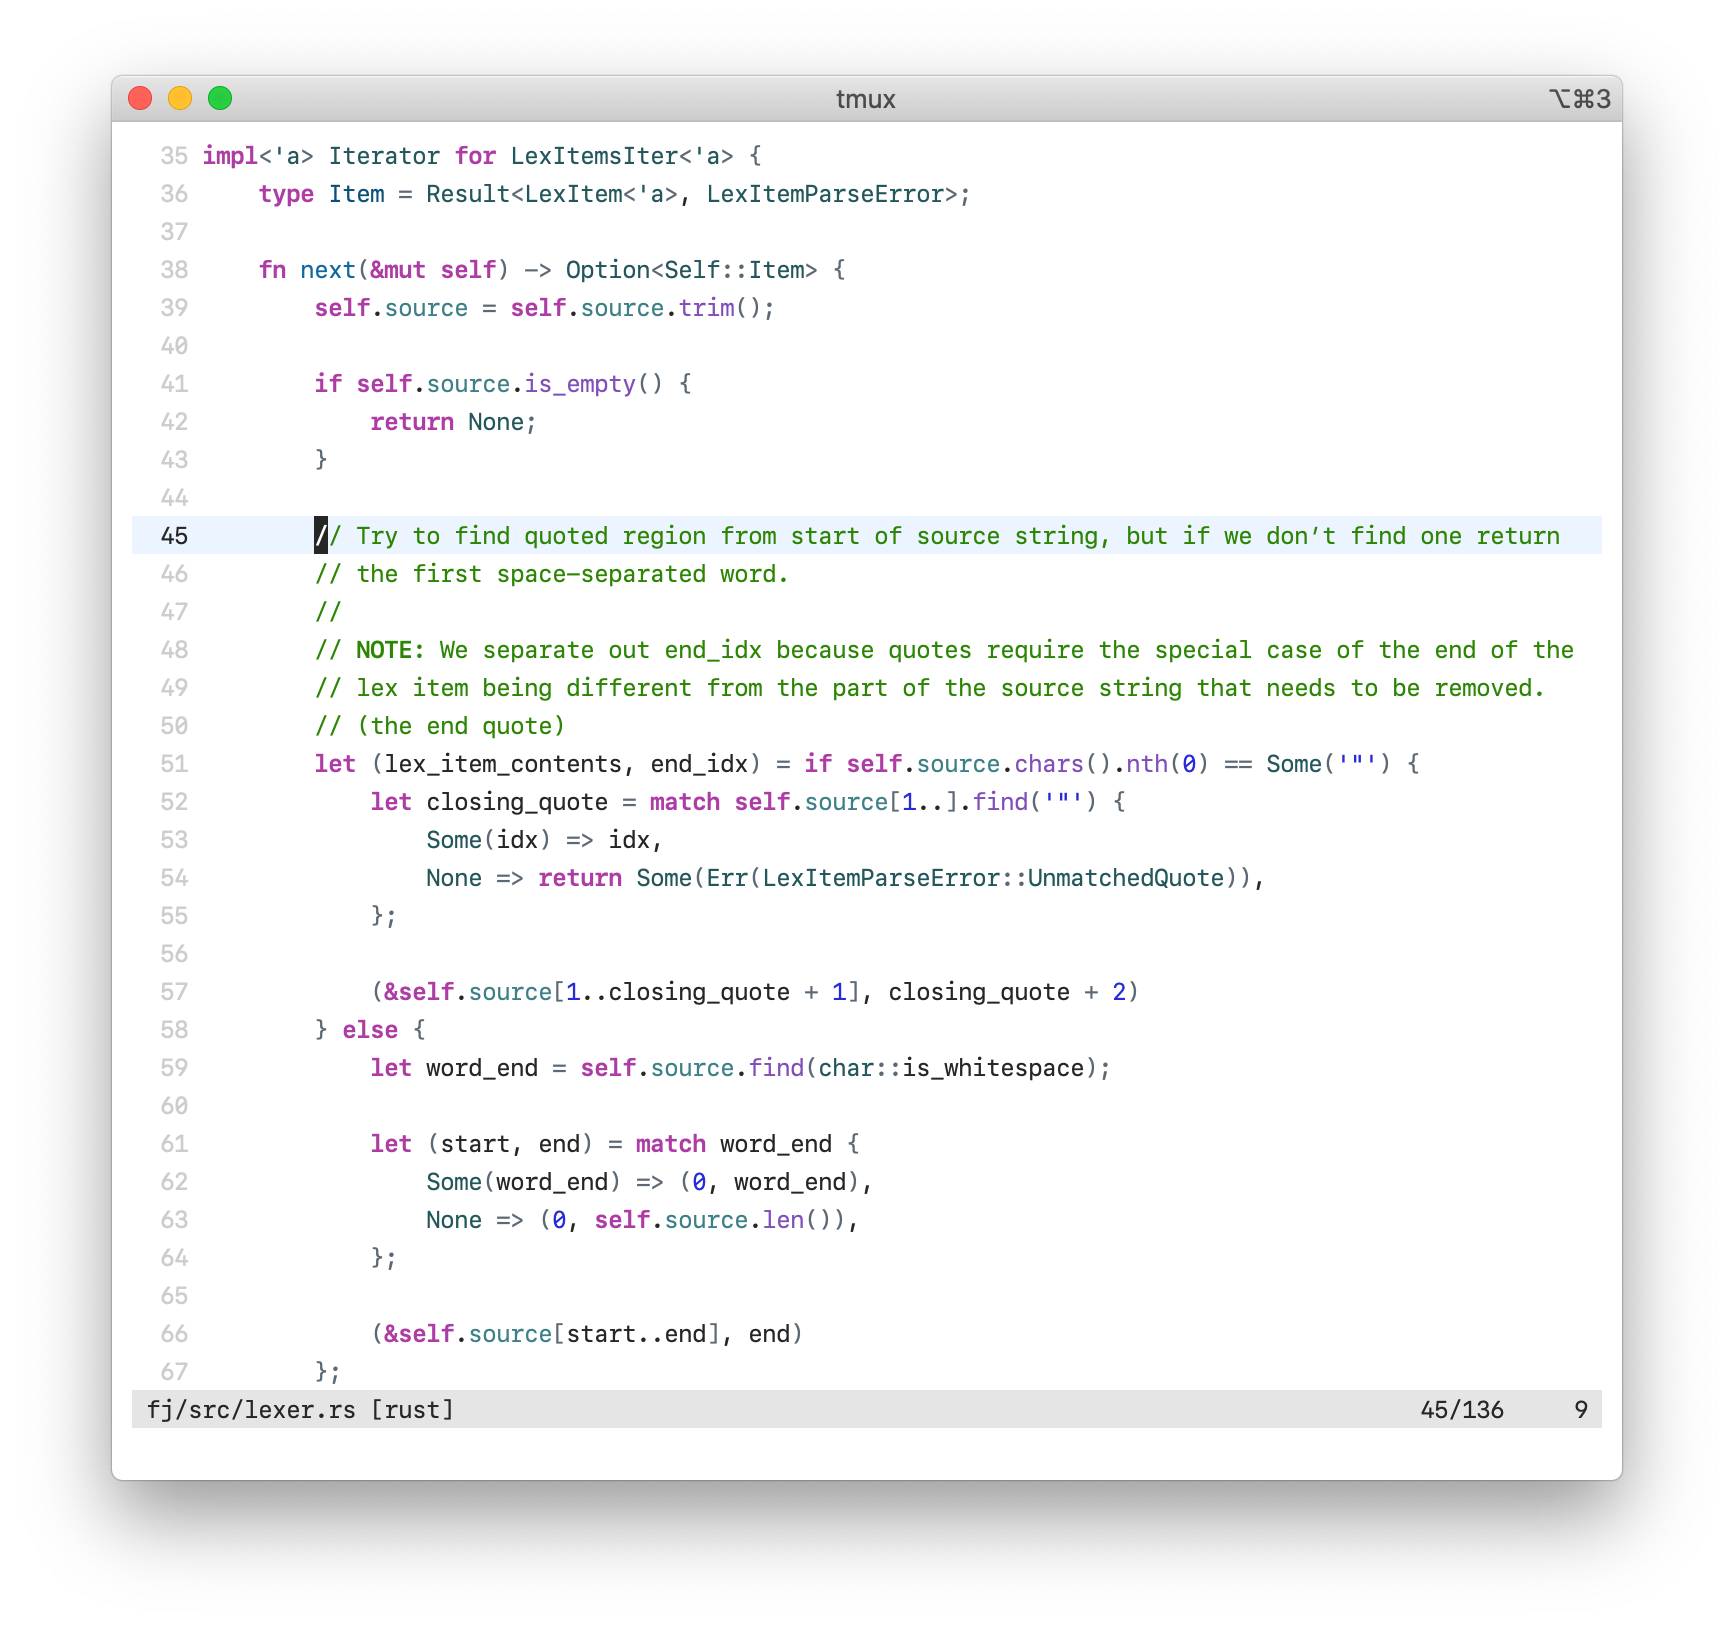 |
- This option is available in all colourschemes
- The default value is
1
<sup>dim_punctuation</sup> | Dark | Light |
|---|---|---|
0 | 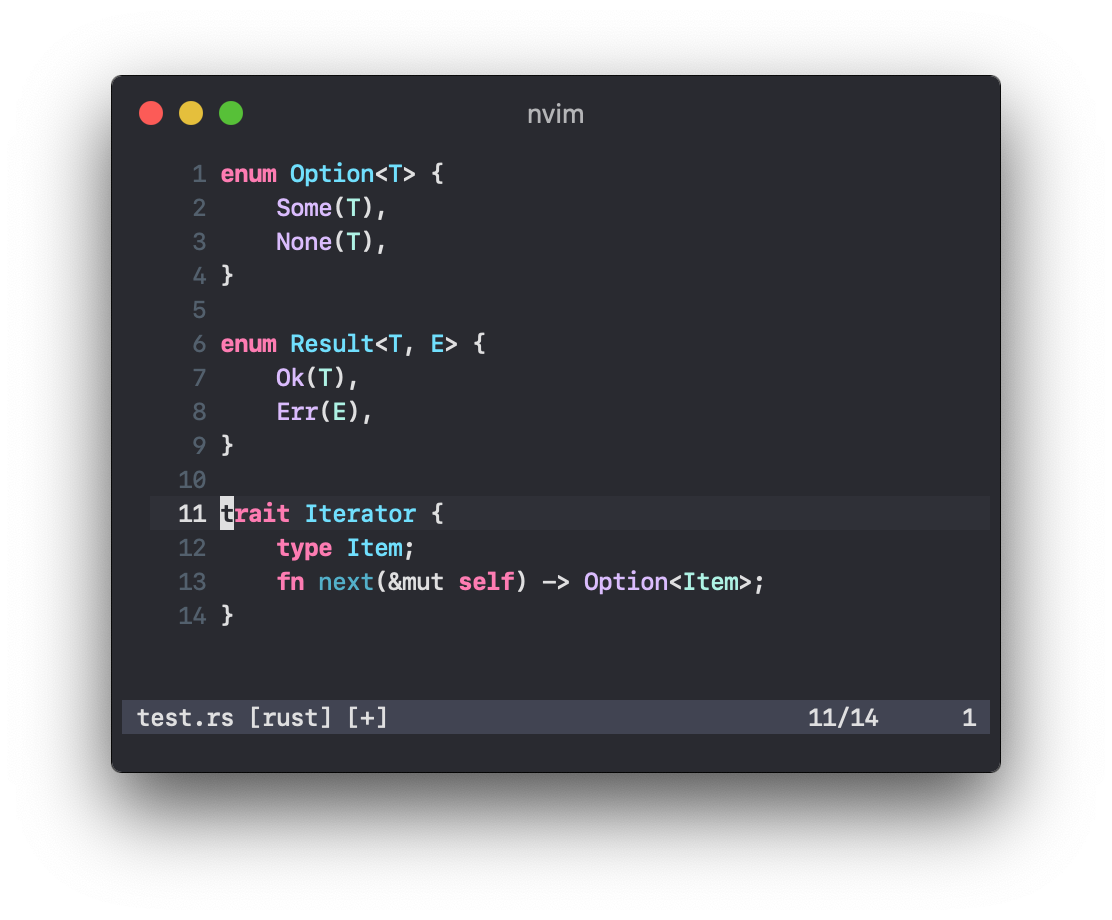 | 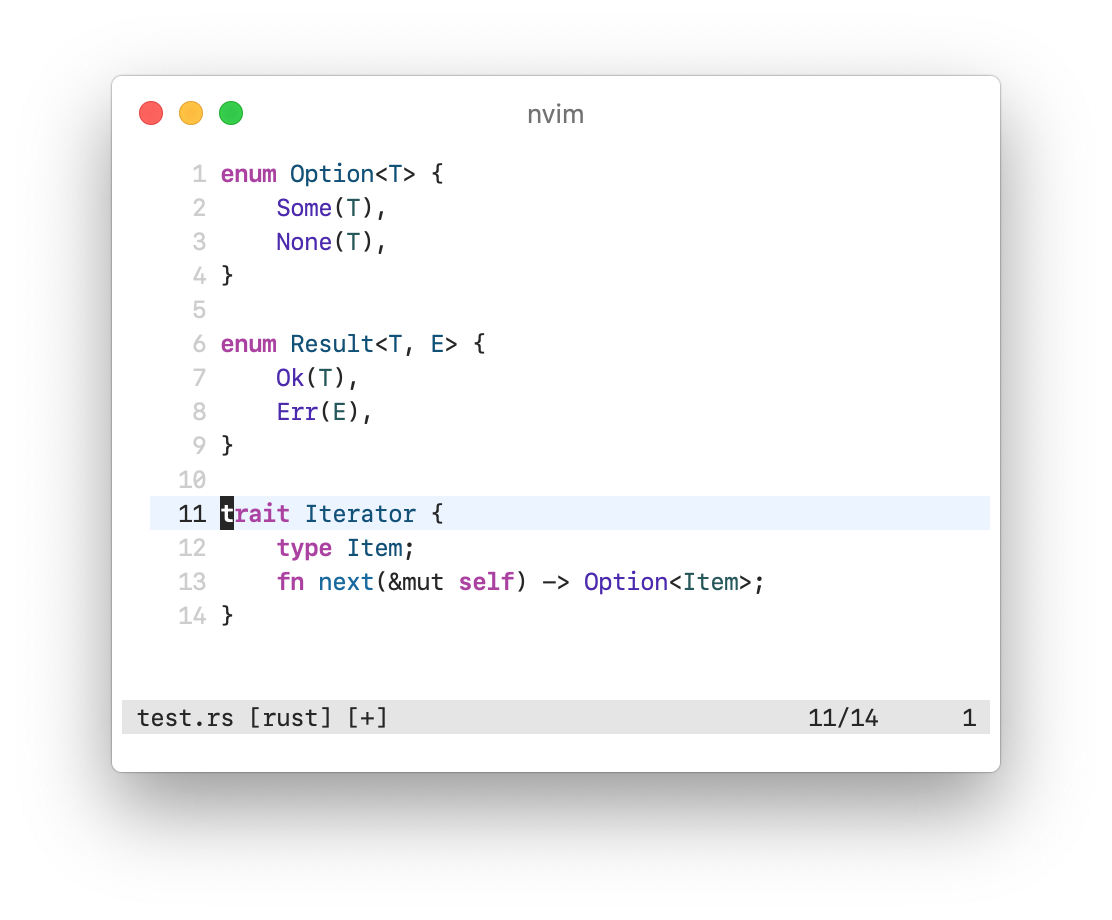 |
1 | 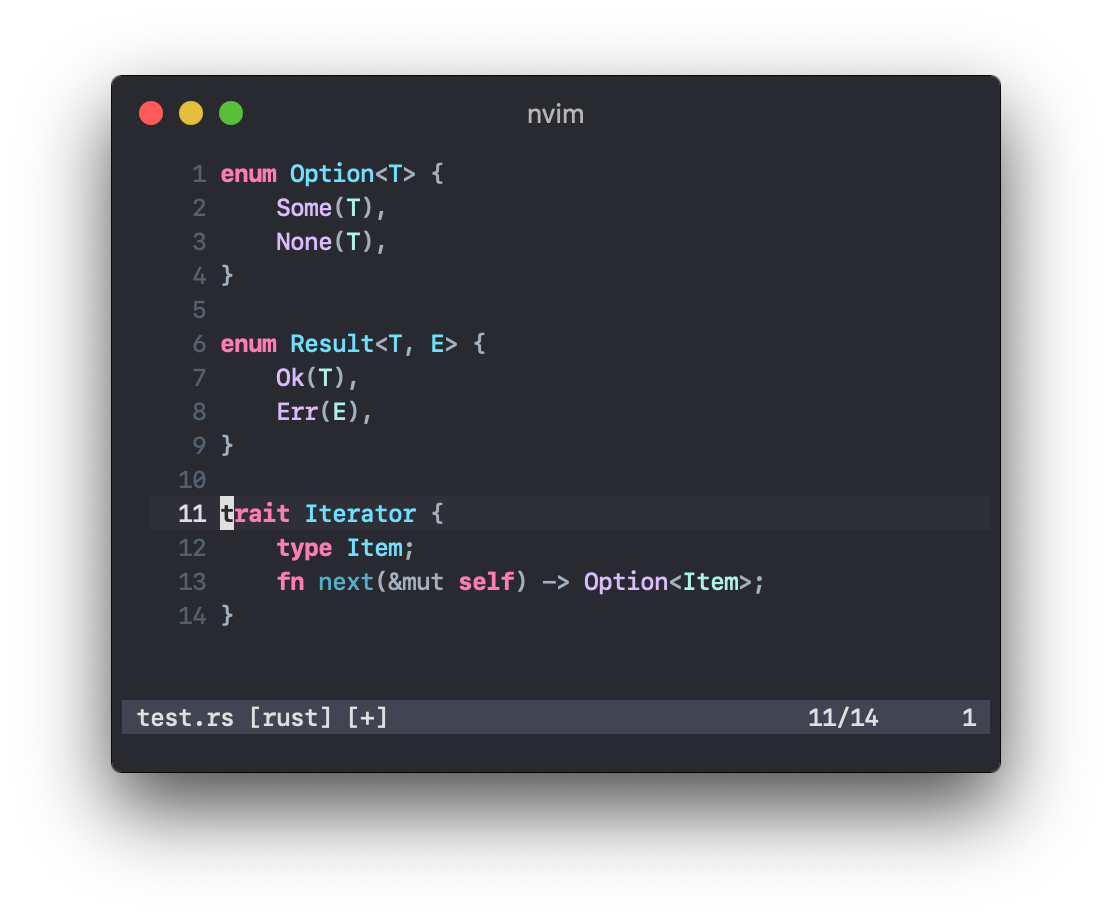 | 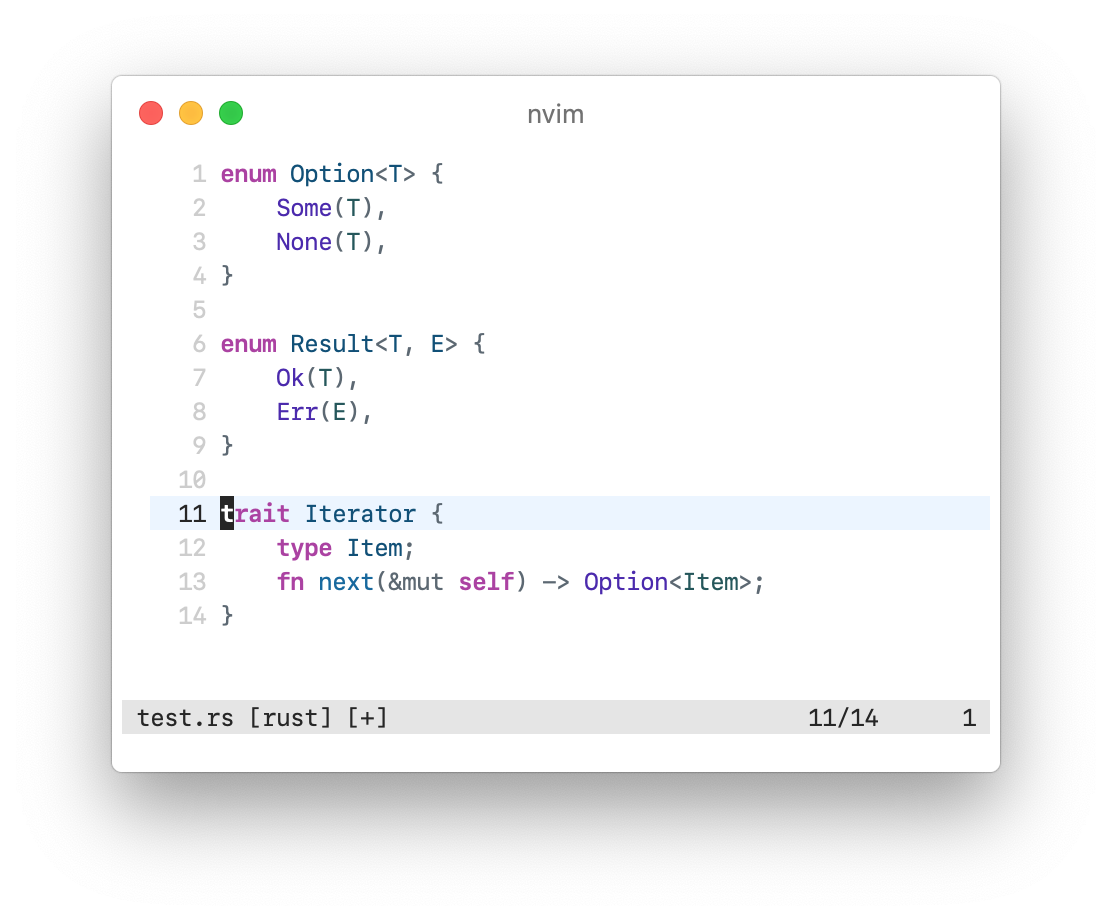 |
- This option is available in all colourschemes
- The default values are
1,0and0, foremph_types,emph_funcsandemph_identsrespectively
<sup>emph_types, emph_funcs, emph_idents</sup> | Dark | Light |
|---|---|---|
1,<br>0,<br>0 | 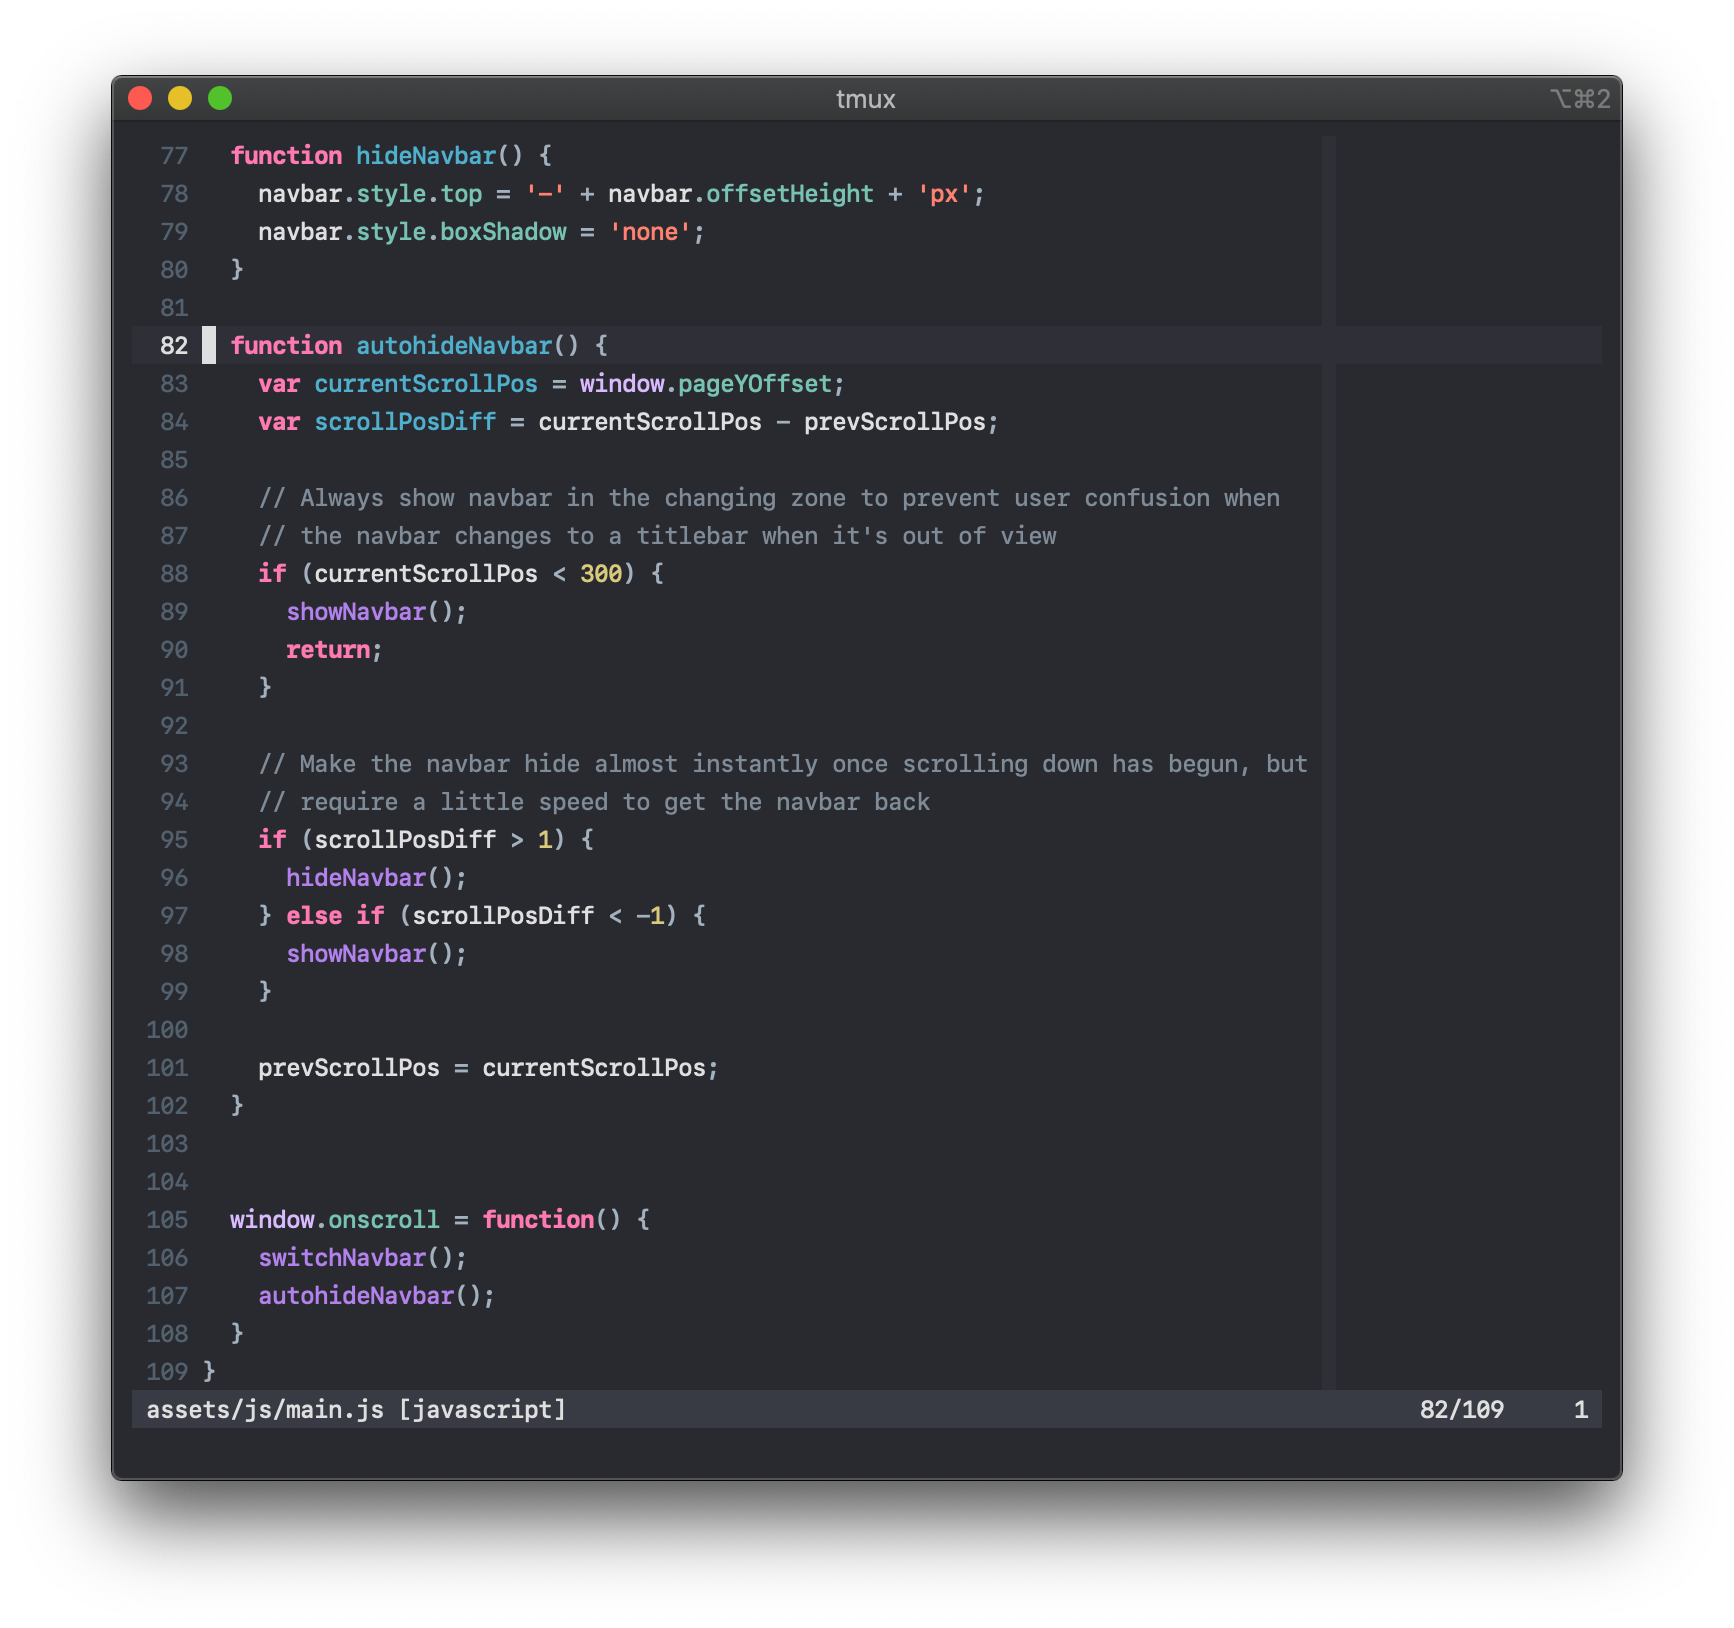 | 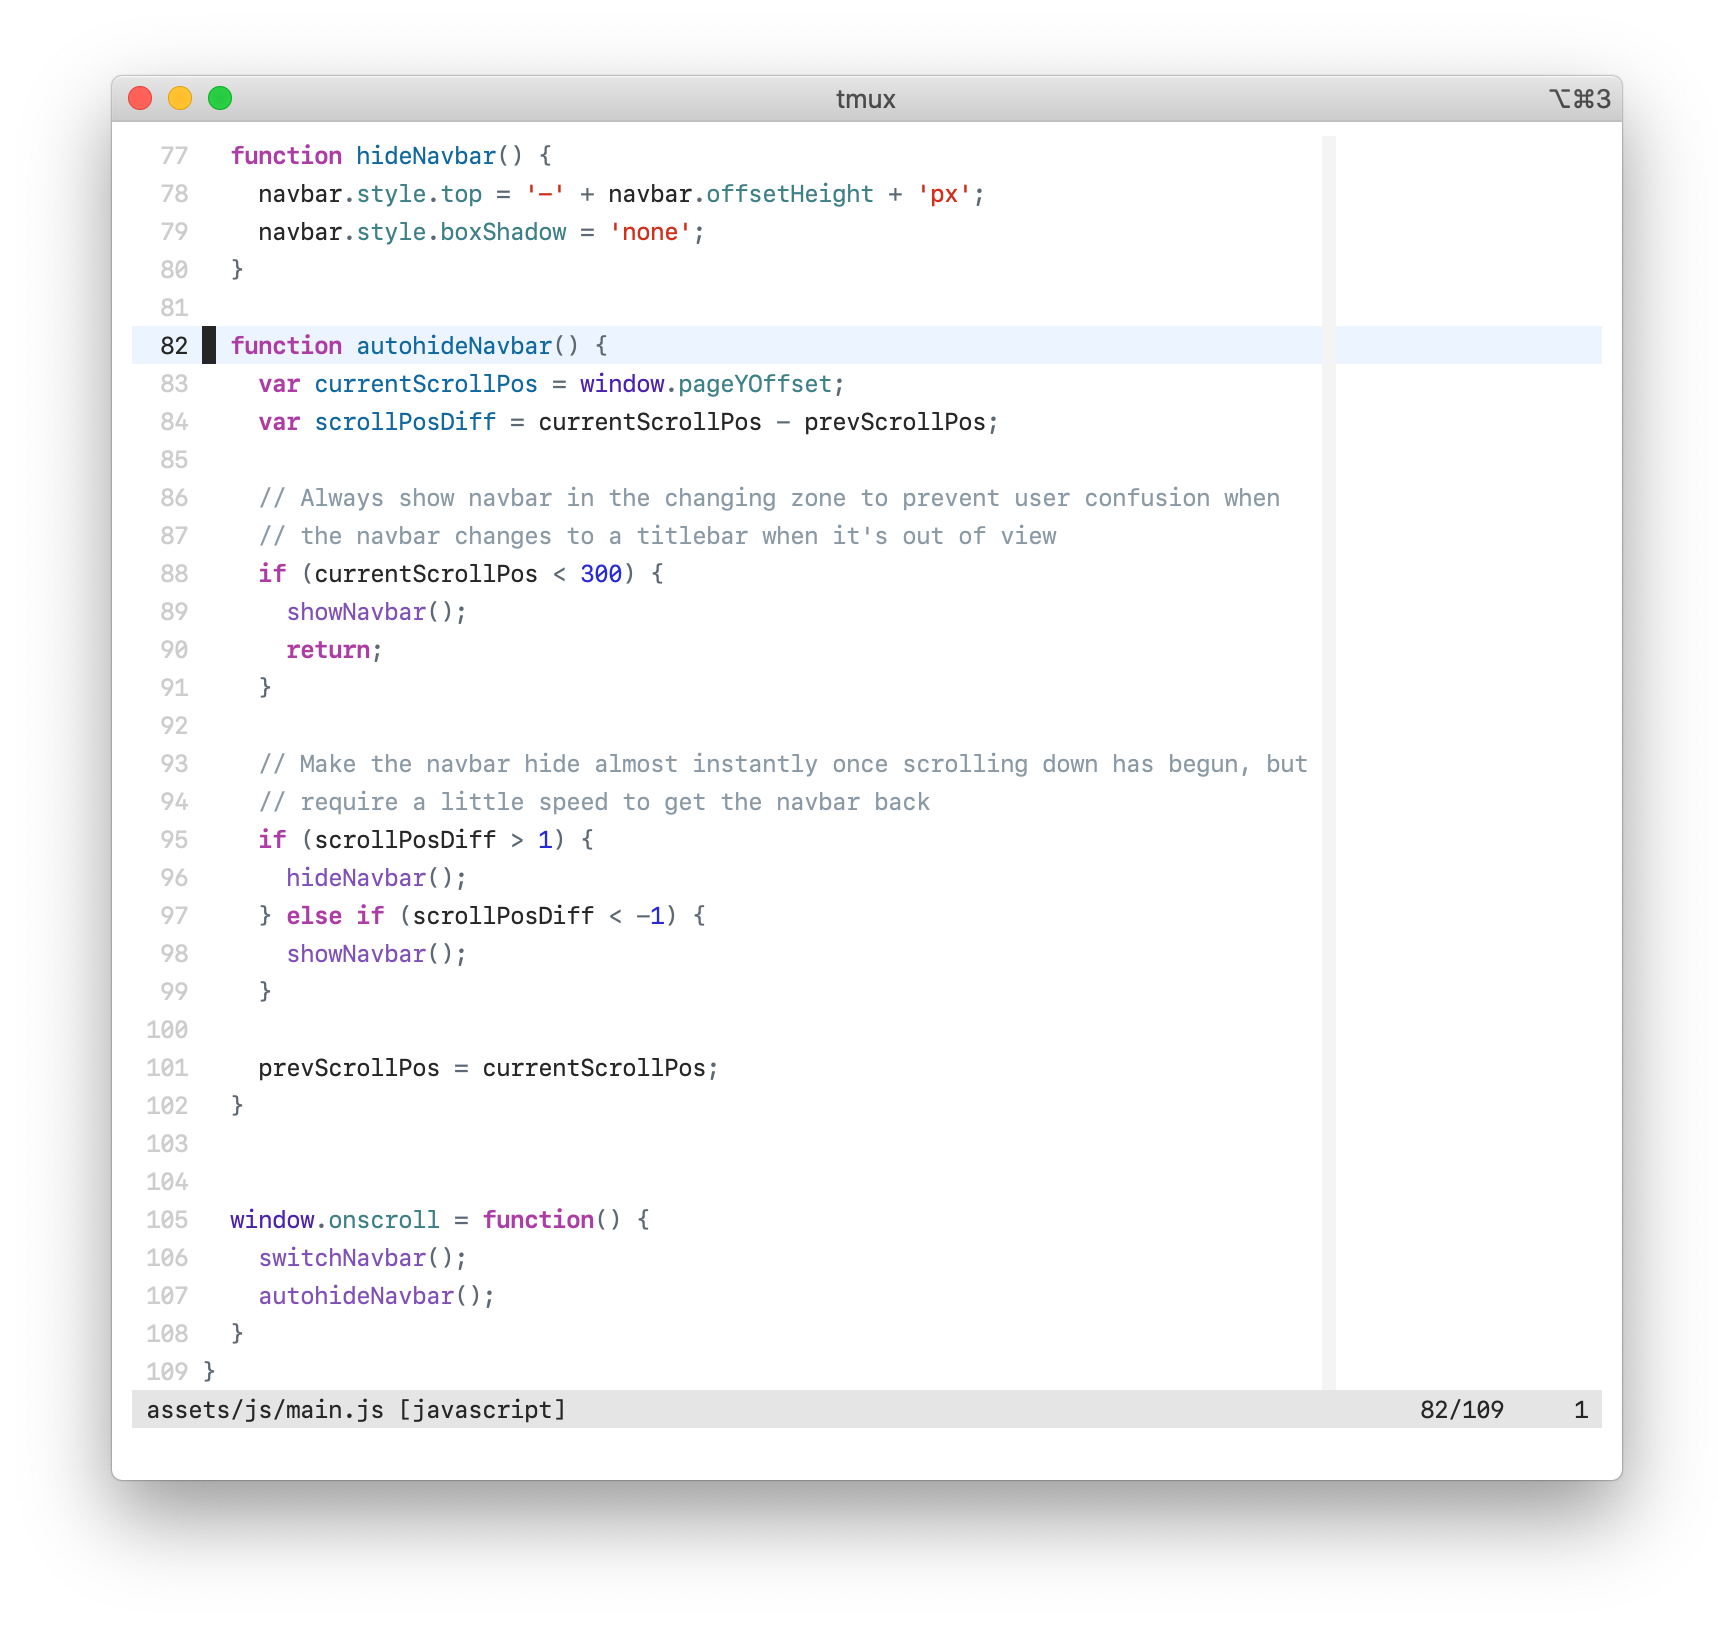 |
0,<br>1,<br>0 | 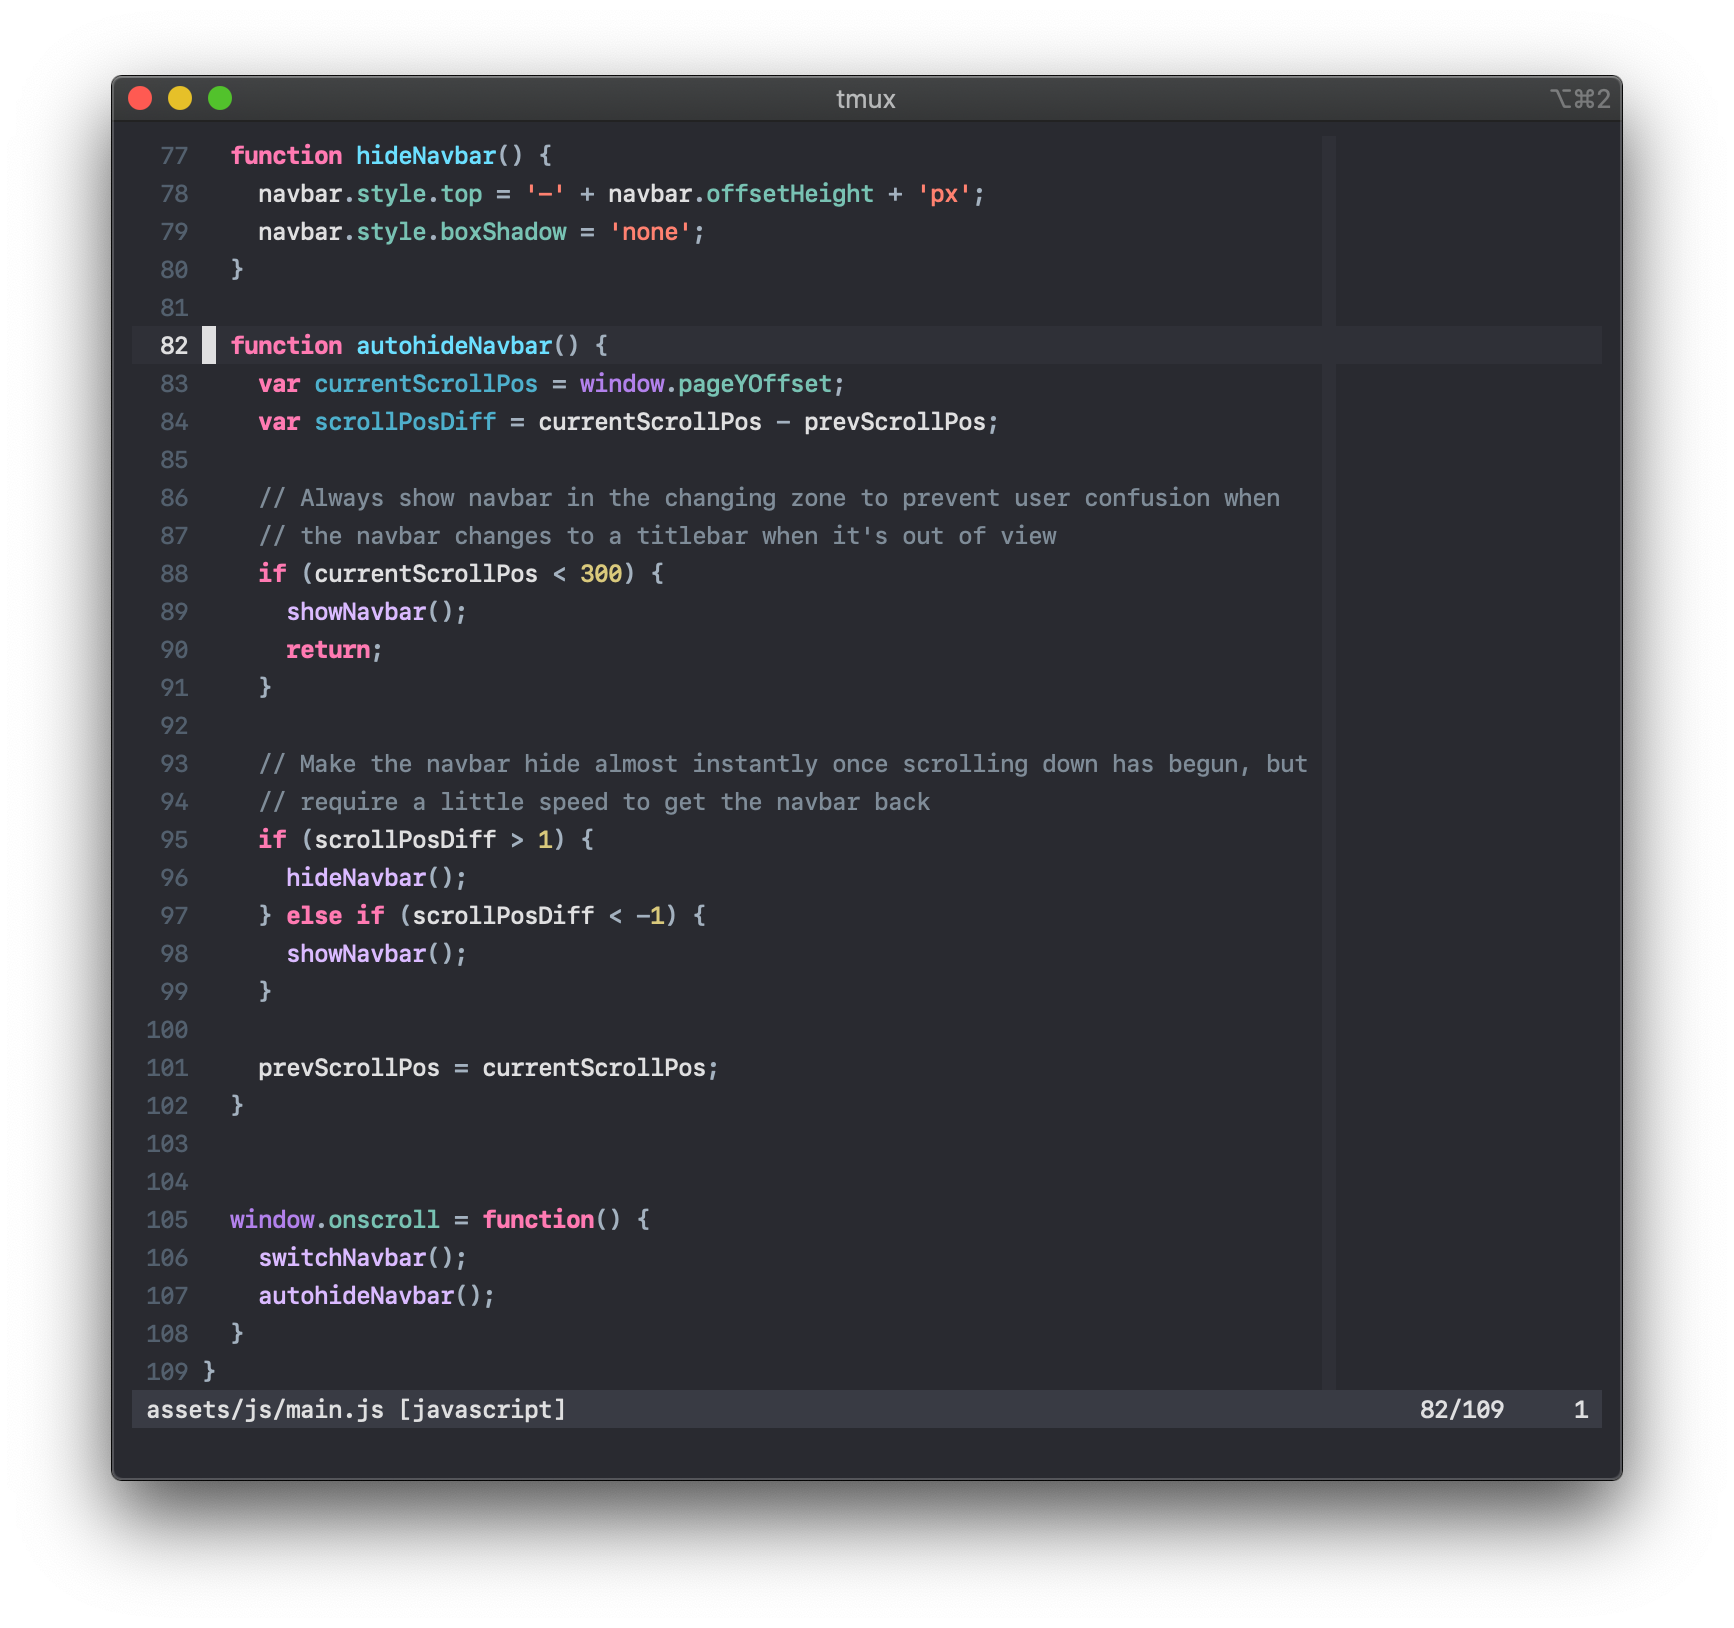 | 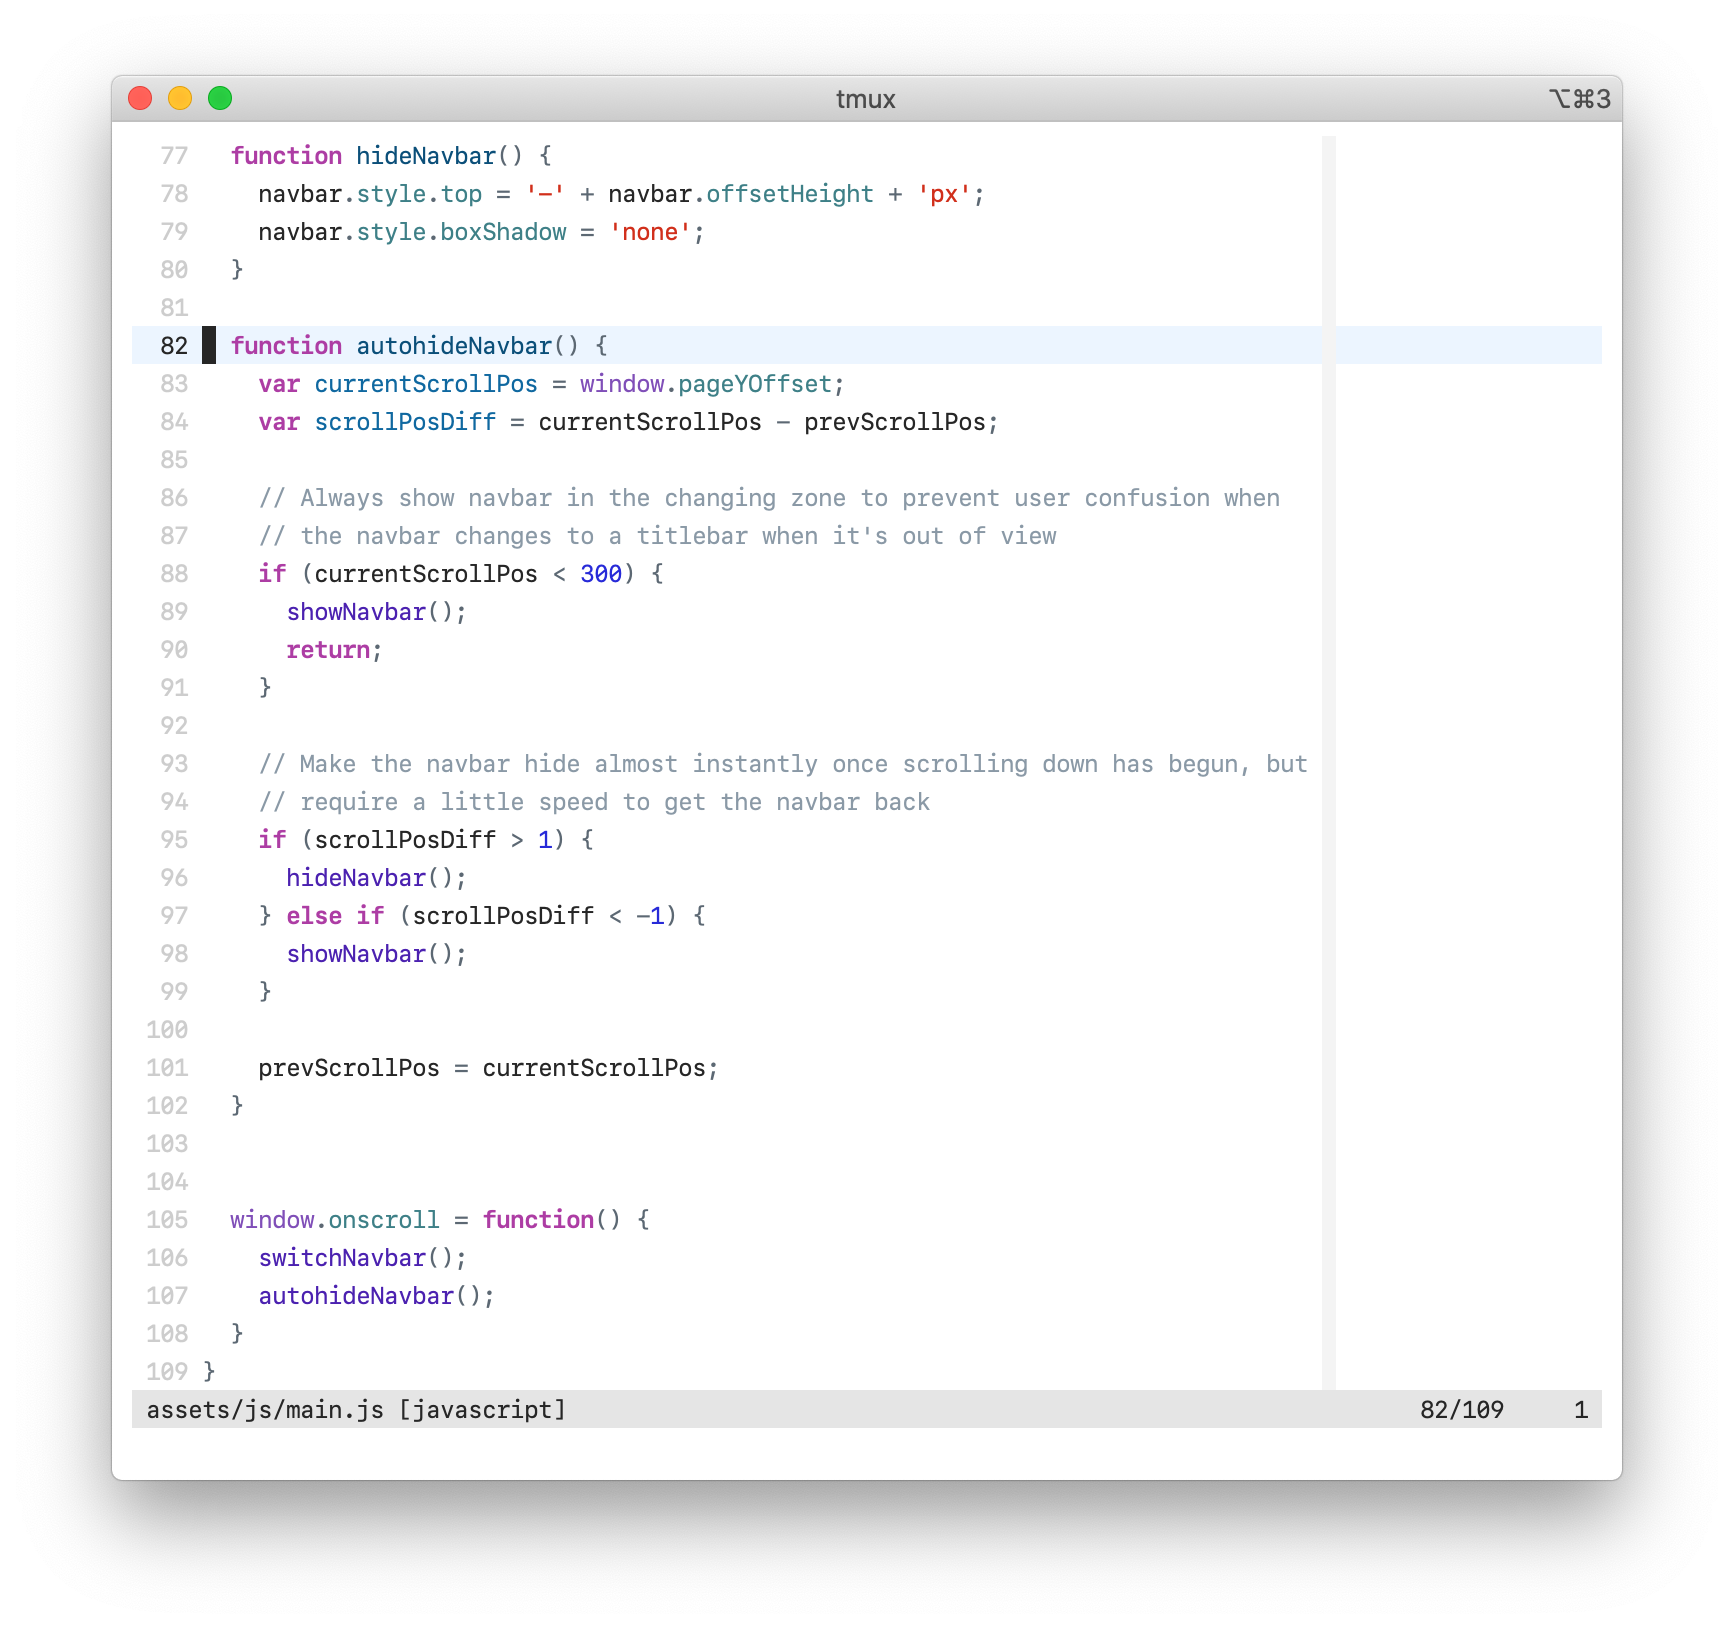 |
0,<br>1,<br>1 | 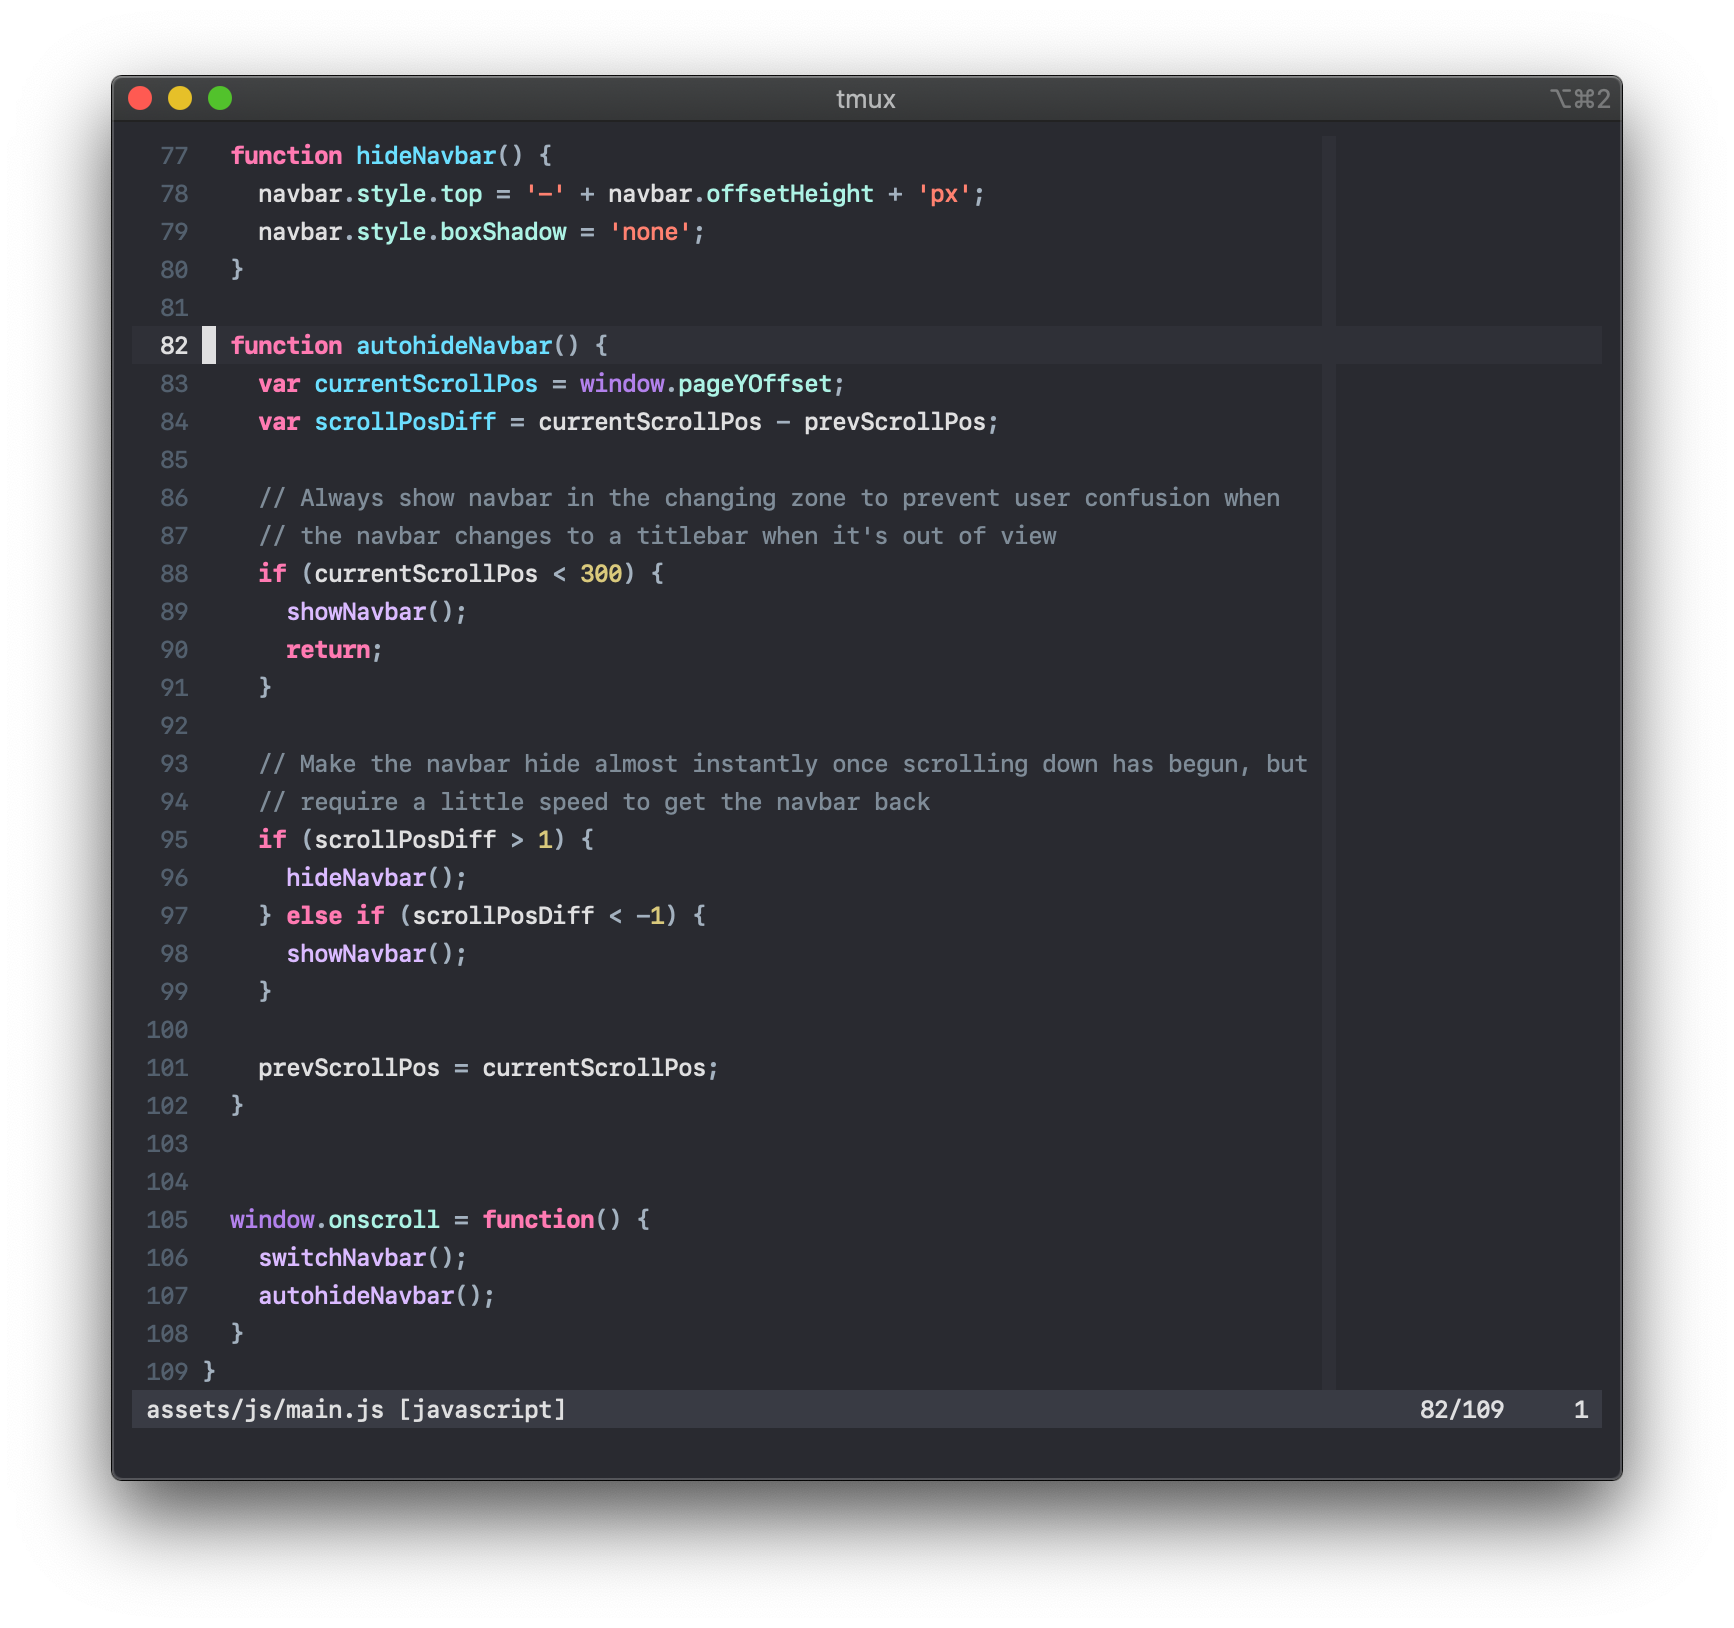 | 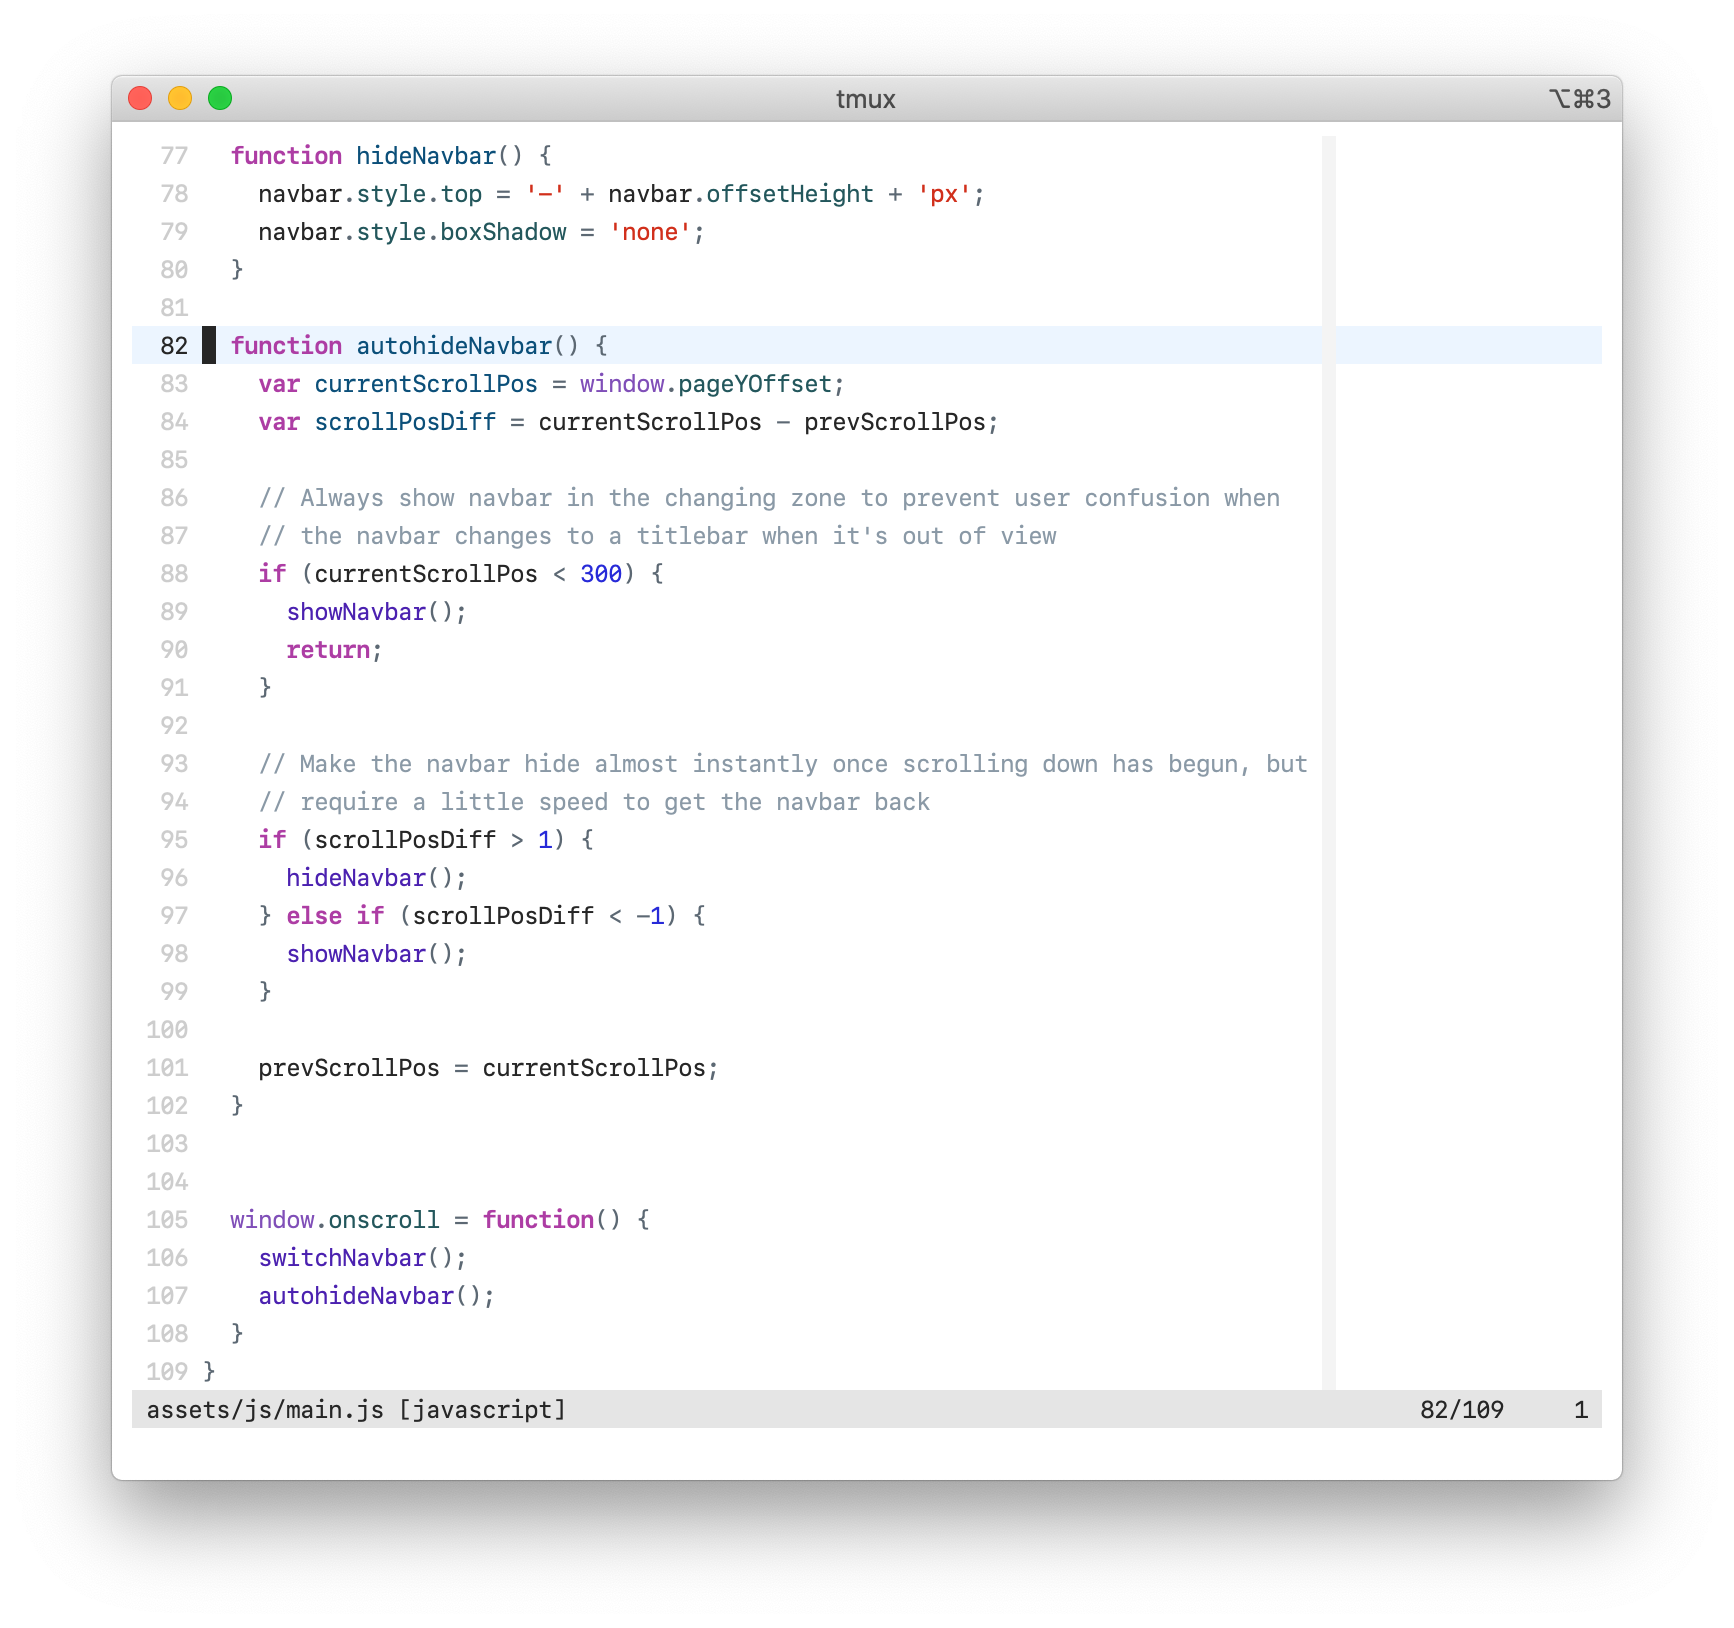 |
- This option is available in all colourschemes
- The default value is
0
<sup>match_paren_style</sup> | Dark | Light |
|---|---|---|
0 | 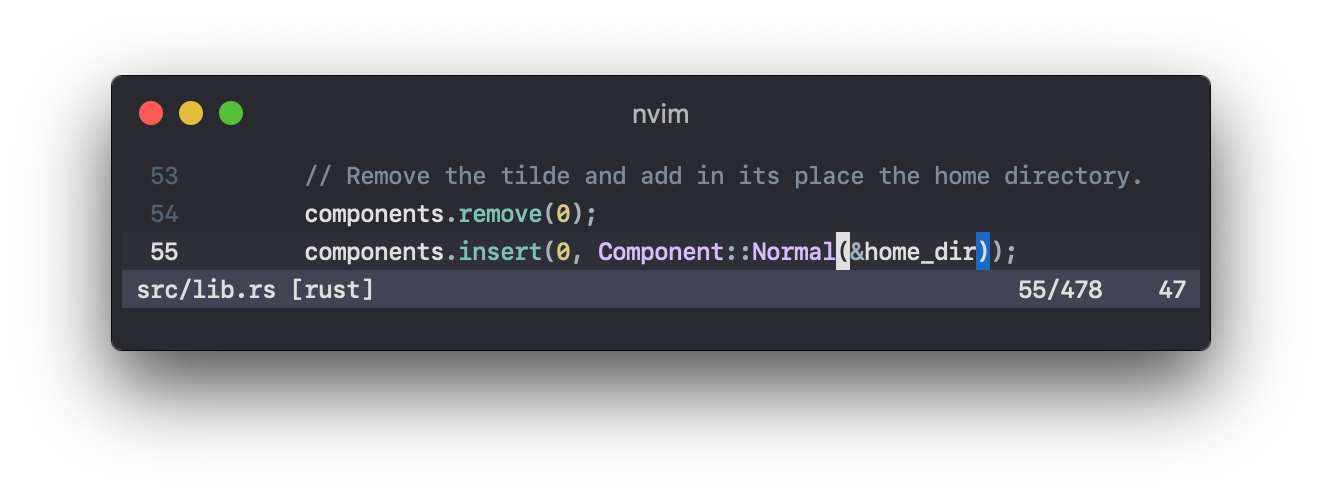 | 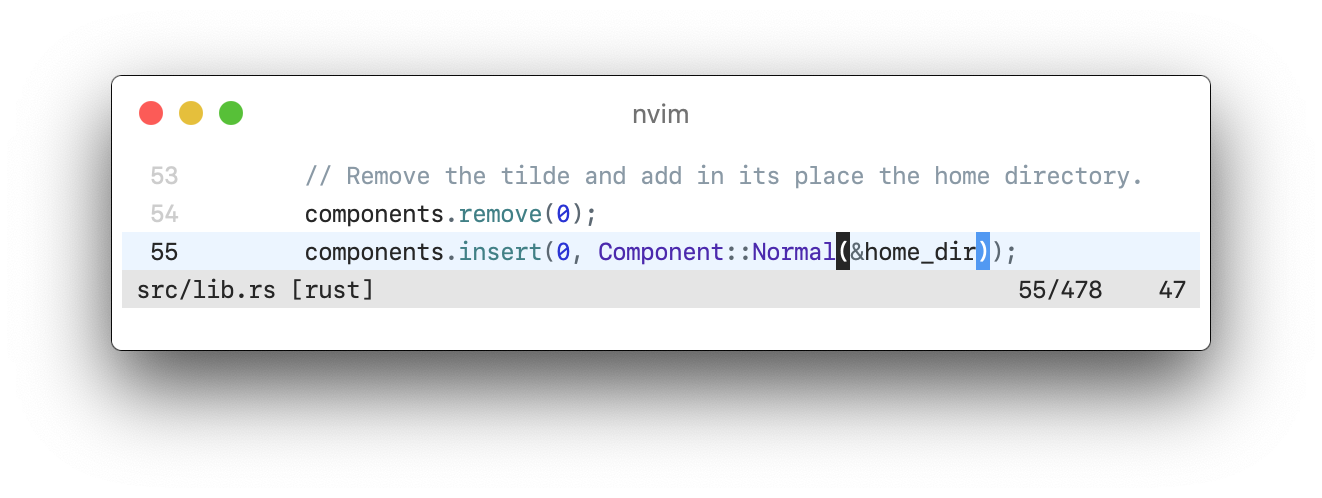 |
1 | 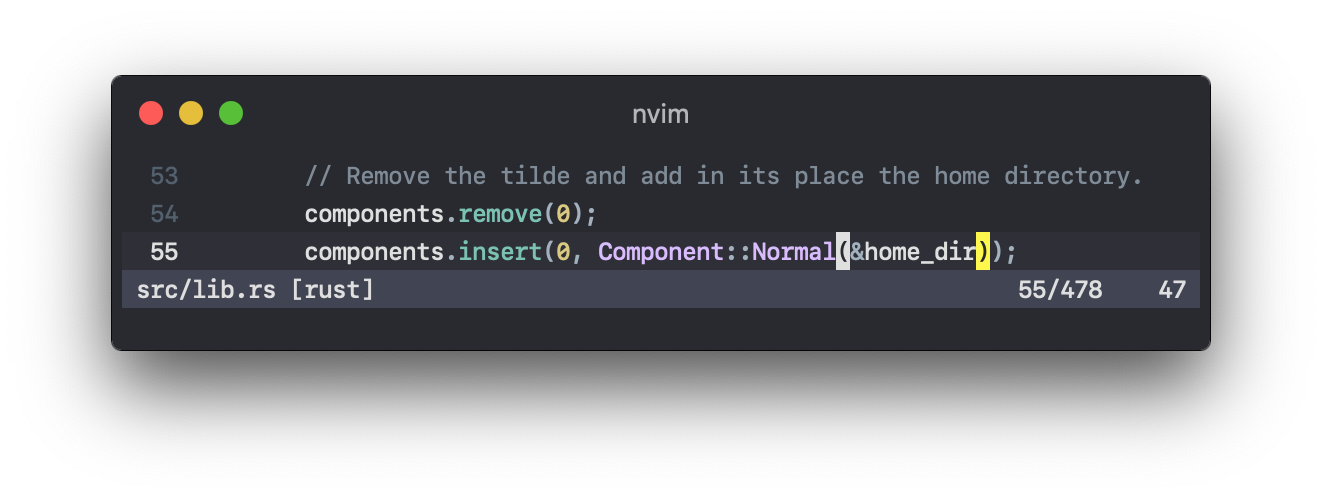 | 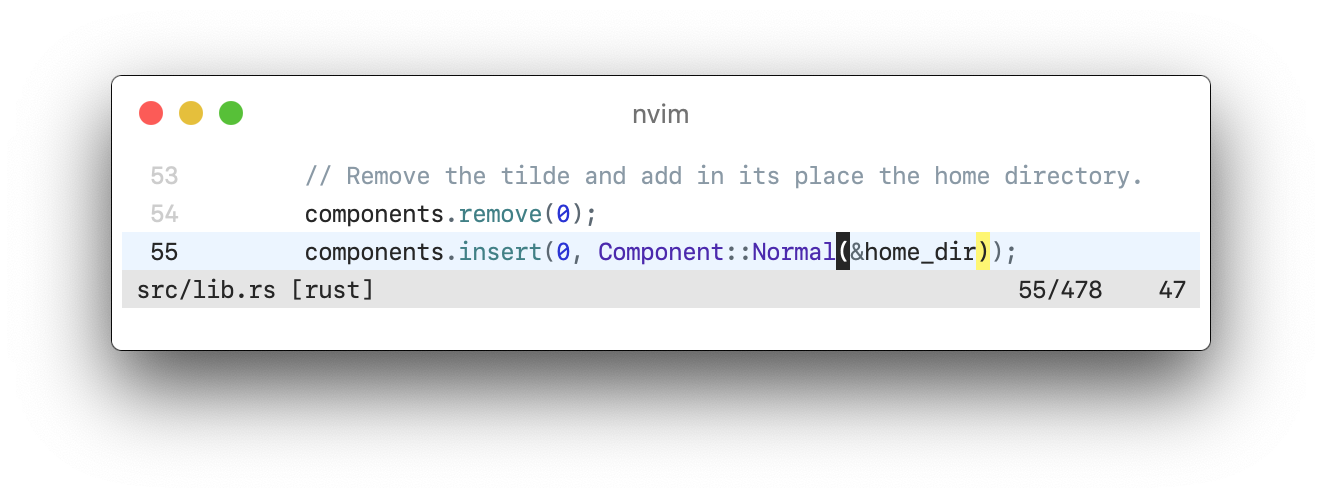 |
First, add one of the following lines to your Vim configuration.
The standard theme:
colorscheme xcode
Or the high contrast version:
colorscheme xcodehc
Either version will change appearance based on background's value (light or dark).
You may also specify a theme variant specifically, bypassing the automatic background feature. This method is the only way to access the xcodewwdc theme.
colorscheme xcodedark
colorscheme xcodedarkhc
colorscheme xcodelight
colorscheme xcodelighthc
colorscheme xcodewwdc
If you’re using a GUI, then this is all the setup you need. However, if you’re planning to use vim-colors-xcode in a terminal, the terminal must support 24-bit colour, also known as True Colour. This can be enabled through the use of the following setting:
set termguicolors
If you want other terminal output to match with vim-colors-xcode, then set its colours to match the ones below:
<details> <summary>Dark Palette</summary>| Colour | Normal | Bright |
|---|---|---|
| Black | #414453 | #7f8c98 |
| Red | #ff8170 | #ff8170 |
| Green | #78c2b3 | #acf2e4 |
| Yellow | #d9c97c | #ffa14f |
| Blue | #4eb0cc | #6bdfff |
| Magenta | #ff7ab2 | #ff7ab2 |
| Cyan | #b281eb | #dabaff |
| White | #dfdfe0 | #dfdfe0 |
| Foreground | #dfdfe0 | |
| Background | #292a30 |
| Colour | Normal | Bright |
|---|---|---|
| Black | #43454b | #838991 |
| Red | #ff8a7a | #ff8a7a |
| Green | #83c9bc | #b1faeb |
| Yellow | #d9c668 | #ffa14f |
| Blue | #4ec4e6 | #6bdfff |
| Magenta | #ff85b8 | #ff85b8 |
| Cyan | #cda1ff | #e5cfff |
| White | #ffffff | #ffffff |
| Foreground | #ffffff | |
| Background | #1f1f24 |
| Colour | Normal | Bright |
|---|---|---|
| Black | #b4d8fd | #8a99a6 |
| Red | #d12f1b | #d12f1b |
| Green | #3e8087 | #23575c |
| Yellow | #78492a | #78492a |
| Blue | #0f68a0 | #0b4f79 |
| Magenta | #ad3da4 | #ad3da4 |
| Cyan | #804fb8 | #4b21b0 |
| White | #262626 | #262626 |
| Foreground | #262626 | |
| Background | #ffffff |
| Colour | Normal | Bright |
|---|---|---|
| Black | #b4d8fd | #8a99a6 |
| Red | #ad1805 | #ad1805 |
| Green | #355d61 | #174145 |
| Yellow | #78492a | #78492a |
| Blue | #0058a1 | #003f73 |
| Magenta | #9c2191 | #9c2191 |
| Cyan | #703daa | #441ea1 |
| White | #000000 | #000000 |
| Foreground | #000000 | |
| Background | #ffffff |
| Colour | Normal | Bright |
|---|---|---|
| Black | #494d5c | #7f869e |
| Red | #bb383a | #bb383a |
| Green | #94c66e | #94c66e |
| Yellow | #d28e5d | #d28e5d |
| Blue | #8884c5 | #8884c5 |
| Magenta | #b73999 | #b73999 |
| Cyan | #00aba4 | #00aba4 |
| White | #e7e8eb | #e7e8eb |
| Foreground | #e7e8eb | |
| Background | #292c36 |
iTerm presets for all these palettes are included with this repository.
If you would like to have italic comments, add the following to your vimrc:
augroup vim-colors-xcode
    autocmd!
augroup END

autocmd vim-colors-xcode ColorScheme * hi Comment        cterm=italic gui=italic
autocmd vim-colors-xcode ColorScheme * hi SpecialComment cterm=italic gui=italic
Made in Colortemplate, the Toolkit for Vim Colourscheme Designers.
The font in the screenshots is SF Mono, which you can download from Apple’s website.