Awesome
Unreal Engine Git Plugin
This is a refactor of the Git LFS 2 plugin by SRombauts, with lessons learned from production that include performance optimizations, new features and workflow improvements.
Features
- Multi-threaded locking/unlocking, greatly improving performance when locking/unlocking many files
- Remote lock status only checked when needed
- Added local lock cache for speeding up local operations
- Improved performance of repository file traversal
- Improved initialization logic
- Generally improved wording and UX throughout
- Greatly improved pull within editor
- Only refreshes changed files, which prevents crashes in large projects
- Uses rebase workflow to properly manage local work
- Added support for Status Branches, which check outdated files vs. remote across multiple branches
- Periodic background remote refresh to keep remote file statuses up to date
- Automatic handling of pushing from an outdated local copy
- Optimized status updates for successful operations
- Manage both lockable (assets, maps) and non-lockable files (configs, project file) in editor
- Improved status display in editor
- Integration with PBSync binaries syncing
- General improvements to performance and memory usage
Installation
Either install this into your project's Plugins/ folder, or if you would like to install to the engine,
rename Engine/Plugins/Developer/GitSourceControl.uplugin to Engine/Plugins/Developer/GitSourceControl.uplugin.disabled
and then install this plugin to the Engine/Plugins folder.
Please note that we do not provide precompiled binaries at this time, so you will need to use Visual Studio to compile the plugin.
Note about .gitattributes and .gitignore
This plugin requires explicit file attributes for *.umap and *.uasset, rather than other approaches of using wildcards for the content folder (Content/**).
See our own .gitattributes for an example.
You may also want to check out our robust .gitignore too.
Note about authentication
We would highly recommend using HTTPS authentication for your Git repo.
This allows a single credential path to be used, with the robust and fast HTTPS support in LFS.
With Git Credential Manager, authenticating with HTTPS is also much easier, with a GUI available to authenticate with any Git provider.
Note about Unreal configuration
Required
- The plugin makes the assumption that files are always explicitly added. We made this decision because it is beneficial for performance and our workflows. In
Config/DefaultEditorPerProjectUserSettings.ini
[/Script/UnrealEd.EditorLoadingSavingSettings]
bSCCAutoAddNewFiles=False
Recommended
- As a general revision control usability improvement, you can enable new checkout features in
Config/DefaultEditorPerProjectUserSettings.ini. To enable auto-checkout on modification, which is great for OFPA and other workflows (but requires user attention to excessive locking of content):
[/Script/UnrealEd.EditorLoadingSavingSettings]
bAutomaticallyCheckoutOnAssetModification=True
bPromptForCheckoutOnAssetModification=False
- OR, to enable auto-prompt on modification, which is a bit more upfront/intrusive in user flows, but more conservative with locking, flip the settings:
[/Script/UnrealEd.EditorLoadingSavingSettings]
bAutomaticallyCheckoutOnAssetModification=False
bPromptForCheckoutOnAssetModification=True
- As another general usability improvement, you can set the editor to load any checked out packages for faster loading. In
Config/DefaultEditorPerProjectUserSettings.ini:
[/Script/UnrealEd.EditorPerProjectUserSettings]
bAutoloadCheckedOutPackages=True
- In
Config/DefaultEngine.iniyou can set this option to1to disable a feature that is unnecessary for Git (for performance):
[SystemSettingsEditor]
r.Editor.SkipSourceControlCheckForEditablePackages=1
Status Branches - Required Code Changes
Epic Games added Status Branches in 4.20, and this plugin has implemented support for them. See Workflow on Fortnite for more information. Here is an example of how you may apply it to your own game.
- Make an
UUnrealEdEnginesubclass, preferrably in an editor only module, or guarded byWITH_EDITOR. - Add the following:
#include "ISourceControlModule.h"
#include "ISourceControlProvider.h"

void UMyEdEngine::Init(IEngineLoop* InEngineLoop)
{
	Super::Init(InEngineLoop);

	// Register state branches
	const ISourceControlModule& SourceControlModule = ISourceControlModule::Get();
	{
		ISourceControlProvider& SourceControlProvider = SourceControlModule.GetProvider();
		// Order matters. Lower values are lower in the hierarchy, i.e., changes from higher branches get automatically merged down.
		// (Automatic merging requires an appropriately configured CI pipeline)
		// With this paradigm, the higher the branch is, the stabler it is, and has changes manually promoted up.
		const TArray<FString> Branches {"origin/develop", "origin/promoted"};
		SourceControlProvider.RegisterStateBranches(Branches, TEXT("Content"));
	}
}
- Set to use the editor engine in
Config/DefaultEngine.ini(make sure the class name isMyUnrealEdEnginefor a class calledUMyUnrealEdEngine!):
[/Script/Engine.Engine]
UnrealEdEngine=/Script/MyModule.MyEdEngine
-
In this example,
origin/promotedis the highest tested branch. Any changes in this branch are asset changes that do not need testing, and get automatically merged down toorigin/develop. This may be extended to involve multiple branches, likeorigin/trunk,origin/main, or whatever you may prefer, where changes may be cascaded from most-stable to least-stable automatically. With this paradigm, changes from less-stable branches are manually promoted to more-stable branches after a merge review.
NOTE: The second argument inRegisterStateBranchesis Perforce specific and is ignored, but is meant to point to the relative content path. -
If you decide to implement the status branch code in a editor-only module, ensure the loading phase in the editor module is set to
Defaultin your .uproject settings, like so: (Otherwise, the editor will likely have difficulty finding your subclass'd UUnrealEdEngine class.)
		{
			"Name": "MyTestProjectEditor",
			"Type": "Editor",
			"LoadingPhase": "Default"
		}
Status Branches - Conceptual Overview
This feature helps ensure you're not locking and modifying files that are out-of-date.
If a user is on any branch, regardless if it's tracking a branch included in the 'status branch' list, they will be unable to checkout files that have more recent changes on the remote server than they have on the local branch, provided those changes are in a branch in the 'status branch' list.
- If the remote branch with the changes is not in the status branch list, the user will not be notified of remote changes.
- If the user makes changes to a local branch and switches to another local branch, the user will not be notified of their own changes to the other branch, regardless if it's in the 'status branch' list or not (this feature only checks remote branches!)
- If the user is tracking a remote branch that is in the status branch list, they will be unable to lock stale files (files that are changed up-stream).

Note:
It's important to only release file locks after changes have been pushed to the server. The system has no way to determine that there are local changes to a file, so if you modify a locked file it's imperative that you push the changes to a remote branch included in the 'status branch' list so other users can see those changes and avoid modifying a stale file. Otherwise, you'll want to keep the file locked!
Additionally, if you're switching back and forth between two or more branches locally you'll need to keep track of what branch you've made changes to locked files, as the system will not prevent you from modifying the same locked file on multiple different branches!
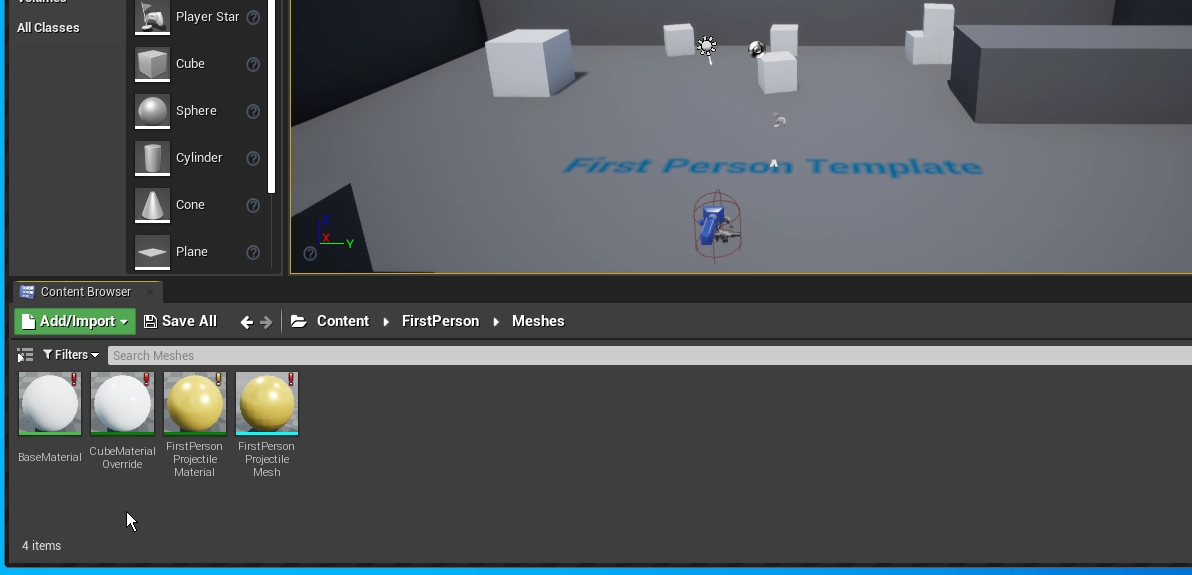
Real-world example of the 'status branch' feature:
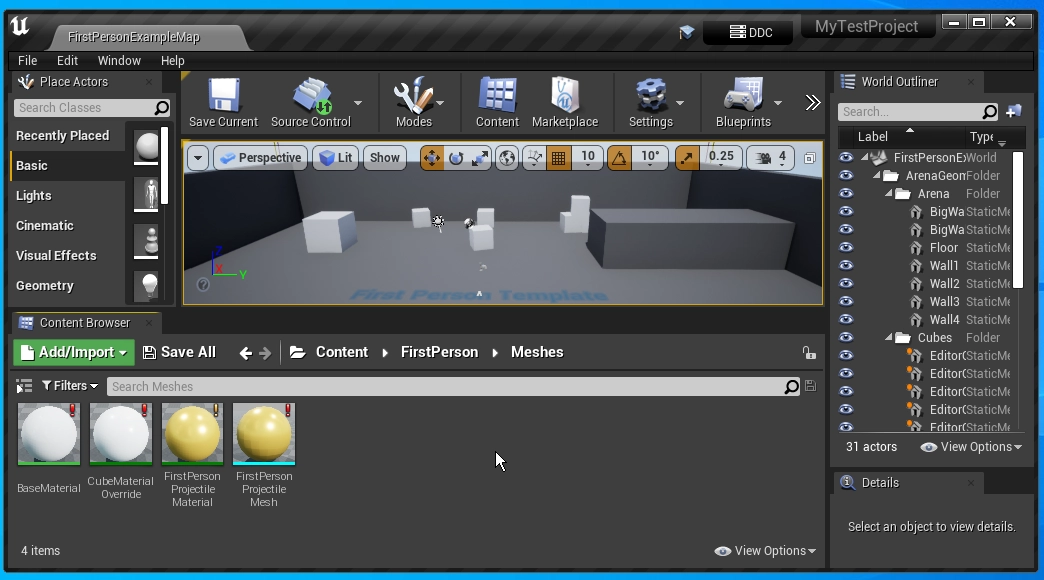
- The user has checked out the
developbranch, but there is an up-stream change onorigin/developforFirstPersonProjectileMaterial, indicated with the yellow exclamation mark. - There are also newer upstream changes on the
promotedbranch, indicated with the red exclamation mark. (NOTE: The plugin does not currently report the branch name the changes are on.)
General In-Editor Usage
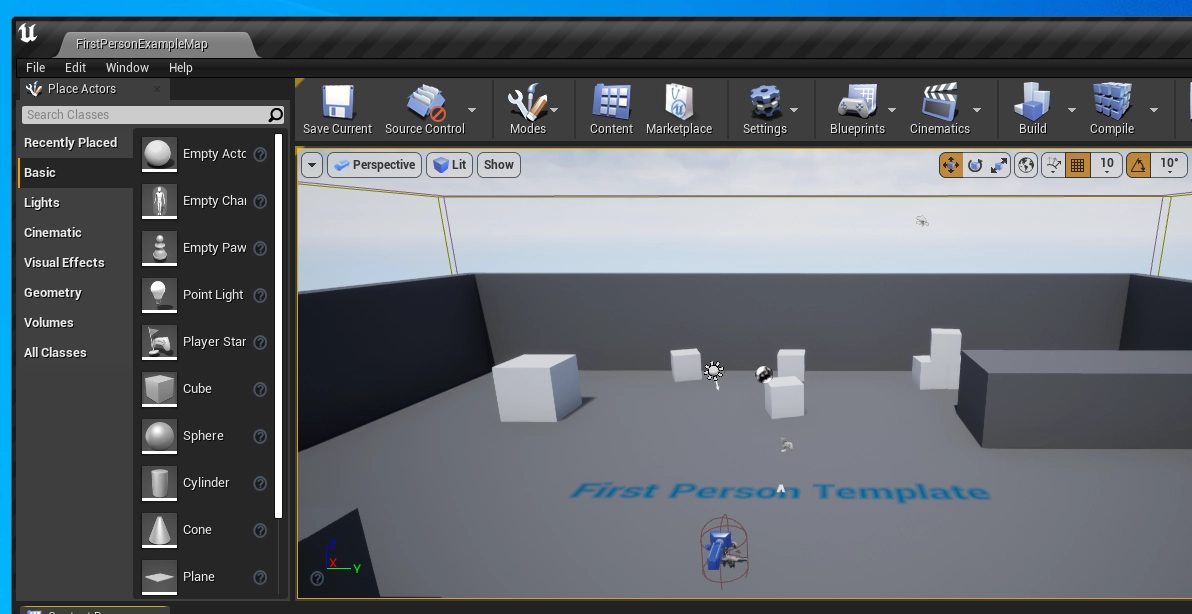
Connecting to revision control:
Generally speaking, the field next to Uses Git LFS 2 File Locking workflow should match your Git server's User Name, like so:
(If you find that the checkmark turns blue shortly after checking out a file, then the LFS name is incorrect, update it to the name it says checked out the file)
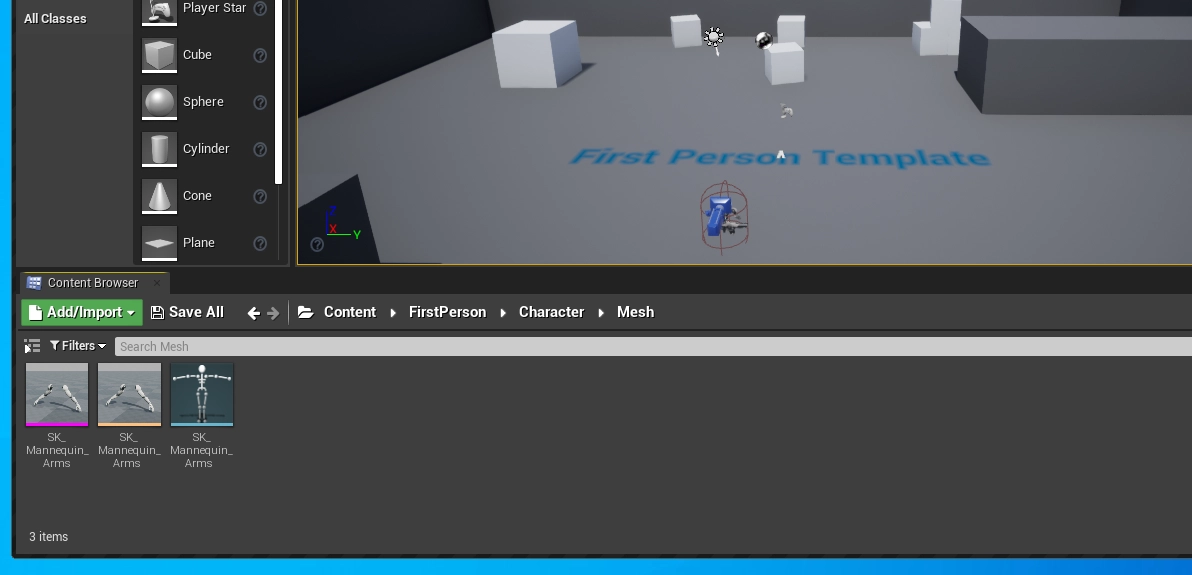
Checking out (locking) one or more assets:
You can lock individual files or you can hold shift to select and lock multiple at once, which can be quite a bit faster than locking them individually.
Unlocking one or more un-changed assets:
You can unlock individual files or you can hold shift to select and unlock multiple at once, which can be quite a bit faster than unlocking them individually.
Locking every asset within a folder:
You can lock every file in a folder by right clicking on the folder and clicking Check Out.
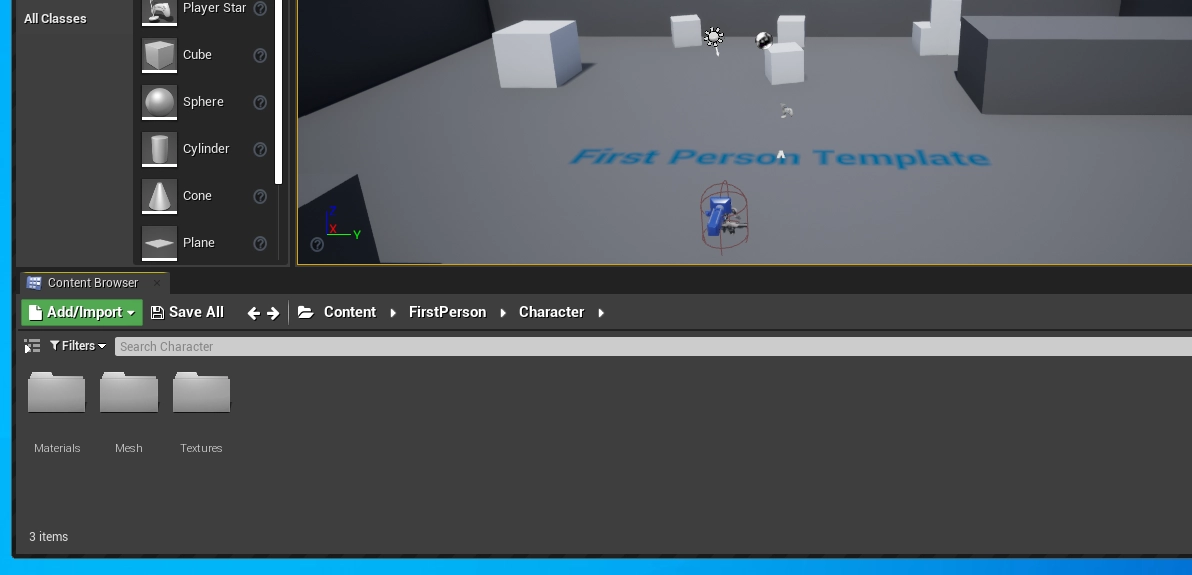
Viewing locks:
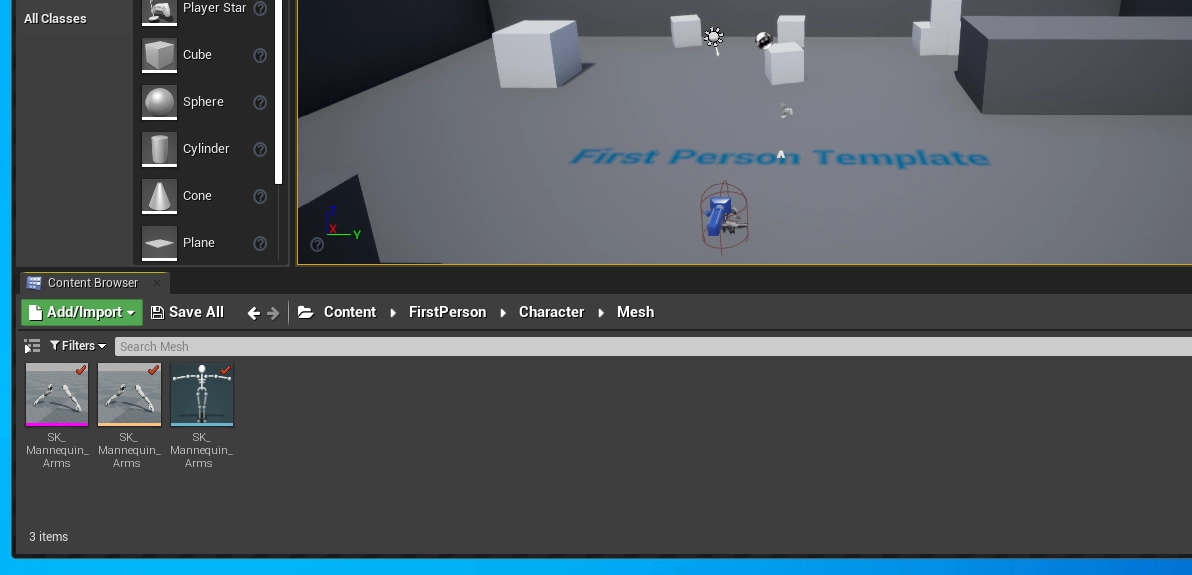
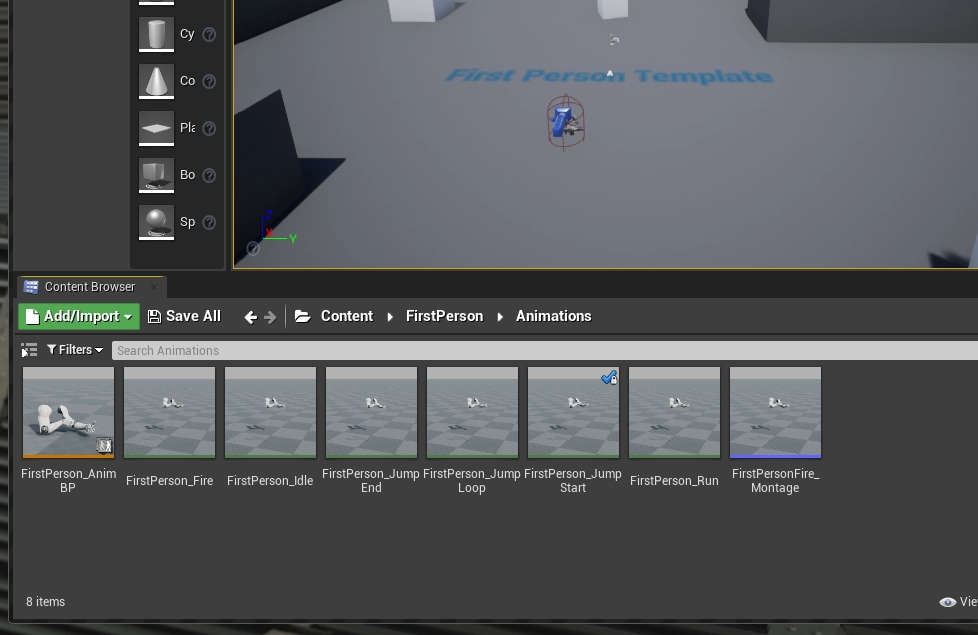
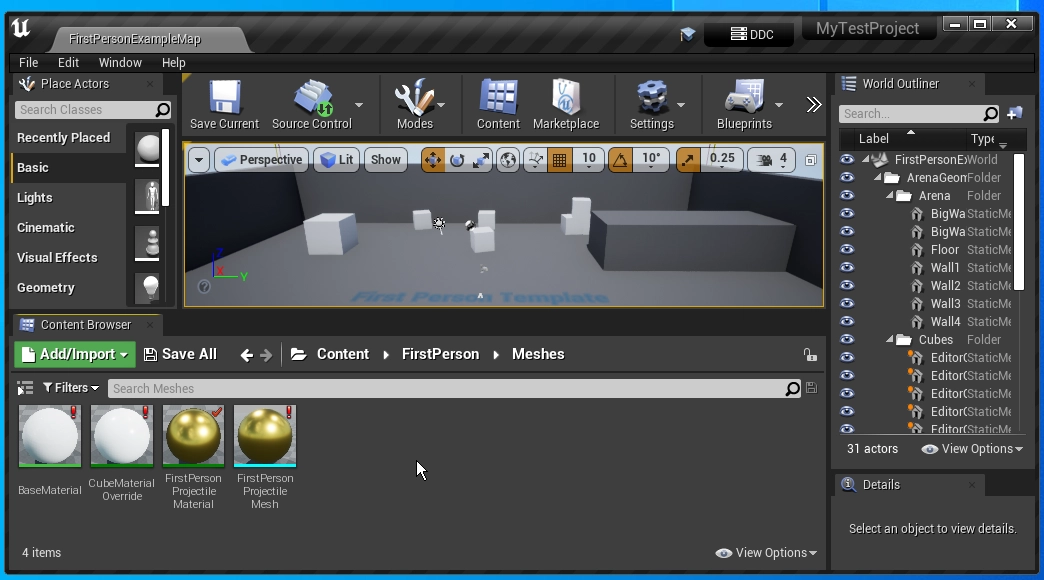
View the owner of a file lock simply by hovering over the asset icon. Your locked files have a red check-mark, other user's locks will show up with a blue checkmark.
Pulling latest from within the editor:
You can pull the latest changes from your currently checked-out branch within the editor. This doesn't always work smoothly, but effort has been made to improve this process. It is still recommended to always save changes before doing this, however.
Submitting changes up-stream:
Submit to revision control will create a local commit, push it, and release your file lock.
(While you cannot check out branches within the plugin, it is fully branch-aware! In this scenario, the user has checked out the develop branch, so their change is pushed to origin/develop.)
Additional Resources
You can learn more about how we set up our Git repository at the PBCore wiki.