Awesome
PixTrack
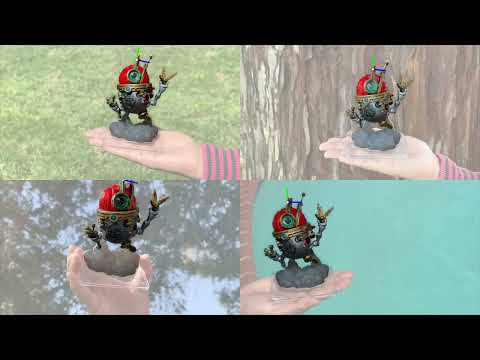
A Computer Vision method for Object Tracking which uses NeRF templates and feature-metric alignment to robustly track the 6DoF pose of a known object.
With pixtrack, you can:
- Create an object-level NeRF and a corresponding SFM model capturing its 3D keypoint structure
- Run 6-DoF object tracking on a video file and visualize the pose trajectory of the object with respect to the camera
Getting Started: One time setup
Follow these steps:
Step1: Update the cuda version in pixtrack/DockerFile and setup.sh to the version on your machine/server.
Step2: Setting up the environment.
git clone git@github.com:GiantAI/pixtrack.git
cd pixtrack
docker build -t pixtrack .
source run_docker.sh
cd pixtrack
source setup.sh
Preliminary steps: Create object tracking assets
Before you can run object pose tracking, you need to do the following:
- Collect object data following the protocol.
- Create an SfM using the collected images.
- Train a NeRF using the images and the SfM.
- Create an object SfM using the NeRF.
Most phone images are in HEIC format. To convert HEIC files to png files, do this:
sudo apt-get install libheif-examples
cd <directory_containing_heic_files>
for file in *.HEIC; do heif-convert $file ${file/%.HEIC/.png}; done
Once data is collected (step 1), run the following (steps 2-4):
source images_pipeline.sh <path_to_images> <object_aabb>
An example dataset of the premier_protein object can be found here
Run object tracking
To run object tracking, do this:
cd ~/pixtrack
python3 pixtrack/pose_trackers/pixloc_tracker_r9.py --query <path to directory with query images> --out_dir <path to output directory>
python3 pixtrack/visualization/run_vis_on_poses.py --out_dir <path to output directory containing object tracking results>
To create a video from a folder of images, do this:
cd <path to output dirctory containing images>
ffmpeg -start_number 1 -pattern_type glob -i '*.jpg' -c:v libx264 -vf "fps=30,format=yuv420p"  overlay.mp4