Awesome
Mac OS X on the Acer Aspire E5-571-376T

A guide for patching Mac OS X on the Acer Aspire E15 E5-571-376T, for short: Aspire E5-571. All the information needed about hardware components are in information folder in case you want to patch it on your own. Notice that you can follow this guide for different laptop models if they have close components.
Let's point the north here:
- Intel Broadwell CPU
- 5th gen. of Intel Graphics GPU
Hardware components that match the assets above will most likely follow the same procedure:
- A. DSDT and SSDT patching.
- B. Clover installation and patching.
- C. Kext picking and testing.
- D. Post patching and fixing if needed.
Before going to the Instructions section, read the Environment that follows right under this introduction.
Environment/General Tips
This section points out the setup I'm using to accomplish the tasks needed in the Instructions section.
- A desktop computer running Mac OS X as guest in VirtualBox being hosted by Arch Linux (Linux Kernel 4.3)
That’s the servo for downloading the official installer and for the clovered USB creation.
Note: To get a decente performance on the guest O.S. you must set 256MB of VRAM for your Mac V.M. trough the .vdi file and use beamoff app on startup. Google those if you don't know what they are or doesn't know how to apply them.
- Target Acer E5-571-376T laptop running Ubuntu 15.10 in UEFI mode (pure GPT table).
Note: If you don't know what is one of those technical terms, google it using the tag Arch Linux in the end, the search will point you out the Arch Linux wiki page for the subject of the search, one of the best wikies for tech reference and knowledge.
The partition scheme for the target is:
	sda      8:0    0 931,5G  0 disk
	├─sda1   8:1    0   243M  0 part /boot/efi
	├─sda2   8:2    0  59,6G  0 part /
	├─sda3   8:3    0   3,9G  0 part [SWAP]
I totally recommend dual-booting with a Linux distribution, even if you don’t like it, truth is that it won’t let you down if you need the laptop as a daily driver. Not only that, if you patch something wrong and it breaks booting, there’s no worry, boot Ubuntu and copy back the previous configuration to get Mac up and running again.
NOTE: If you need to change something wrong in EFI, like a clover config.plist that doesn't boot because of a bad change, that's the way I do on my Ubuntu.
Usually /dev/sda1 is the EFI partition, so:
sudo mkdir /mnt/efi
sudo mount /dev/sda1 /mnt/efi
Notice that I preserve the stable clover folder in this repository for this purpose, and for sharing obviously. After copying the "stable" clover folder back again I just umount it.
sudo umount /dev/sda1
It’s worth to mention that my EFI partition wasn’t created by OS X, it has been around since I installed Ubuntu 15.10 some weeks ago, no problems at all once Clover won’t format it anyway, it will only copy its folders without touching other O.S.'s bootloaders previously installed. Also, playing with EFI partition from Linux doesn't hurt anything and has nothing to do with Mac OS X.
On ther other hand, if you wish to change something from Mac OS X partition in Ubuntu (Linux), install hfsprogs.
sudo apt-get install hfsprogs
I do not recommend playing with Mac OS X partition in other O.S., if you really need to, please, read the following:
NOTE: Mac OS X doesn't like to get changed by the outside (in other O.S.), it will give you one the messages:
"Your computer restarted because of a problem".
"You shut down your computer because of a problem".
Repairing permissions back again can fix this "issue" if it bothers you.
To verify if you need to repair them:
sudo /usr/libexec/repair_packages --verify --standard-pkgs /
To repair them:
sudo /usr/libexec/repair_packages --repair --standard-pkgs --volume /
Hardware
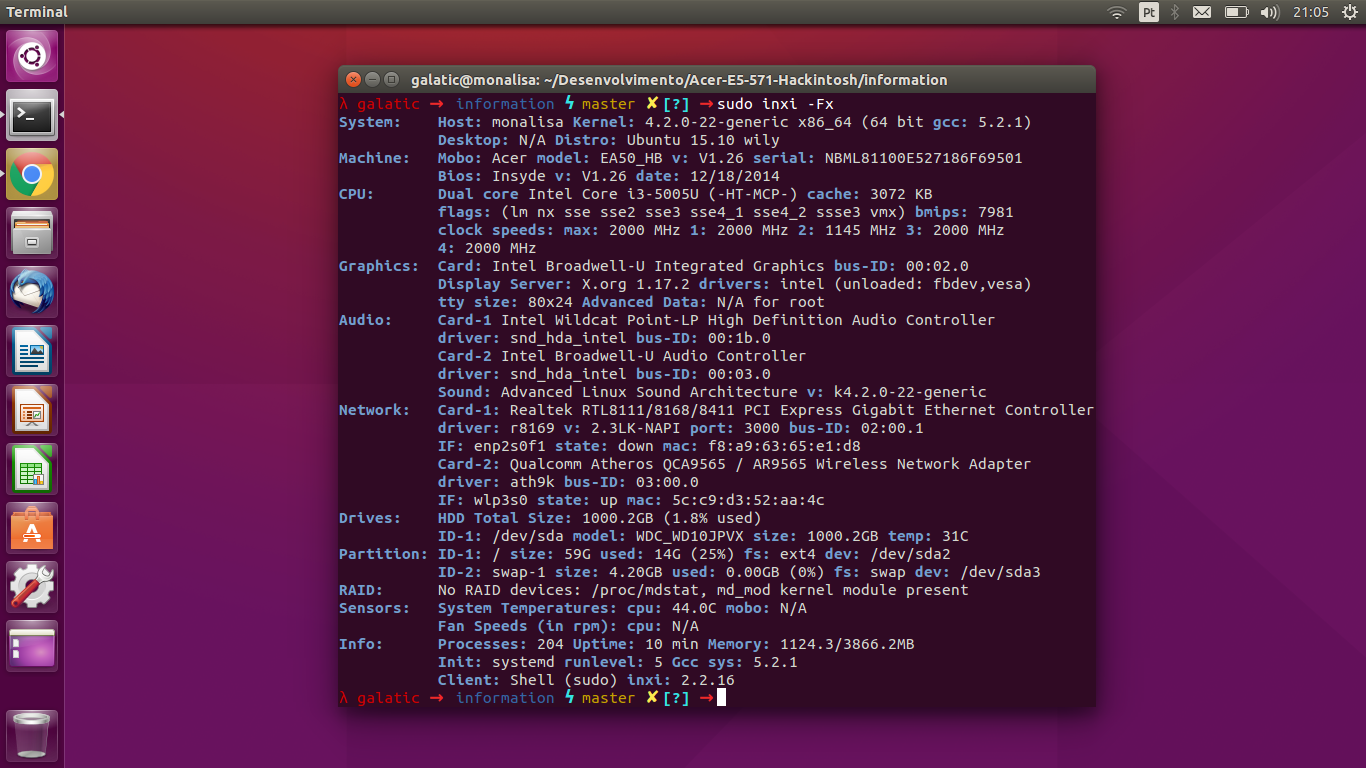
You'll find all hardware related stuff in information folder. The basic hardware information about the main laptop components are the following:
- Intel Core i3-5005U
- Intel Graphics HD5500
- Intel 9 Series Chipset
- Wildcat Point-LP SATA Controller [AHCI Mode]
- Wildcat Point-LP High Definition Audio Controller
- Wildcat Point-LP USB xHCI Controller
- Wildcat Point-LP LPC Controller
- Wildcat Point-LP SMBus Controller
- Wildcat Point-LP Thermal Management Controller
- More...
- Realtek ALC283 Codec
- Atheros AR3012 Bluetooth
- Realtek RTL8111/8168/8411 Ethernet Controller
- QCA9565 / AR9565 Wireless Network Adapter
INXI screenshot:
Instructions:
Clone this repository somewhere.
git clone https://github.com/GalaticStryder/Acer-E5-571-Hackintosh
NOTE: Use the clean.sh script in this folder to start doing your own hackintosh from "scratch" in case it's not the same E5-571-346T, and don't forget to check all specs to see what matches and what doesn't, i.e.: CPU must be a Broadwell one, this spec is our north. Generating you own DSDT/SSDT is recommended.
./clean.sh
A)
Extract ACPI files from GNU/Linux:
cd acpi
mkdir original
sudo cp -R /sys/firmware/acpi/tables original
sudo chmod -R ugo+rw original
sudo chown -R galatic original
Doing this way we avoid permission problems by making it read/write able by anyone. Also, this changes from root to my user the ownership, just in case. Don't forget to change 'galatic' to your user name.
Copy the files under dynamic folder to the folder above in the tree, together the other extracted files and delete the dynamic folder. Remove files that don't have SSDT or DSDT in the name, you don't need those.
To rename the files I've just adapted RehabMan's script.
./aml-rename.sh
Now it should contain one DSDT and a nine SSDTs as .aml files in original folder.
To patch your ACPI files (when I say ACPI means both DSDTs/SSDTs in general) you will need to use MaciASL and iasl tools. Copy iasl binary from the folder extra to /usr/bin for system-wide ability.
cd ..
cd extras
sudo cp iasl /usr/bin/iasl
Cortesy of RehabMan at BitBucket.
Proceed to dsl generation after the previous step.
cd ..
cd acpi
mkdir dsl
cd original
Using your favorite text editor, create a refs.txt file, I use vim.
vim refs.txt
Paste the following content:
External (_SB_.PCI0.PEG0.PEGP.SGPO, MethodObj, 2)
External (_SB_.PCI0.LPCB.H_EC.ECWT, MethodObj, 2)
External (_SB_.PCI0.LPCB.H_EC.ECRD, MethodObj, 1)
Save it.
Then run iasl and move the files to the previously created dsl folder:
iasl -da -dl -fe refs.txt *.aml
mv *.dsl ../dsl/
Don't get confused with dsl folder and extension, ok?
After that, you're heading to DSDT patching/fixing on MaciASL app. As for this laptop I added the following repos on it's preferences/source.
| Name | URL Link |
|---|---|
| Pjalm | http://pjalm.com/repos/intel9/ |
| RehabMan | http://raw.github.com/RehabMan/Laptop-DSDT-Patch/master |
Set the compiler to version 5.1 in preferences.
The stock ones have a patch that we need, only one though so don't delete them.
I'm following Asus ZenBook (Broadwell as well) thread at tonymac for some of these steps cause as I said, close specs close settings, this UX303LA has a close setup with a few extras we don't need.
The DSDT/SSDT patching thread by RehabMan.
Following them we'll use the following patches for DSDT.dsl. Don't forget to use the DSL.
RehabMan's:
- Remove DSM methods
- Audio Layout 12
- Manually change from 12 to 86! [ALC283 patch]
- Fix WAK Arg0 v2
- HPET Fix
- IRQ Fix
- RTC Fix
- Fix PNOT/PPNT
- Add IMEI
- Fix ADGB Error
- Brightness fix Haswell
- Rename GFX0 to IGPU
- Rename B0D3 to HDAU
Pjalm's:
- Generic Fixes
- LPC
- SMBus
Following them we'll use the following patches for SSDTx.dsl.
Note: Every SSDT is related to one or more components, you can get a clue at left panel name when opening it in MaciASL.
I needed to patch four/five of the nine SSDTs, some of them compile just fine without any patch needed, but you should try to apply:
- Generic Fixes (Pjalm)
- DTGP (SourceForge)
- Rename GFX0 to IGPU (Rehab)
- Rename B0D3 to HDAU (Rahab)
- Remove PSS placeholders (Rehab)
Try to apply to each SSDT the patches above, some will allow, others won't, depends on what they're all about.
Other compiling issues:
Operator has no effect. From my findings on Google. Don't remember the sources, sorry.
Many errors can be fault of external declarations, to sort that out just move the three main external lines that have "1 arguments" or "2 arguments" comment to the bottom of the other external ones, with one line of space optionally. From Machanical.
That's a click compile and adjust job. After the solving all errors and saving all dsl files, you've got to save them all as .aml back again, all of them. Put the saved ones (.aml) in the compiled folder one by one.
Credits
- RehabMan
- Machanical
- Toleda