Awesome

Storytime is a Rails 4+ CMS and blogging engine, with a core focus on content. It is built and maintained by CultivateLabs / @cultivatelabs
Features
- Simple integration with Rails 4+ apps - Quickly get set up using a guided, automated, or manual setup experience, whatever suits your fancy.
- Quick access dashboard - Access Storytime's dashboard from anywhere on your site with our quick access menu.
- Multi-site support - Manage multiple sites with one Storytime deployment.
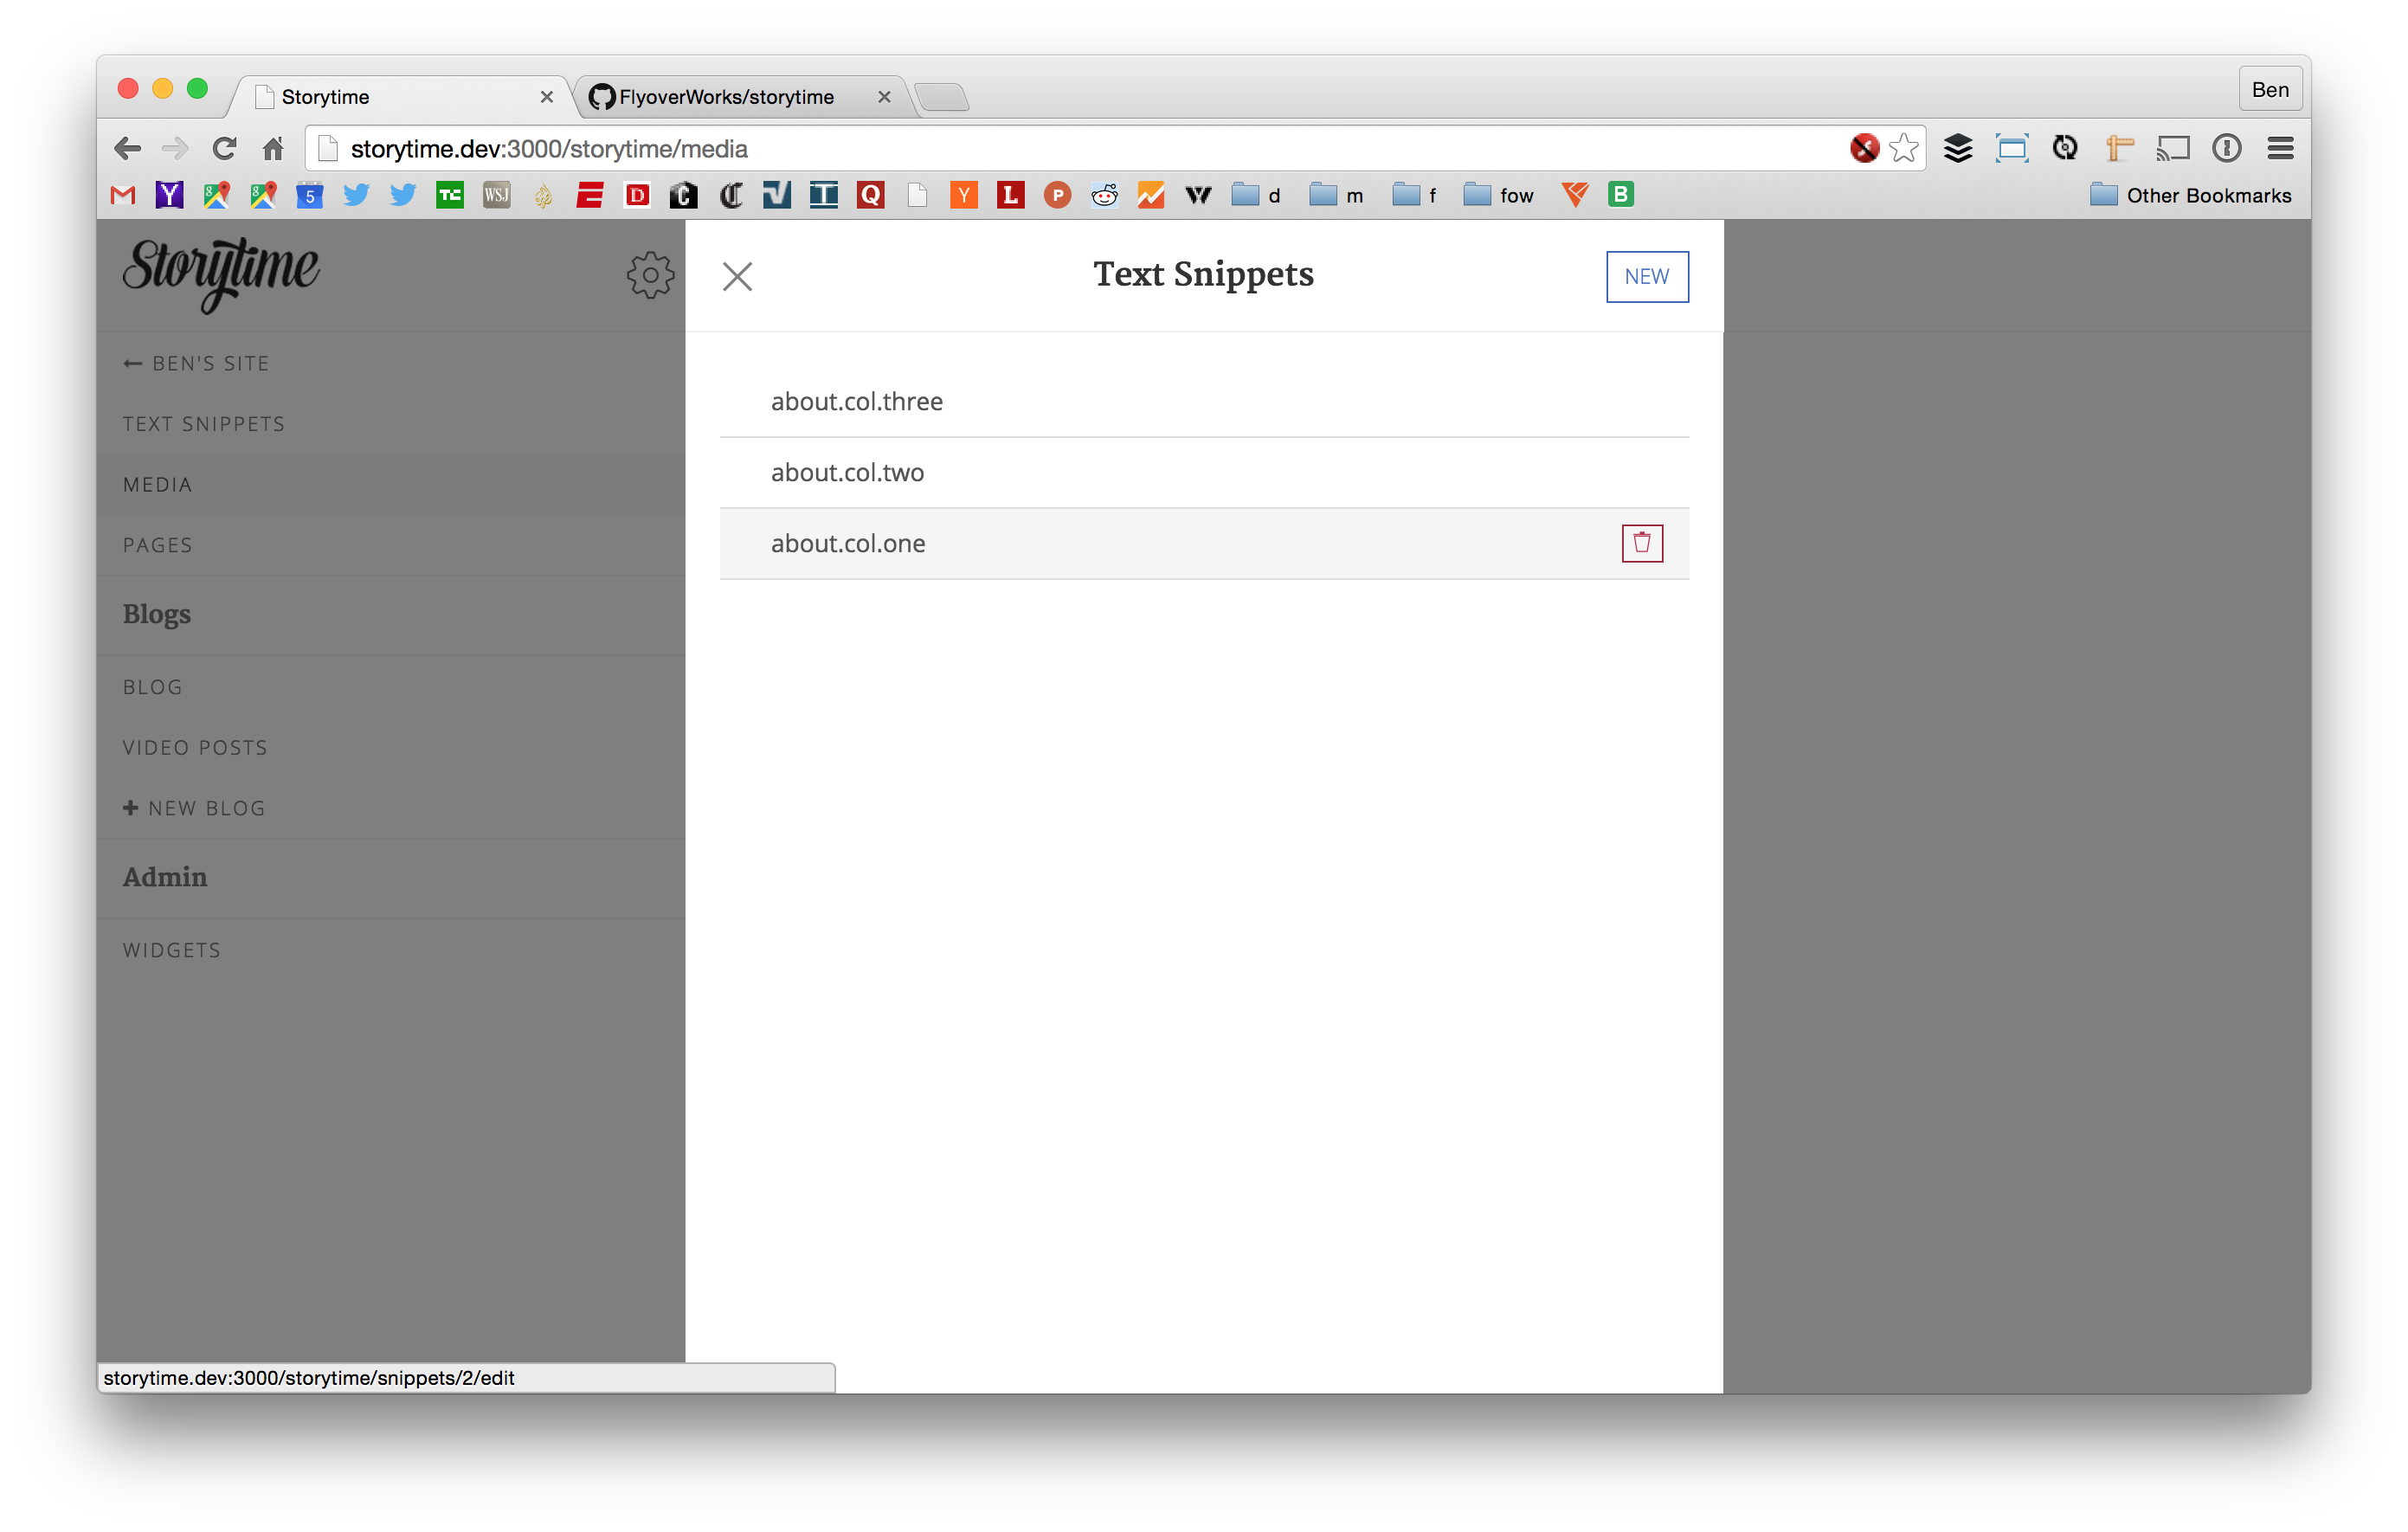
- Inline text snippet editing - Create and edit snippets of content that can be re-used throughout your Storytime site.
- Admin of other Rails models - Manage your models from the Storytime dashboard.
- Custom Post Types - Add custom post types to alter functionality or appearance of posts.
- Email list building - Collect and manage emails using a simple view helper.
- New post notifications - Send notifications to your site's subscribers whenever you publish a post.
- Built-in search - Easily search through Storytime's posts using built-in search adapters or request parameters.
Separation of Concerns
Storytime is built around several opinions regarding the responsibilities and concerns of the CMS and the host app.
Storytime is responsible for:
- Editing content, copy, and very basic formatting (basic formatting roughly = things you could do in markdown)
- Enabling customization, extension, and theming
- Basic CRUD administration of other Rails models
Host app is responsible for:
- Complex page structure (HTML), styling (CSS), and interactions (JavaScript)
- App-specific details or customizations (e.g. Storytime tells the host app to send a post notification email, host app decides how to send the email, whether it should be in a background job, etc.)
- Presentation details -- we like to think of the host app as providing the "theme" for the Storytime site.
This separation is intended to provide several benefits and/or solve several problems:
-
Problem: Building complex page structure and styling inside the CMS prevents the code from going into version control
-
Problem: If complex page structure is in the CMS, it becomes much easier to break on production sites.
-
Benefit: If complex page structure stays in the host app and CMS users just edit content/copy, code goes into version control and pages are much less likely to break.
-
Benefit: Combining admin and CMS/blog features in one place gives site administrators a single place to edit content (rather than requiring both a CMS/blog and something like ActiveAdmin or RailsAdmin).
Sample App
Installation
Add Storytime to your Gemfile:
gem "storytime"
Run the bundle command to install it.
After you install Storytime and add it to your Gemfile, you can either setup Storytime through a guided command line interface, a speedy automated setup, or manually.
Note: To use the image upload feature, Storytime requires you to have Imagemagick installed on your system.
Guided Setup
Storytime can set up your routes file, initializer, user model, copy migrations, migrate your database, and copy views into your app through a simple command line interface (CLI). In order to use the CLI, first create a binstub of Storytime by running the following command:
$ bundle binstub storytime
After creating the binstub just run the following command to get started with the guided setup:
$ storytime install
After answering the prompts, fire up your Rails server and access the Storytime dashboard, by default located at http://localhost:3000/storytime.
Automated Setup
The automated setup goes through all of the steps in the Guided Setup, but instead of prompting you for values it just uses all the defaults, allowing you to setup Storytime in seconds.
In order to use the automated setup, first create a binstub of Storytime (see Guided Setup). Next, run the install command with the -d option:
$ storytime install -d
After the setup is complete, fire up your Rails server and access the Storytime dashboard, by default located at http://localhost:3000/storytime.
Manual Setup
Manual setup of Storytime assumes that your host app has an authentication system, like Devise, already installed. Before proceeding make sure you have properly set up Devise.
After you install Storytime and add it to your Gemfile, you should run the install generator:
$ rails generate storytime:install
The install generator will create a Storytime initializer containing various configuration options. Be sure to review and update the generated initializer file as necessary.
Running the install generator will also insert a line into your routes file responsible for mounting the Storytime engine.
By default, Storytime is mounted at /. If you want to keep that mount point make sure that the Storytime mount is the last entry in your routes file:
mount Storytime::Engine => "/"
Install migrations:
rake storytime:install:migrations
rake db:migrate
Add storytime_user to your user class:
class User < ActiveRecord::Base
  devise :database_authenticatable, :registerable,
         :recoverable, :rememberable, :trackable, :validatable

  storytime_user
end
Finally, fire up your Rails server and access the Storytime dashboard, by default located at http://localhost:3000/storytime.
Optional: While not necessary, you may want to copy over the non-dashboard Storytime views to your app for customization:
$ rails generate storytime:views
Getting Started
See the Storytime Wiki for more documentation and information on using Storytime's various features.
Screen Shots
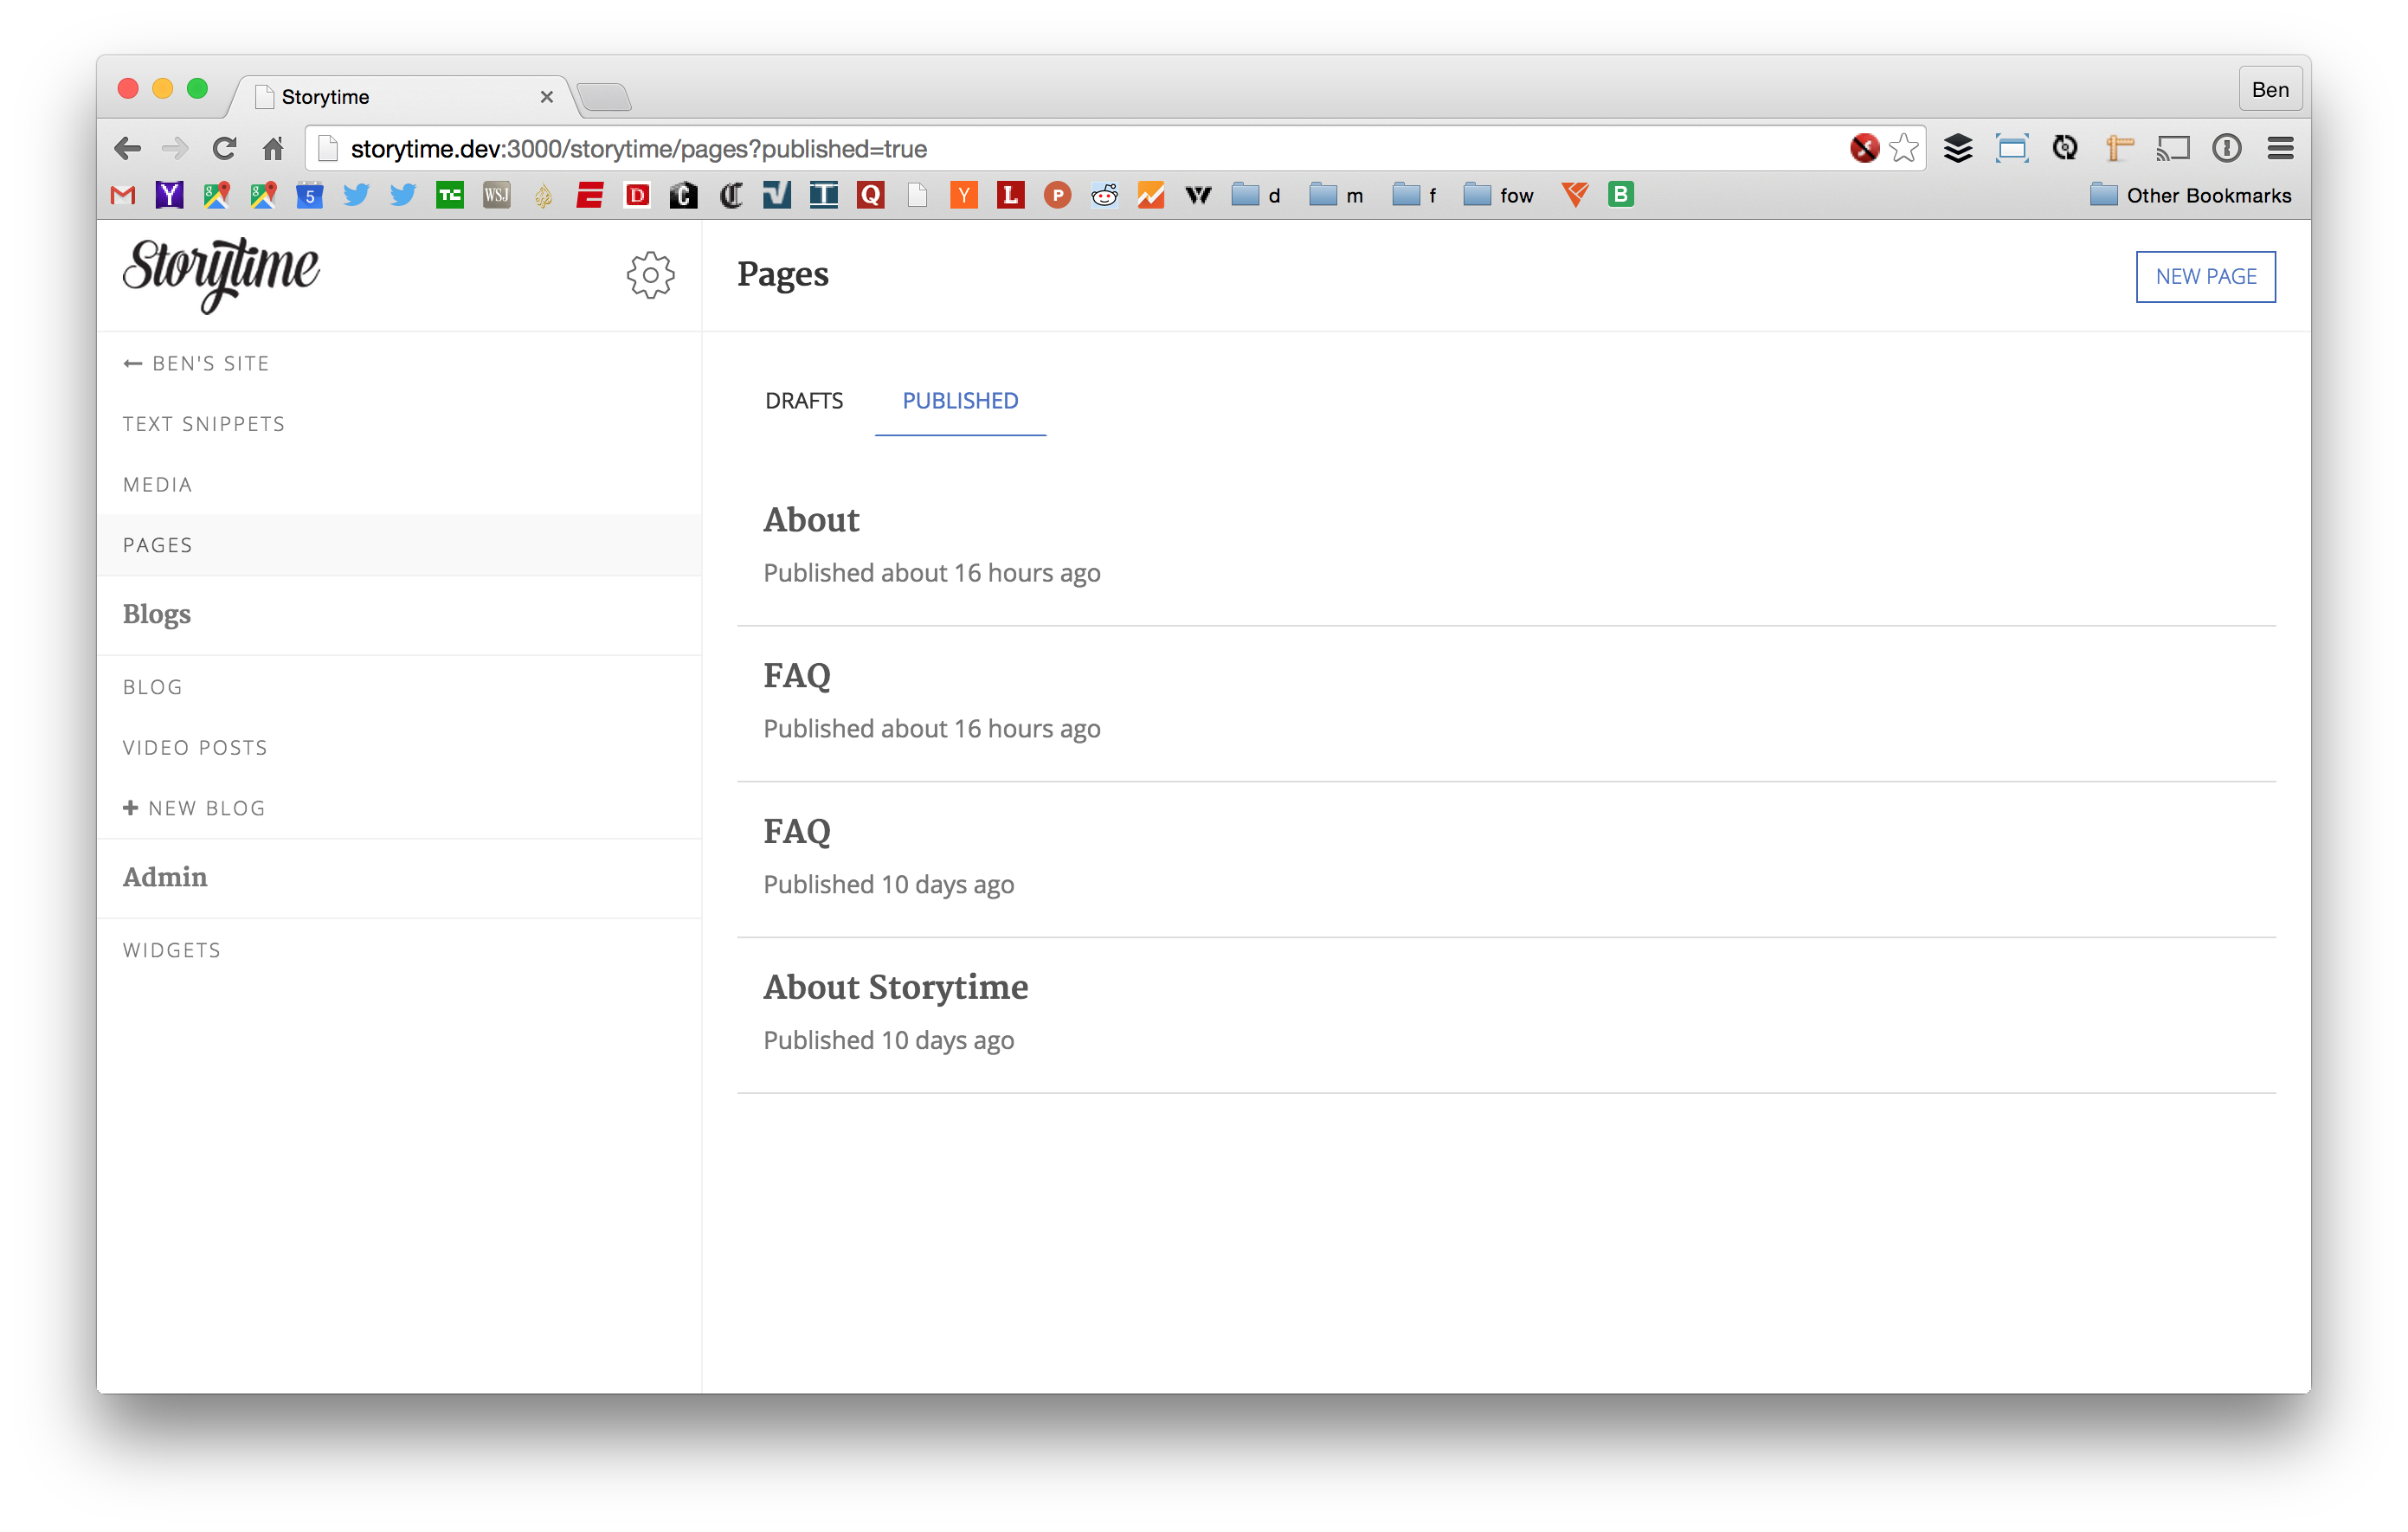
Page List:
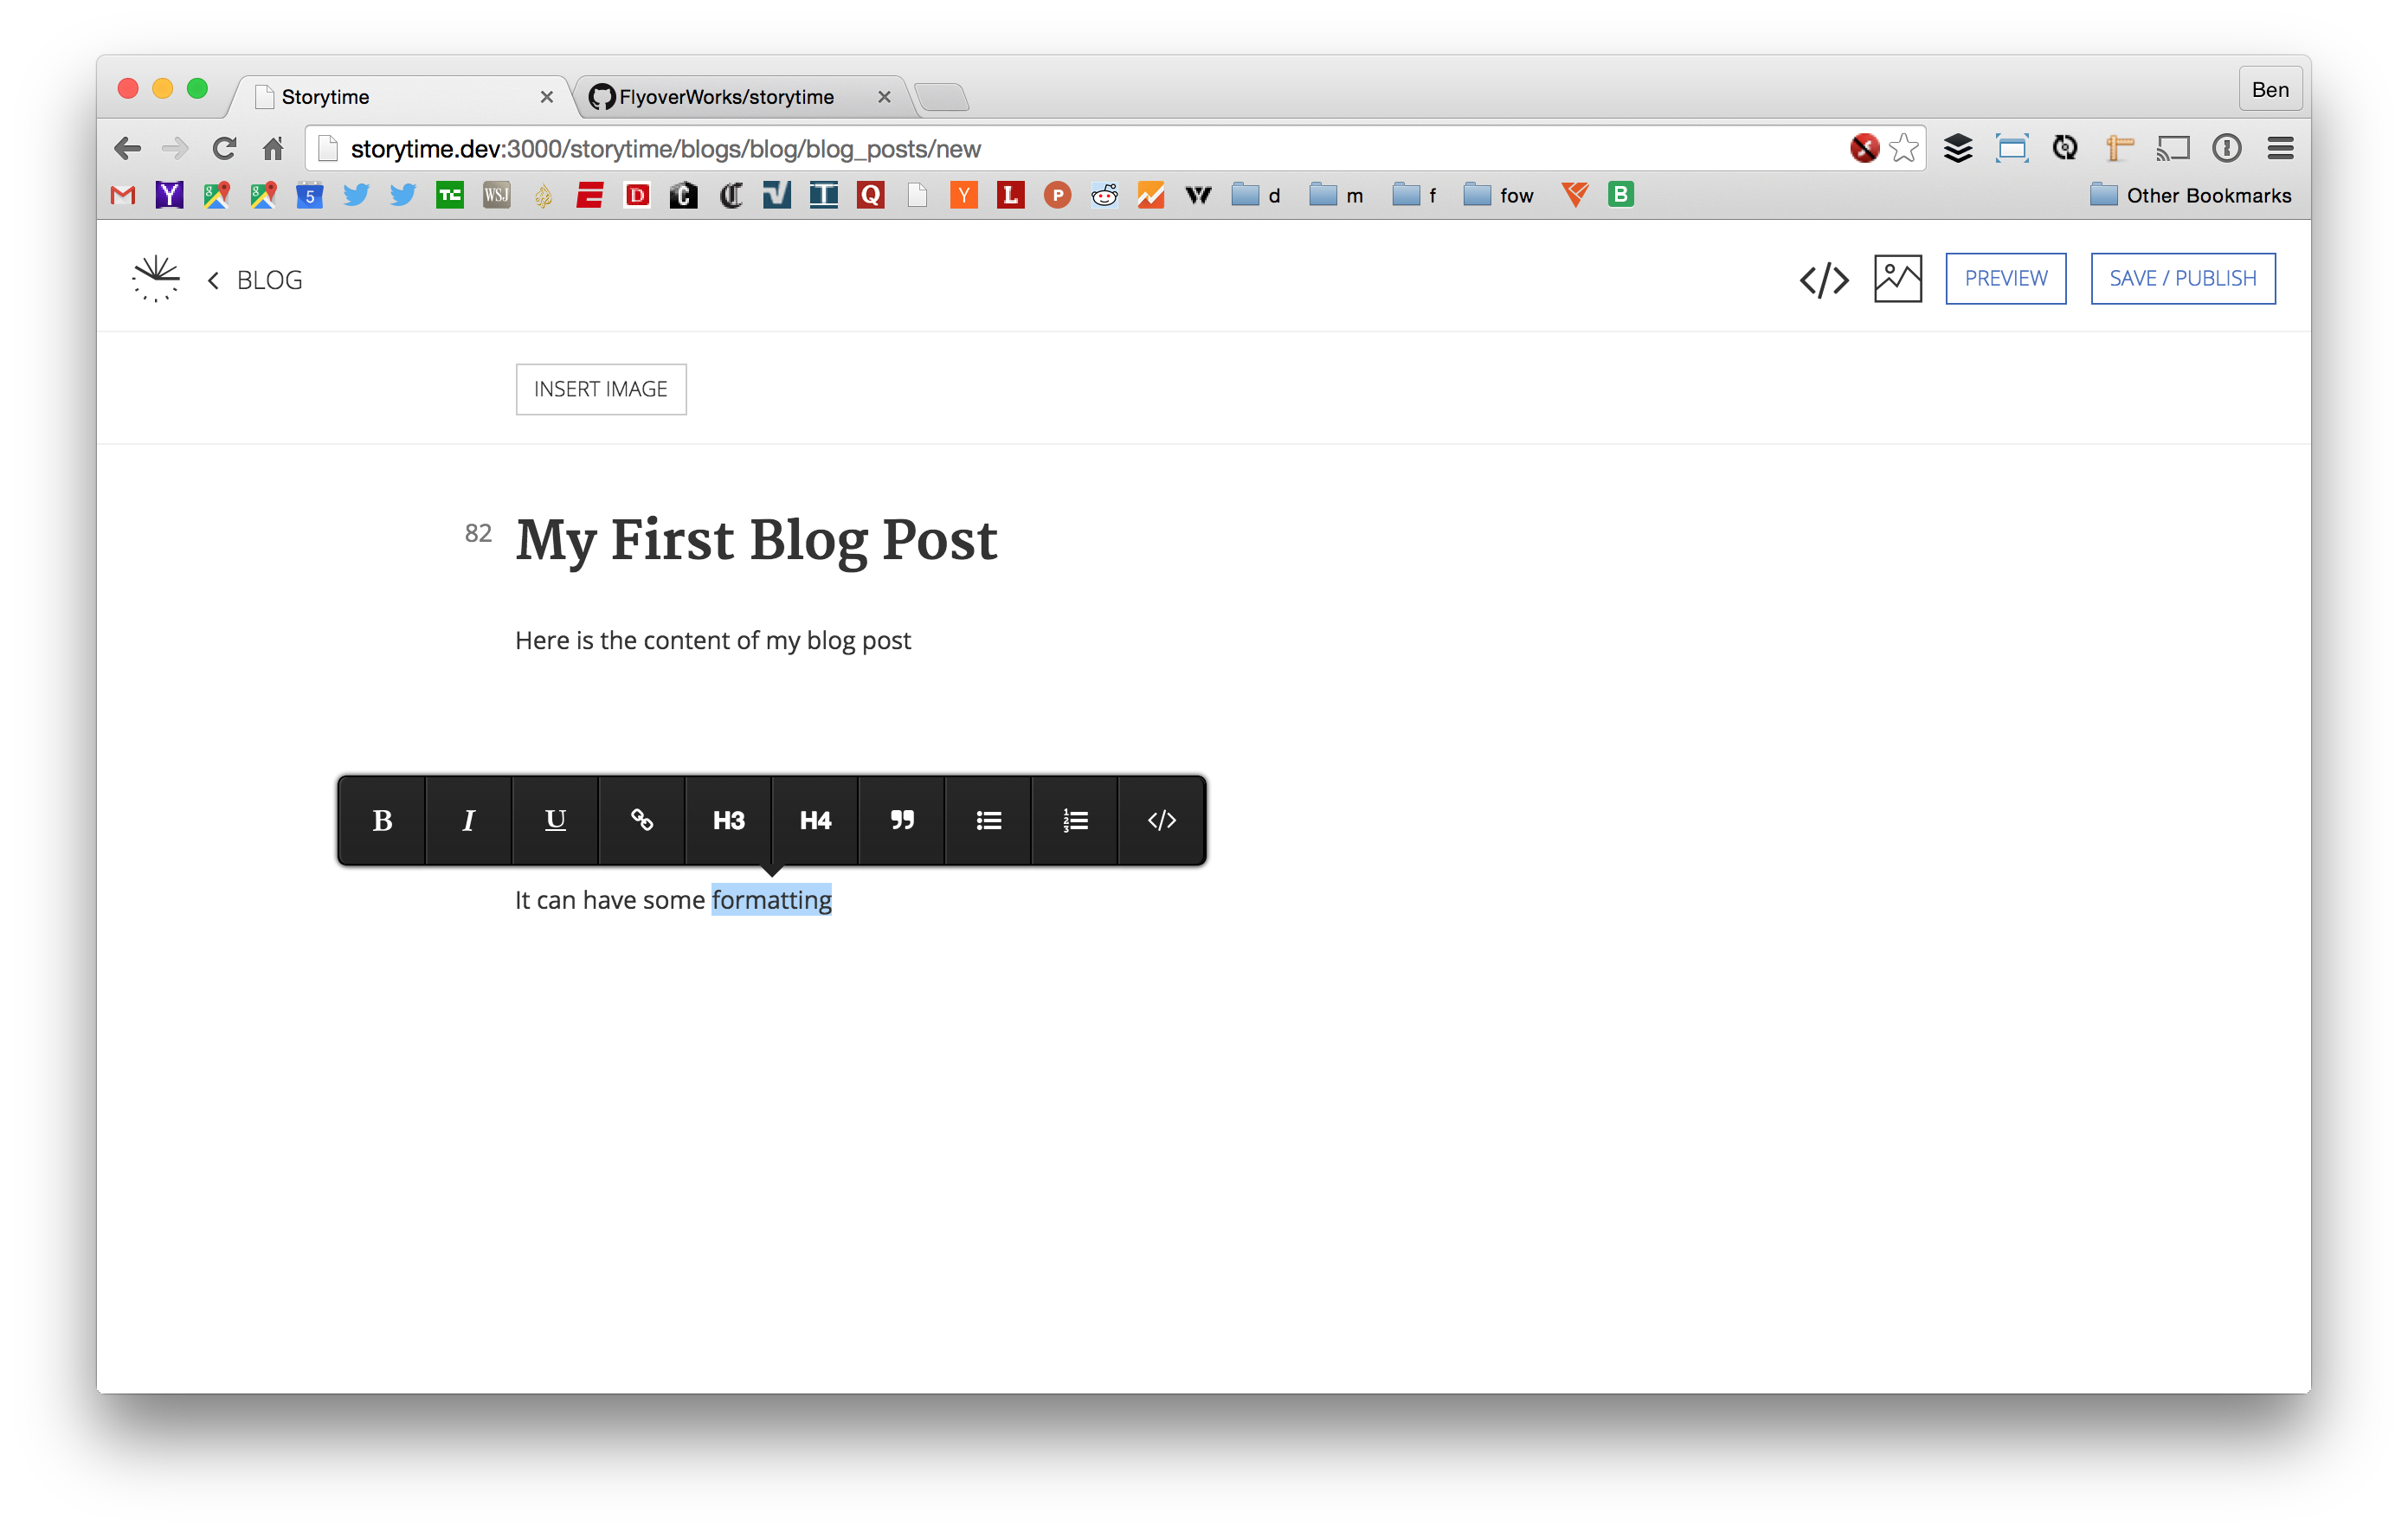
Post Editor:
Admin of Custom Rails Models:

Text Snippets:
User Management:
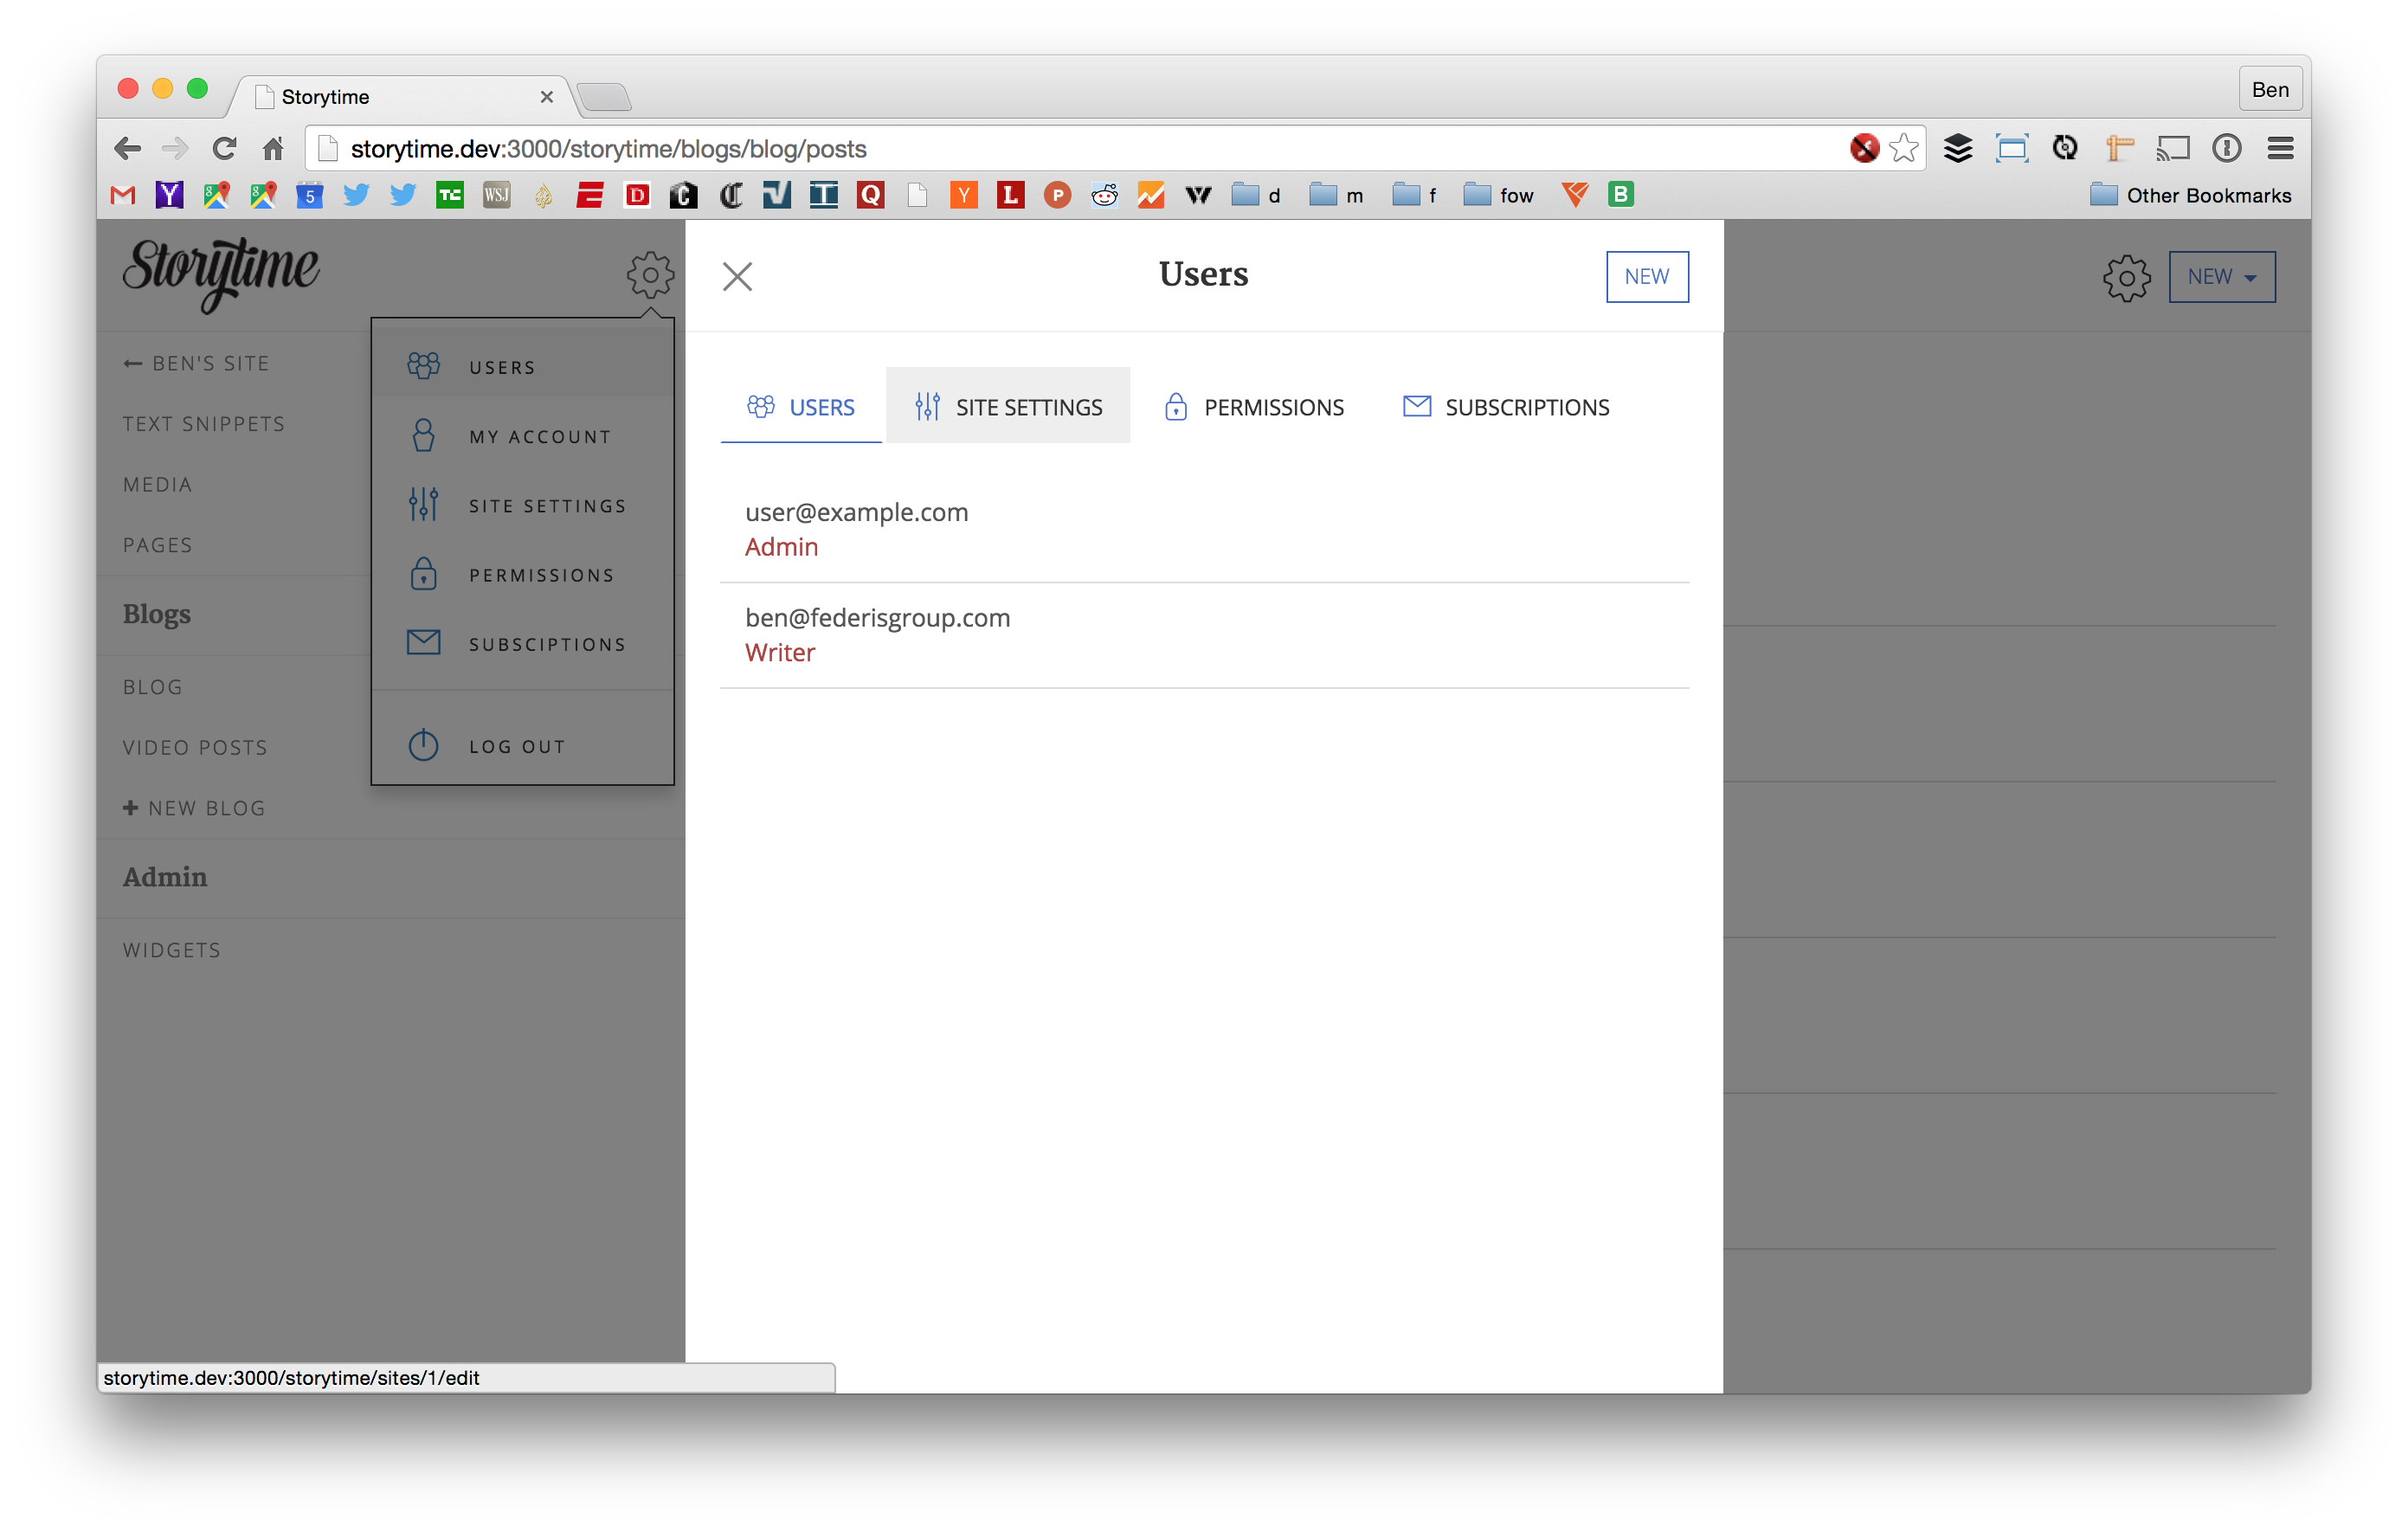
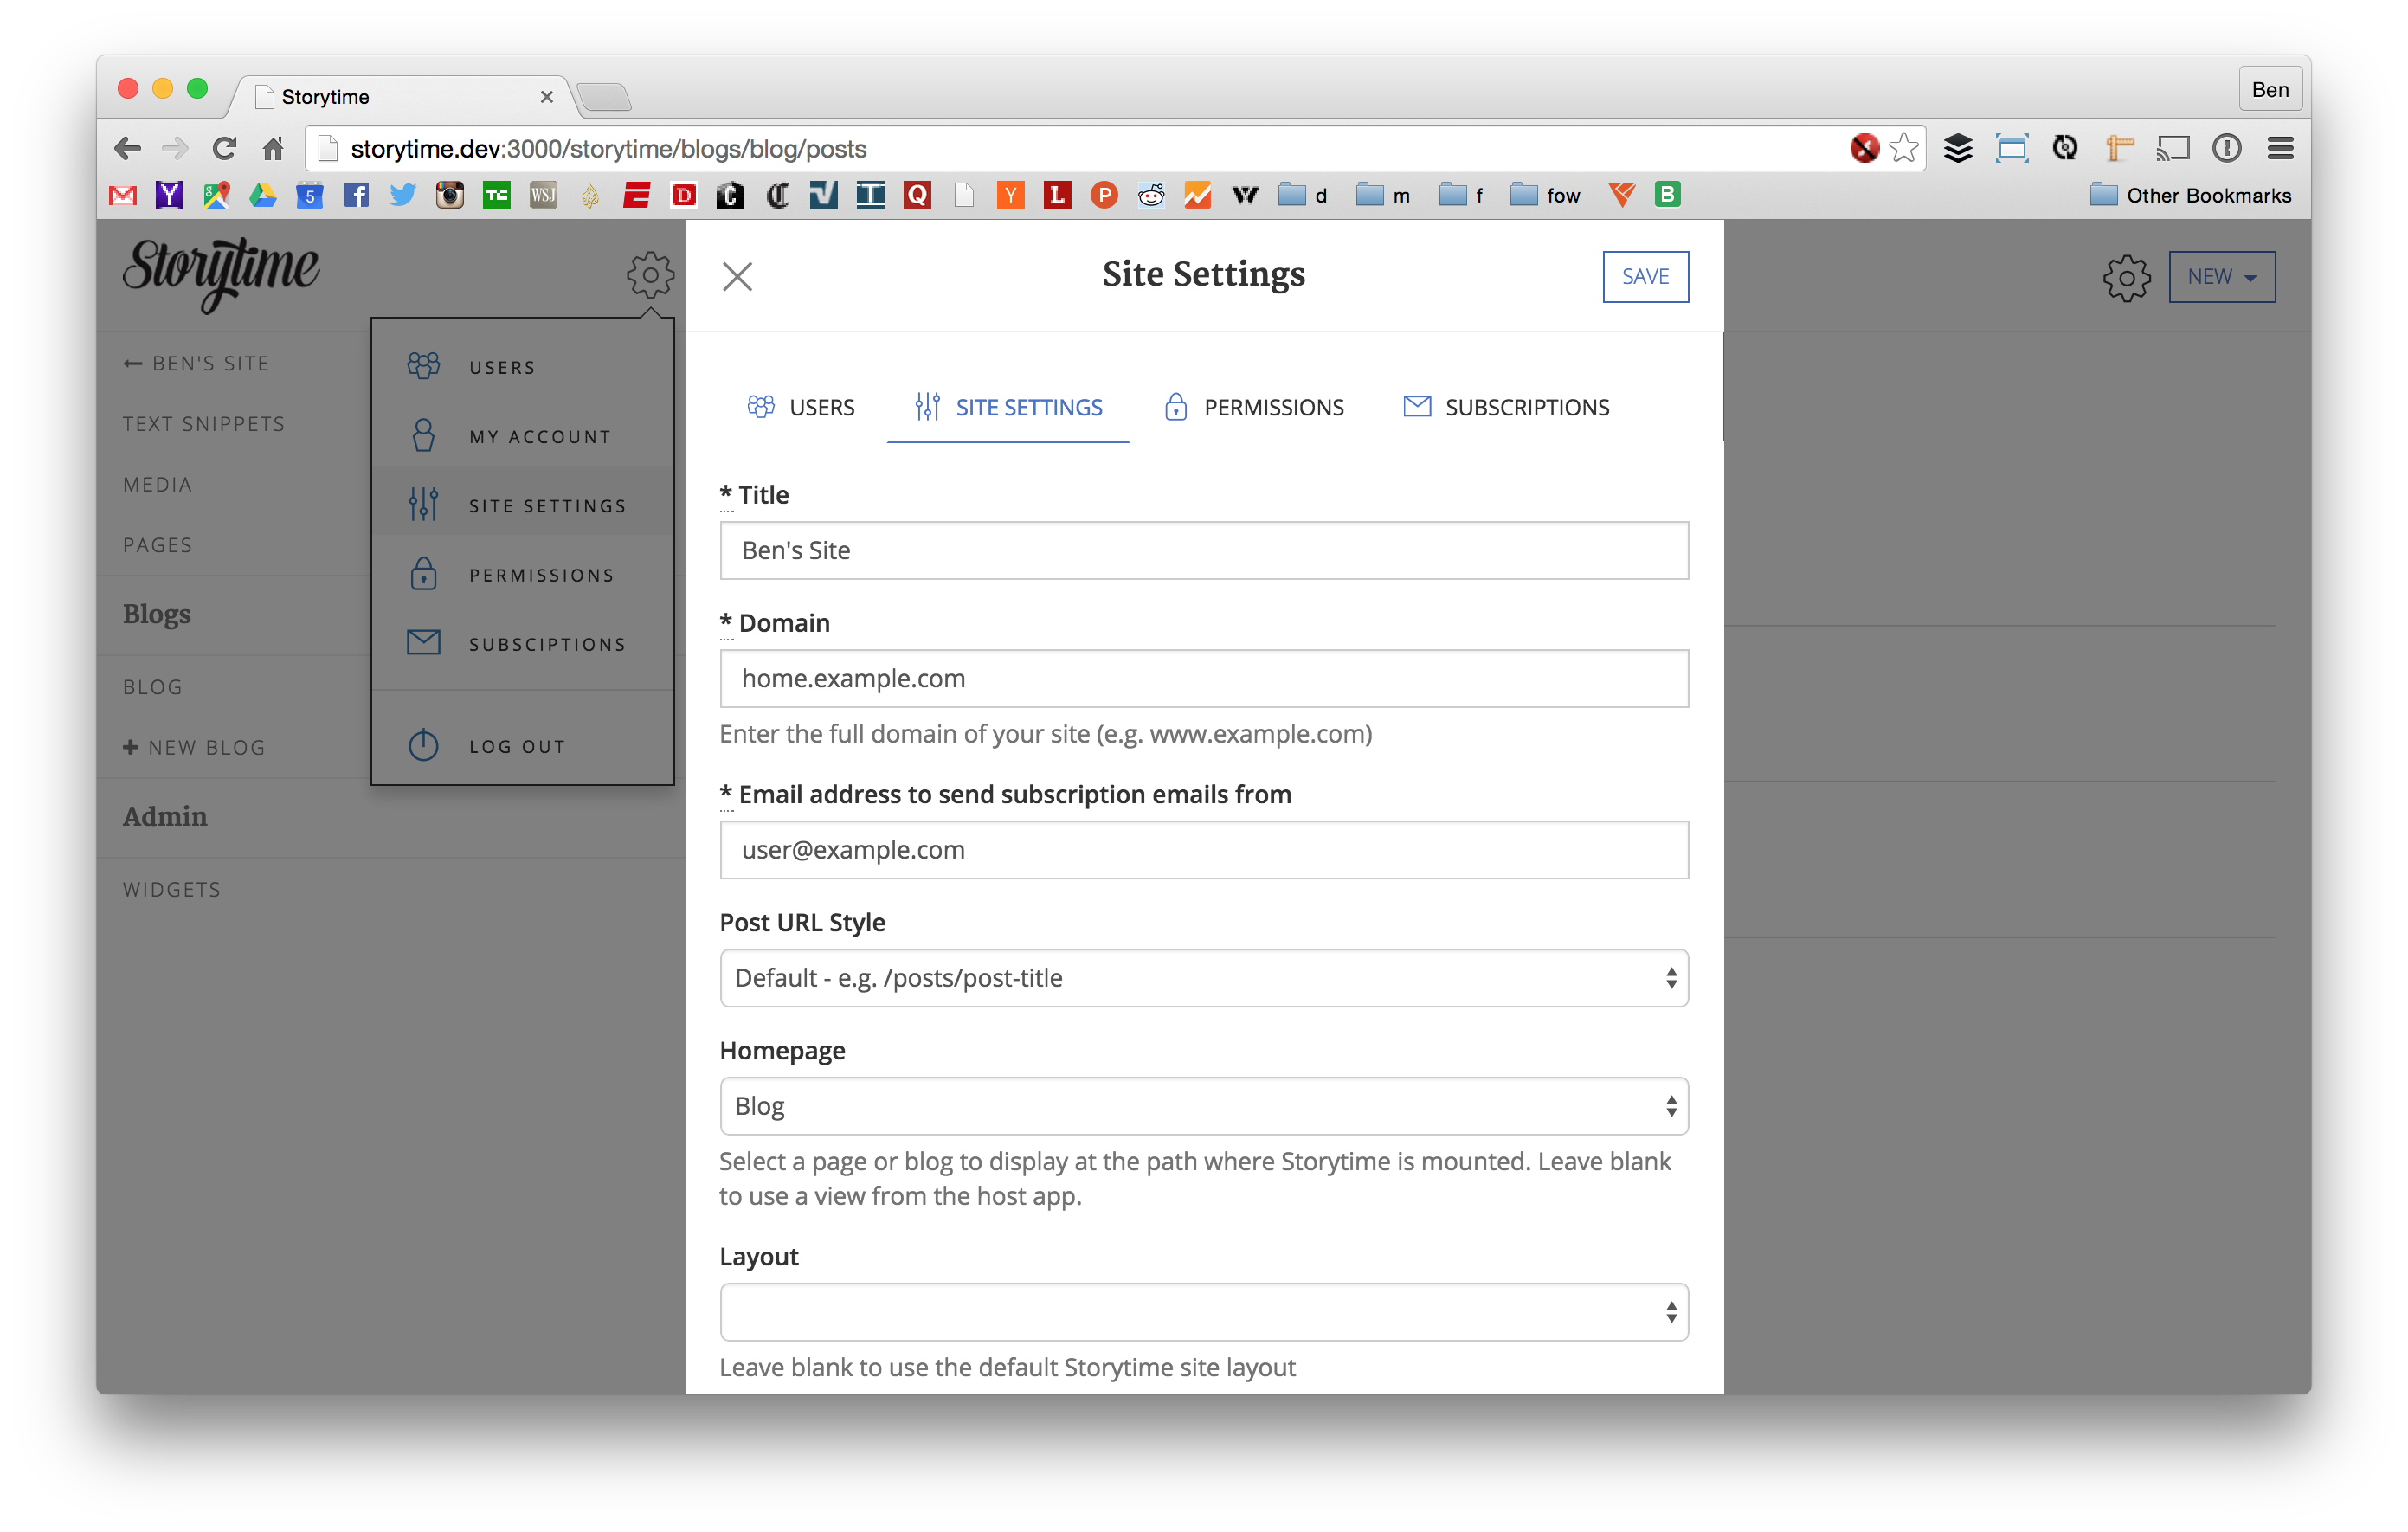
Site Settings:
Media Uploads:

Copyright
Copyright © 2014-2015 CultivateLabs Inc. Storytime is released under the MIT-LICENSE.
